
Your SGEN first week
⏱ 2-min read · orientation page — each day links to its full guide.
In short. Your first hour gets a page on screen. Your SGEN first week gets a real site live — with content, search visibility, and your team in place. Five working days, one focus each: Day 1 build, Day 2 content, Day 3 SEO, Day 4 team, Day 5 go live. Move at your own pace; the order is what matters.
On this page: The week at a glance · Day 1 — Build · Day 2 — Content · Day 3 — SEO · Day 4 — Team · Day 5 — Go live
The week at a glance
If you have not done the very first session yet, start there: Your first-hour checklist.
Day 1 — Build the skeleton
Goal: get your core pages standing — home, about, contact, and whatever else your site needs. Do not worry about final copy yet; you are building the frame, not furnishing the rooms.
The reason to build the skeleton before the words is that structure decisions are the expensive ones to change later. Decide today how many pages you need and how they link together, get a rough version of each one on screen, and wire up the navigation menu so the pages connect. Placeholder text is fine — in fact it is the point. A site with five connected, roughly-shaped pages is far easier to finish than one perfect page and four blank ones.
The trap to avoid: polishing the home page all day. The home page is usually the last thing to get right, because it summarizes everything else. Sketch it and move on.
→ Build your first page with SG-Builder
→ Need the vocabulary first? Key concepts in 10 minutes
Day 2 — Add real content
Goal: replace placeholder text with your real words, drop in your images, and publish your first blog post if your site has a blog.
Now that the frame holds, fill it. Work page by page so you can see each one come together, and upload images into the Media Library once rather than re-uploading the same file in different places — everything that points at a media item updates when you swap it. Two small habits pay off immediately: write for the person who lands on the page cold, and set alt text on every image as you place it, so you are not chasing missing descriptions on Day 3 when you turn to SEO.
The trap to avoid: treating "real content" as final content. Get true words and real images in place; you can refine the wording any time. The goal today is a site with nothing fake left on it.
→ Publish your first blog post on SGEN
Day 3 — Set up SEO
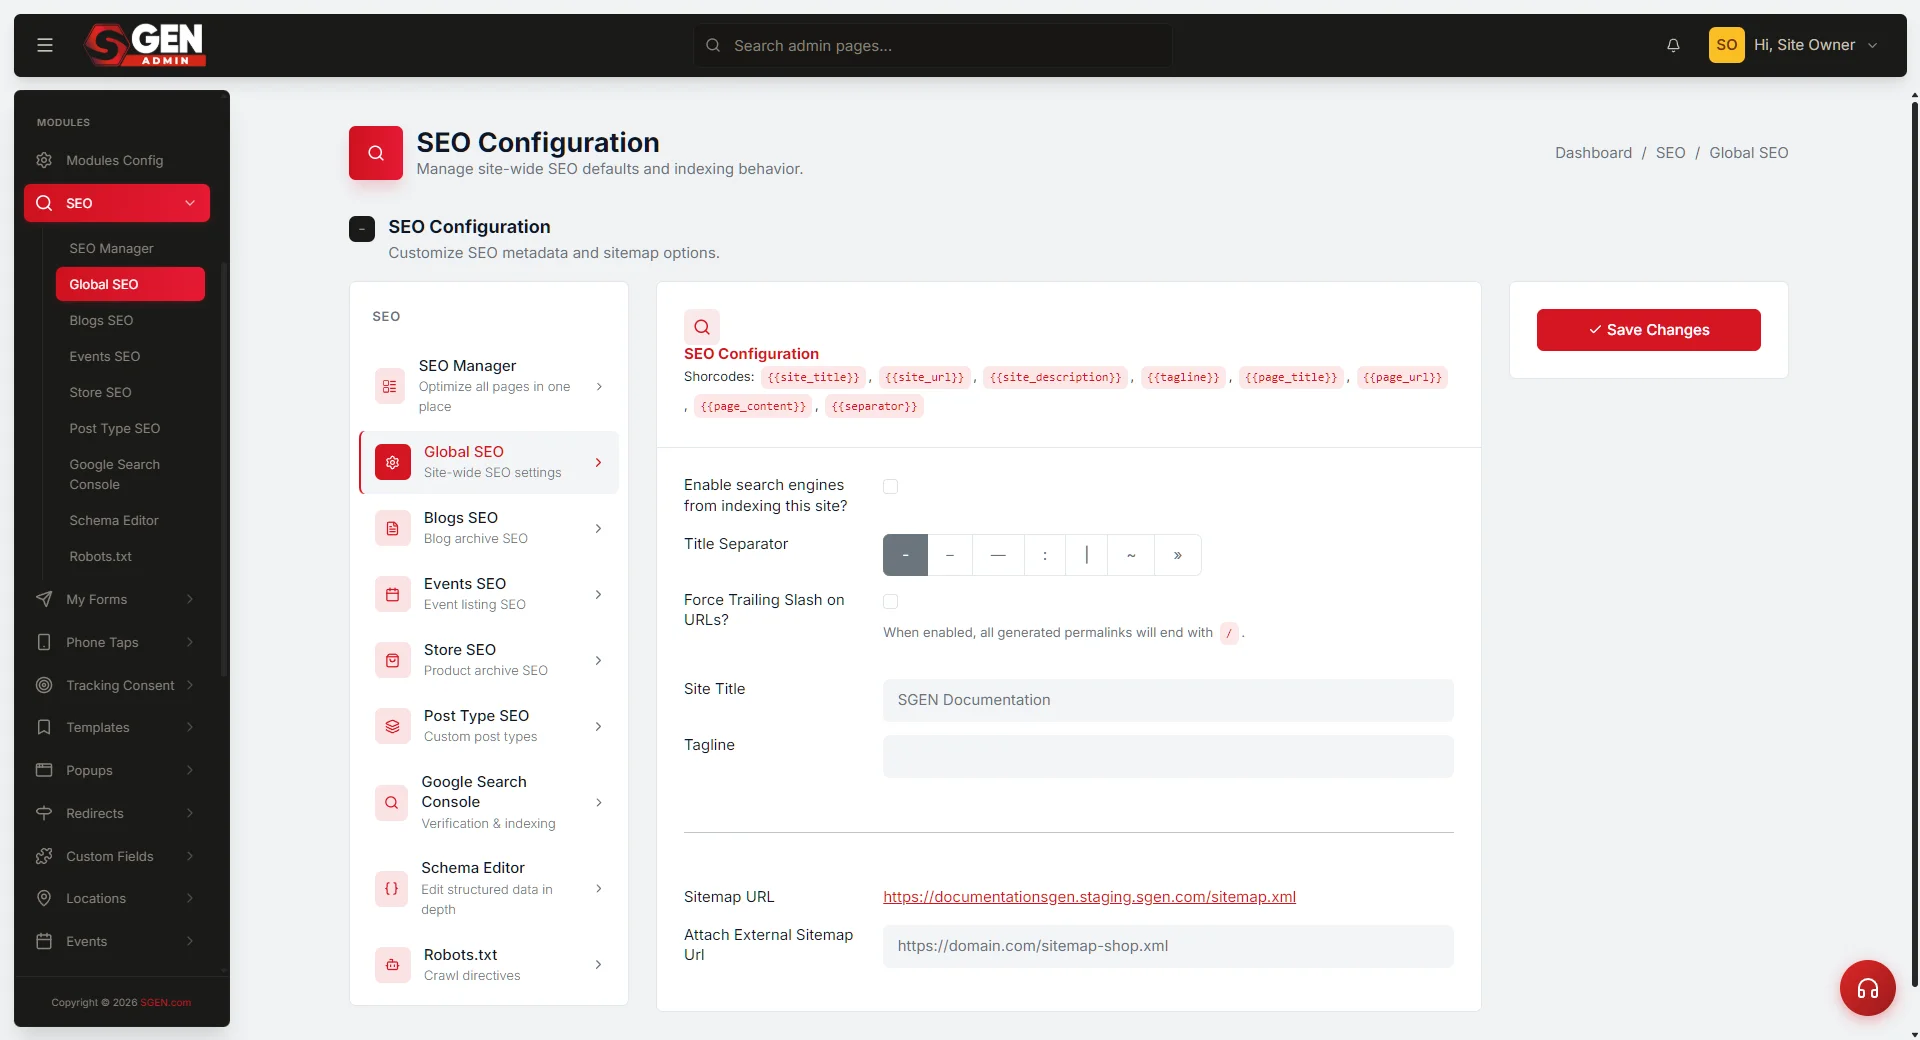
Goal: tell search engines what each page is. Set titles, descriptions, and the social preview. These controls are first-party parts of SGEN — not a third-party plugin you install and keep compatible.
SEO is less mysterious than it sounds: it is mostly making sure each page says clearly what it is. Set a sensible default title and description once at the site level so every page inherits something reasonable, then give your most important pages — home, your main product or service, your best content — their own specific title and description. Add a social preview image so a shared link looks intentional instead of blank. You are not chasing a perfect score today; you are making sure no page goes live nameless.
The trap to avoid: leaving every page on the same generic title. Identical titles across a site are one of the most common reasons good pages fail to show up well in search.
→ SEO in SGEN: how it works and what you control
Day 4 — Invite your team
Goal: bring in anyone who will help run the site and give each person the right role. Roles control who can do what — you do not need to make everyone an admin.
If you are running the site alone, you can skip ahead — but most sites are healthier with at least one other set of eyes before launch. The principle is simple: give each person the least access that lets them do their job. A writer needs to draft and edit content, not change billing. Someone reviewing the site before launch may only need to view it. Roles are not permanent — you can change anyone's role at any time from the Dashboard, so it costs nothing to start conservative and open up access later.
The trap to avoid: making everyone an admin "to keep it simple." It is simpler for five minutes and riskier forever; right-sized roles are the safer default.
→ Invite your first team member
Day 5 — Go live
Goal: run the pre-launch checklist, connect your domain, and promote the sandbox to live.
This is the day the work becomes a site. Run the pre-launch checklist first so nothing obvious slips through, then connect your own domain and promote the Sandbox to a live site. Going live is also the point at which you choose a plan — which plan you need, based on how many live sites you will run. After the switch, do one last thing that catches more problems than any other: open the live site in a private or incognito browser window, where you are signed out, and click through it as a stranger would. That is the view your visitors get.
The trap to avoid: checking the live site only while logged in as the owner. Signed-in previews can hide exactly the problems a real visitor would hit.
→ Go live: publish your first site
After week one
You are live. The next stretch is upkeep and growth — watching traffic, cleaning up loose ends, and adding content regularly.
- Quick how-do-I answers: Quick-tasks hub
- New-user questions: Common first-timer questions
- Common pitfalls: Common mistakes to avoid
Which role should each person get?
| If the person… | Give them this role |
|---|---|
| Manages everything — content, settings, billing | Admin — full access to all dashboard areas |
| Writes and publishes pages and posts | Editor — content access, no settings or billing |
| Writes drafts but someone else approves | Author — can create and edit their own content, cannot publish |
| Only needs to view reports or submissions | Viewer — read-only, no editing |