
Invite your first team member
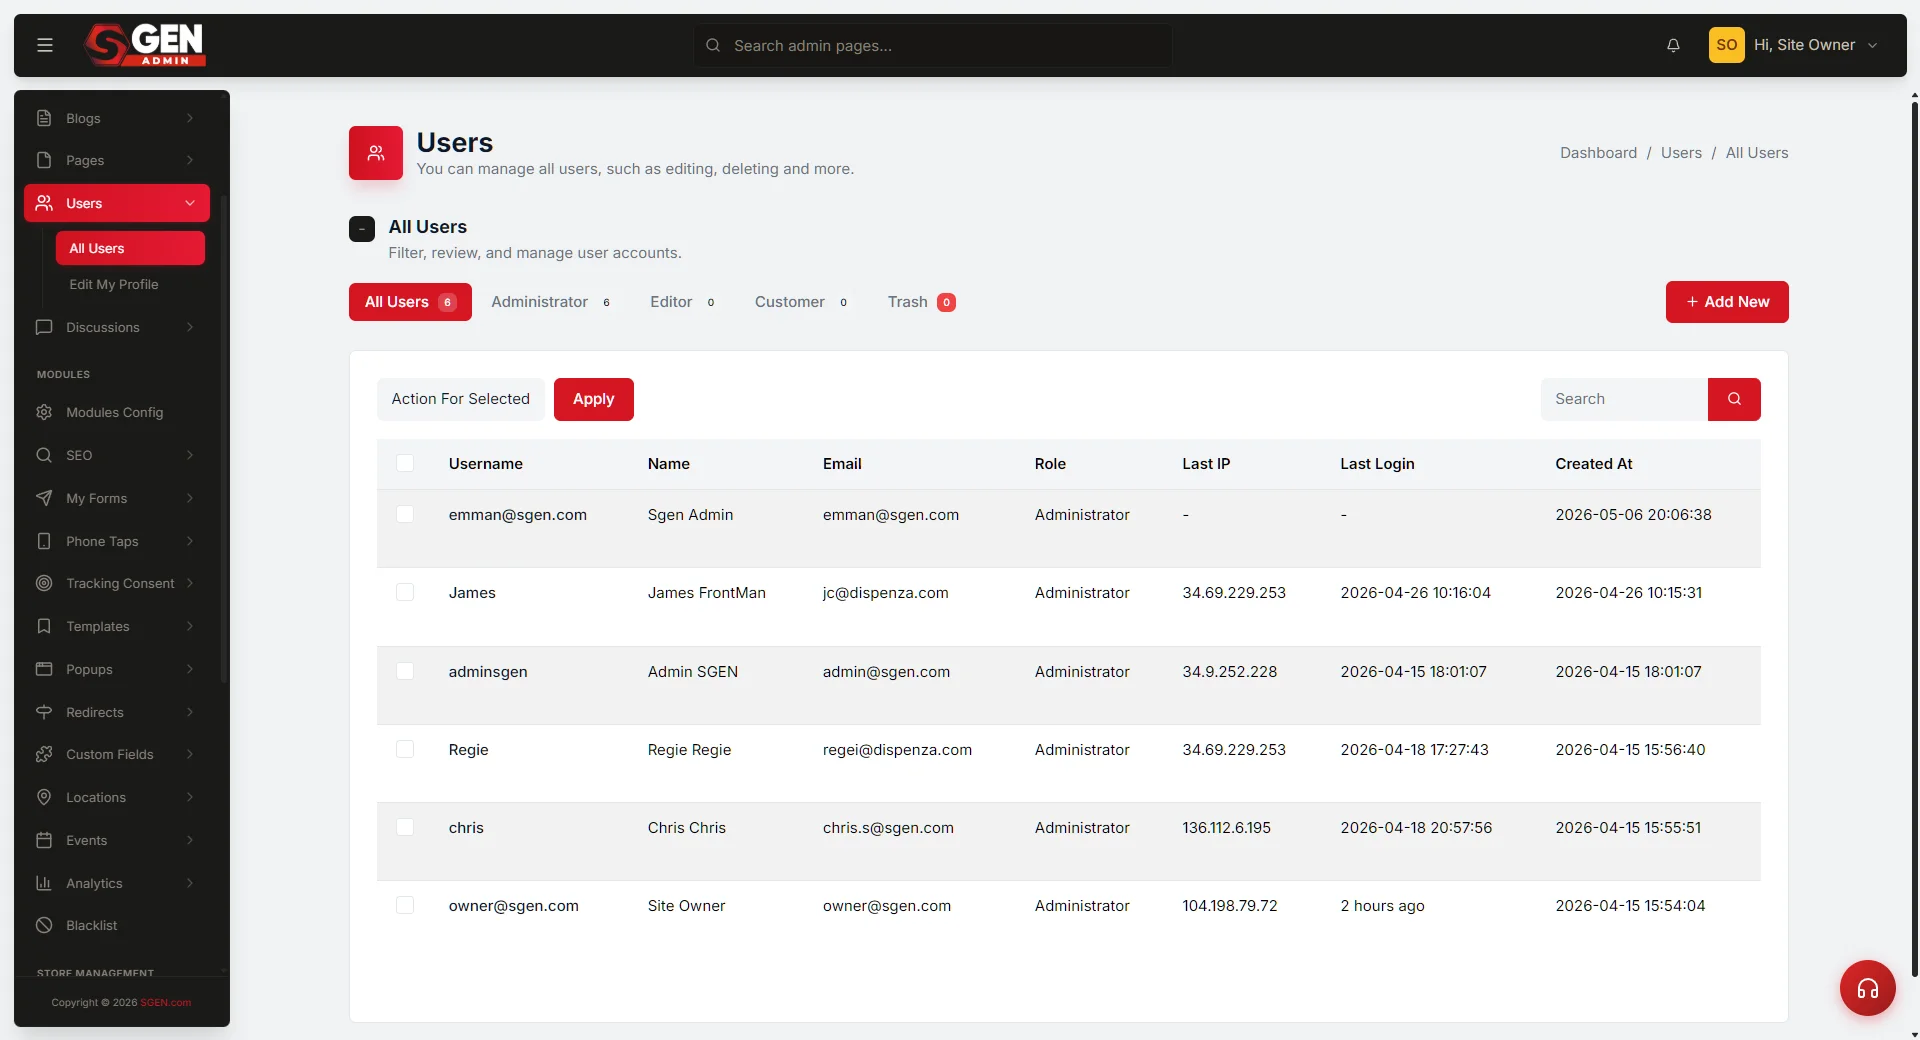 Users panel with the Invite User form (Email, Role dropdown, welcome message, Send Invite) and the Users list showing Pending/Active status." loading="lazy" style="width:100%;max-width:900px;height:auto;border-radius:8px;border:1px solid #e5e7eb;display:block;margin:12px 0">
⏱ ~2 min answer below · full guide ≈ 8 min · skim the bold lead-ins and the steps table to move faster.
In short. Go to the admin → Settings → Users → Invite User. Enter their email address, pick the right role (Admin / Editor / Author / Contributor), add a short welcome note, and click Send Invite. The recipient gets an email, sets a password, and lands in the dashboard sections their role allows. Their status flips from Pending to Active as soon as they log in. Enable the audit log before you add anyone — it's the record that tells you what happened and who did it.
On this page: Role quick-pick · Where to go · Steps (1-8) · What success looks like · Troubleshooting · Good habits
Adding a team member takes about two minutes once you know what role to give them. Every user in SGEN is tied to a role — it determines which sections they can see and what they can do. You set the role when you send the invite and can change it any time.
What this is for
Use the Users invite flow when a real person needs to log in and do work inside your SGEN admin — writing content, managing orders, configuring settings, or reviewing submissions. The invite creates a named account tied to their email address. Every action they take is recorded in the audit log.
Good fit: a marketing manager who needs to publish posts but not touch settings (Editor); a freelancer submitting draft articles (Contributor); an agency partner who needs full configuration access (Admin).
Not the right flow for:
- Public commenters — handled in your comment settings, not user accounts.
- Customer storefront accounts — separate from dashboard users; lives in a different area of SGEN.
- SSO / external identity providers — an SSO integration, not the invite flow. Check the SSO configuration guide.
- Single-page view-only access — SGEN access is role-based across the dashboard; export or screenshot instead.
Before you start
Decide on the role. Assign the minimum role that lets the person do their job. When in doubt, start lower and promote later.
| Role | Can publish content | Can edit settings | Can manage users |
|---|---|---|---|
| Admin | Yes | Yes | Yes |
| Editor | Yes | No | No |
| Author | Own posts only | No | No |
| Contributor | Submit drafts only | No | No |
Have their email address ready. Use the address they check regularly — the invite link goes exactly there.
Write a short welcome note. The invite form has an optional message field. One sentence is enough: what site, what role, who to ask if something looks off.
Confirm the audit log is enabled. Go to Settings → Audit Log and switch it on before adding anyone. You want the full history from the first login, not from after something goes wrong.
Where to go
the admin → Settings → Users → Invite User
The invite form has four fields: email address, role selection, an optional welcome message, and the send button.
Steps — Invite your first team member
1. Open the invite form
Go to the admin → Settings → Users. Click Invite User at the top right.
No Invite User button? Only Admins can invite users. If you're logged in as an Editor, ask an Admin on your site to send the invite.
2. Enter their email address
Type the recipient's email in the Email address field. Double-check it — a typo sends the invite to the wrong address or nowhere.
3. Select their role
Pick the role that matches what they will be doing. If unsure, choose the lower role and promote after they log in. Changing a role takes ten seconds; cleaning up an over-privileged account takes longer.
4. Write a welcome message (recommended)
Keep it functional: which site, which role, who to contact if something looks wrong. The invite email already includes the login link and site name — your message is context, not documentation.
Example: "Hi Jordan — I've added you as a Contributor on our SGEN site. You'll be able to submit draft posts for review once you accept the invite. Ping me if anything looks off on first login."
5. Send the invite
Click Send Invite. SGEN sends the email immediately and adds the recipient to your Users list with Pending status.
Email not arriving within a few minutes? See troubleshooting below.
6. They accept and log in
The invitee clicks the link in their email, sets a password (or logs in with an existing SGEN account), and lands in the sections their role covers. Their status changes from Pending to Active.
2FA prompt? If your site requires two-factor authentication for their role, they'll be prompted to set it up on first login. Let them know to expect it.
7. Verify they can do their job
Ask your new team member to walk through their first task — or check the sections yourself with their permissions in mind.
- Editor: can open the post editor, write, and publish — but should not see Settings.
- Contributor: sees the Blog area and the Submit for Review button — not the Publish button.
If access looks wrong, go to Users, open their profile, and adjust the role. One click.
8. Enable the audit log for visibility
Go to the admin → Settings → Audit Log and confirm it is on. From this point, every action — by every user — is recorded with a timestamp and user name.
What success looks like
All of these are true when the invite is done correctly:
- The user shows Active in your Users list.
- Their role in the Users list profile matches what you assigned.
- They can navigate to and interact with the sections their role covers.
- They cannot reach sections outside their role (e.g. an Editor cannot modify Settings).
- The audit log shows their first login event.
What to do if it does not work
The invite email was not received. Check the email address in the user's Users list entry — confirm it is correct. Then check Settings → Notifications for your outgoing mail configuration. Also ask the invitee to check their spam or promotions folder.
The invite link has expired. Links expire after 48-72 hours. Find the Pending entry in your Users list and select Resend Invite. A fresh link is sent immediately.
They accepted but have the wrong role. Go to Settings → Users, open their profile, and change the role with the Role dropdown. Save. The change takes effect on their next page load — no re-login required for most role changes.
They cannot see a section they expect to have access to. Confirm the role covers that section. If the role is correct and the section is still missing, check whether the feature is available on your site plan. Contact SGEN support if the section should be accessible and isn't.
They're prompted for 2FA but weren't expecting it. This is intentional if 2FA is required for their role. It's a one-time setup — two minutes with an authenticator app (Google Authenticator, Authy, or equivalent).
Removing access when someone leaves the team. Go to Settings → Users, find their entry, and select Remove User or Deactivate. Access is disabled immediately. Content they created is preserved. Transfer content ownership to another user before deactivating if needed.
Tips for managing team access well
- Start with a lower role and promote when they ask for more. The most common mistake: inviting everyone as Admin because it is easier. Scoped access is easier to audit and easier to revoke cleanly.
- Review your Users list quarterly. Go to Settings → Users every three months and deactivate accounts that no longer belong to active team members.
- Use the welcome message to set expectations. A two-sentence note prevents the "I don't know what I'm looking at" first-login experience.
- Keep the audit log on from day one. Turning it on after something has gone wrong means you are missing the context that would explain what happened.
- Do not share Admin credentials instead of inviting. Shared passwords mean the audit log cannot distinguish between users and you cannot remove one person's access without changing credentials for everyone. Invite each person individually.