
Marketing manager SGEN onboarding guide
⏱ Quick answer below · full page ≈ 12 min · skim the bold lead-ins to move faster.
In short. As a marketing manager in SGEN, your four surfaces are Analytics (traffic + 404 monitoring), Forms (lead inbox + channel attribution), Popups (campaign overlays), and Blog (editorial publishing). You run a 15-minute daily check, a 30-45-minute weekly campaign review, and a 2-hour monthly deep review. You do not need Settings, Theme Editor, Custom Codes, or Users — those belong to your administrator. Need your role confirmed before you start? Ask your administrator to open Add or edit a user and confirm your role.
On this page: Before you start · Your scope in SGEN · Daily cadence · Weekly cadence · Monthly cadence · Out-of-scope areas · Day-one path
Before you start
Before your first session, confirm the following with your site owner or administrator:
- Your account exists and is assigned the Editor role — Editors can publish blog posts and configure popups; Author and Customer roles cannot.
- You can open Analytics → Reports and see charts. If the screen shows no data, the site may need 24-48 hours of live traffic before charts populate.
- At least one Form is live capturing leads (newsletter signup, contact form, or similar). If none exists, ask your administrator to set one up using Build a form.
- Your credentials are saved and tested. SGEN does not send automatic password-reset emails unless your administrator has configured SMTP in Settings — confirm your password before your first solo session.
If anything above is missing, share Add or edit a user with your administrator so they can check your role and correct it before you start.
Your scope in SGEN
Your four primary areas inside the SGEN admin are Analytics, Forms, Popups, and Blog. The toggle below maps each surface to what you do there.
Your four surfaces — where to go and what you do there
| Area | What you do there |
|---|---|
| Analytics → Reports | Traffic snapshot, top pages, event-type trends |
| Analytics → Event Logs | Row-by-row event review — page views, 404s, form submits |
| Forms → Submissions | Lead inbox — every form entry, filterable by date and source |
| Forms → Reports | Channel-attribution doughnut and daily lead-volume line chart |
| Popups | Publish, draft, and retire campaign overlays |
| Blog | Draft, schedule, and publish editorial posts |
You do not need to visit Settings, Theme Editor, Custom Codes, or Users. Those areas change how the site works at a structural level — they are your administrator's territory.
What success looks like
After two weeks on this cadence:
- Daily — you can name the top 3 pages without reading every row; you catch a 404 spike within 24 hours; your form inbox shows Notified: Yes on every overnight submission.
- Weekly — your Forms → Reports doughnut shows at least 2 distinct sources (not 100% Direct); your blog has at least one post published in the past 7 days or one draft marked ready; no popup has run 14+ days without a copy check.
- Monthly — you can produce a one-paragraph channel-mix summary without leaving SGEN — top lead source, top traffic page, trend vs. prior month.
- Permissions — you have never needed access to Settings, Theme Editor, or Custom Codes. If you have, something in your role setup needs revisiting with your administrator.
A representative month-end snapshot — balanced channel mix, healthy lead volume, no permission gaps:
Daily cadence — your 15-minute morning check
Run four checks each morning before your first meeting. The sequence is the same every day: traffic snapshot, form submissions, popup status, fresh lead skim.
Steps — daily checks
1. Open Analytics → Reports for a traffic snapshot
Go to Analytics → Reports. Set the date range to the last 7 days. Scan the two summary tiles — Total Events and Top Paths.
Look for the broad shape: is total event count holding steady, or did yesterday show a dip or spike?
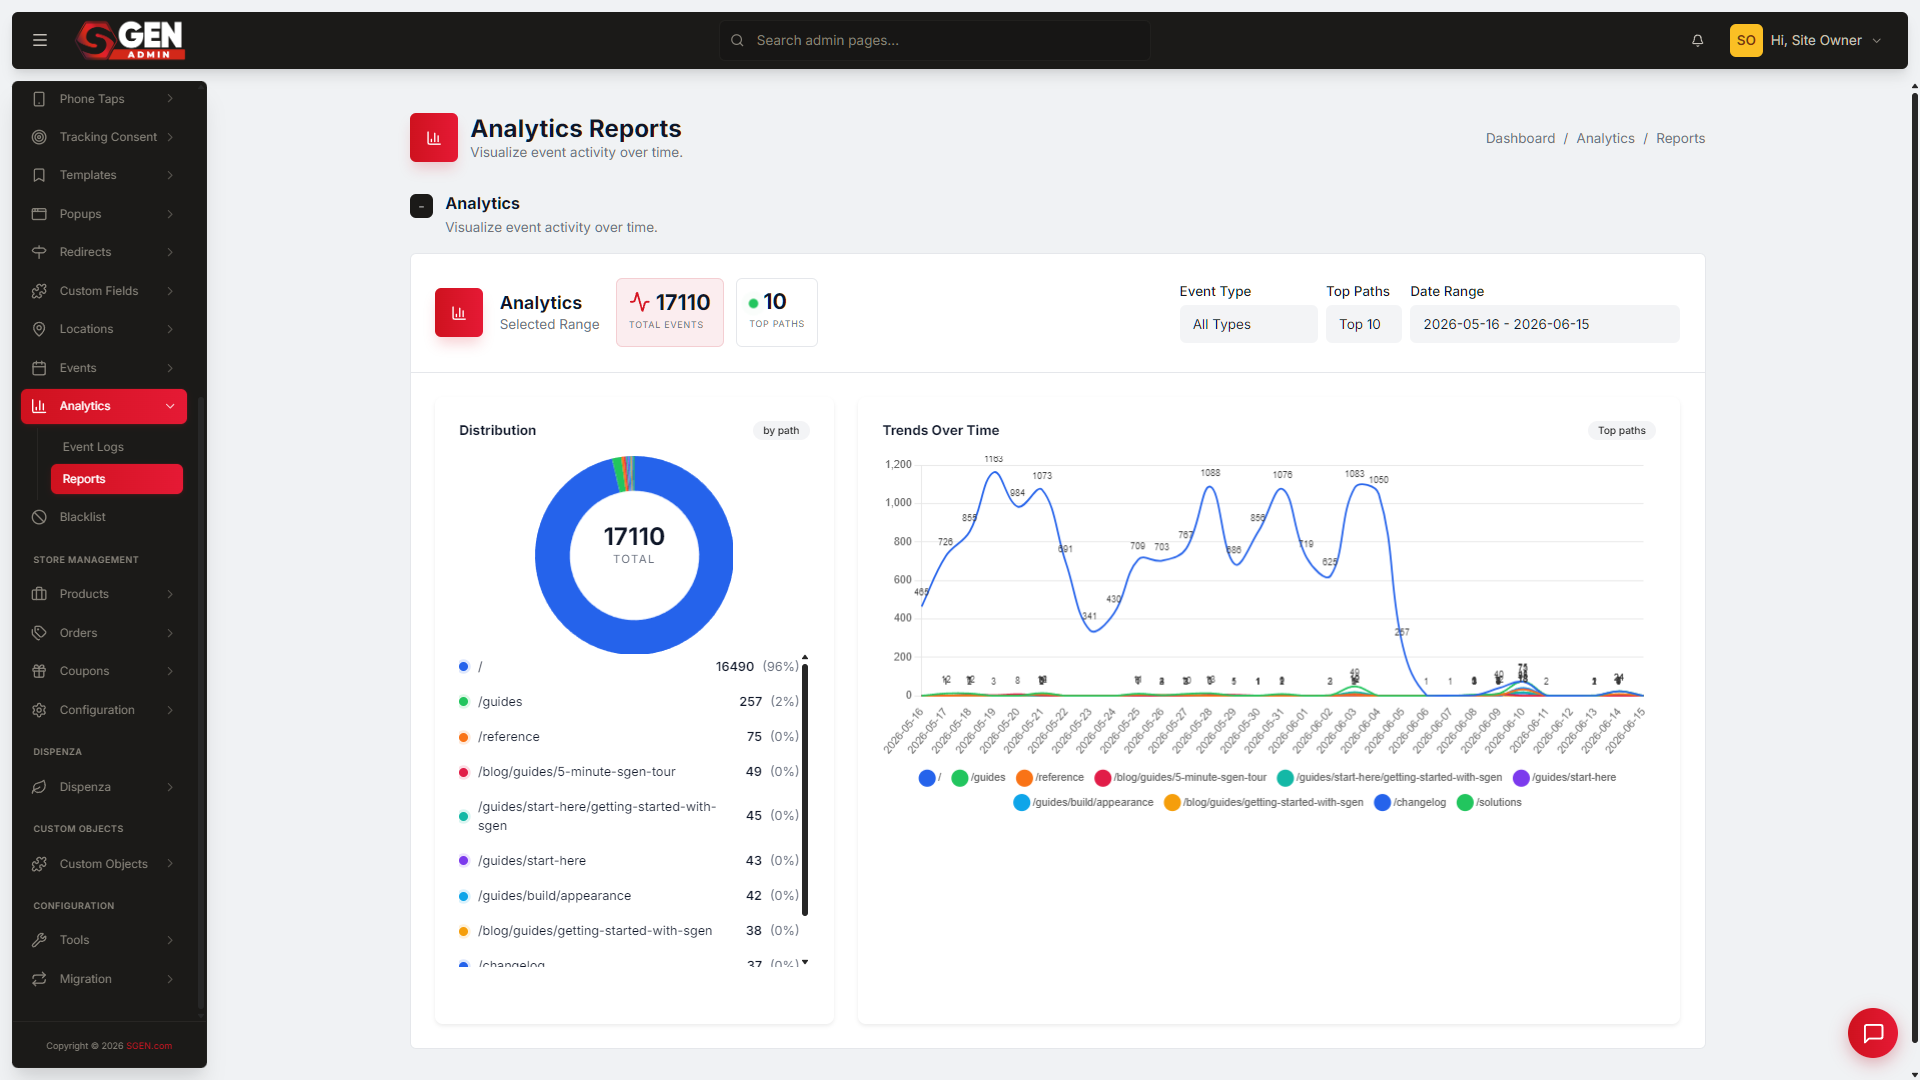
A healthy day — steady blog traffic, homepage visits, and a handful of form-submit events:
If 404s is rising (more than 10 in a single day for a small site), go to Analytics → Event Logs, filter by 404 Not Found, and identify the broken paths. Report them to your administrator for redirect fixes. See Read your site Event Logs for filter instructions.
2. Check form submissions since yesterday
Go to Forms → Submissions. Set the date filter to today. Scan new rows — you are looking at the count and the Notified column, not reading every entry.
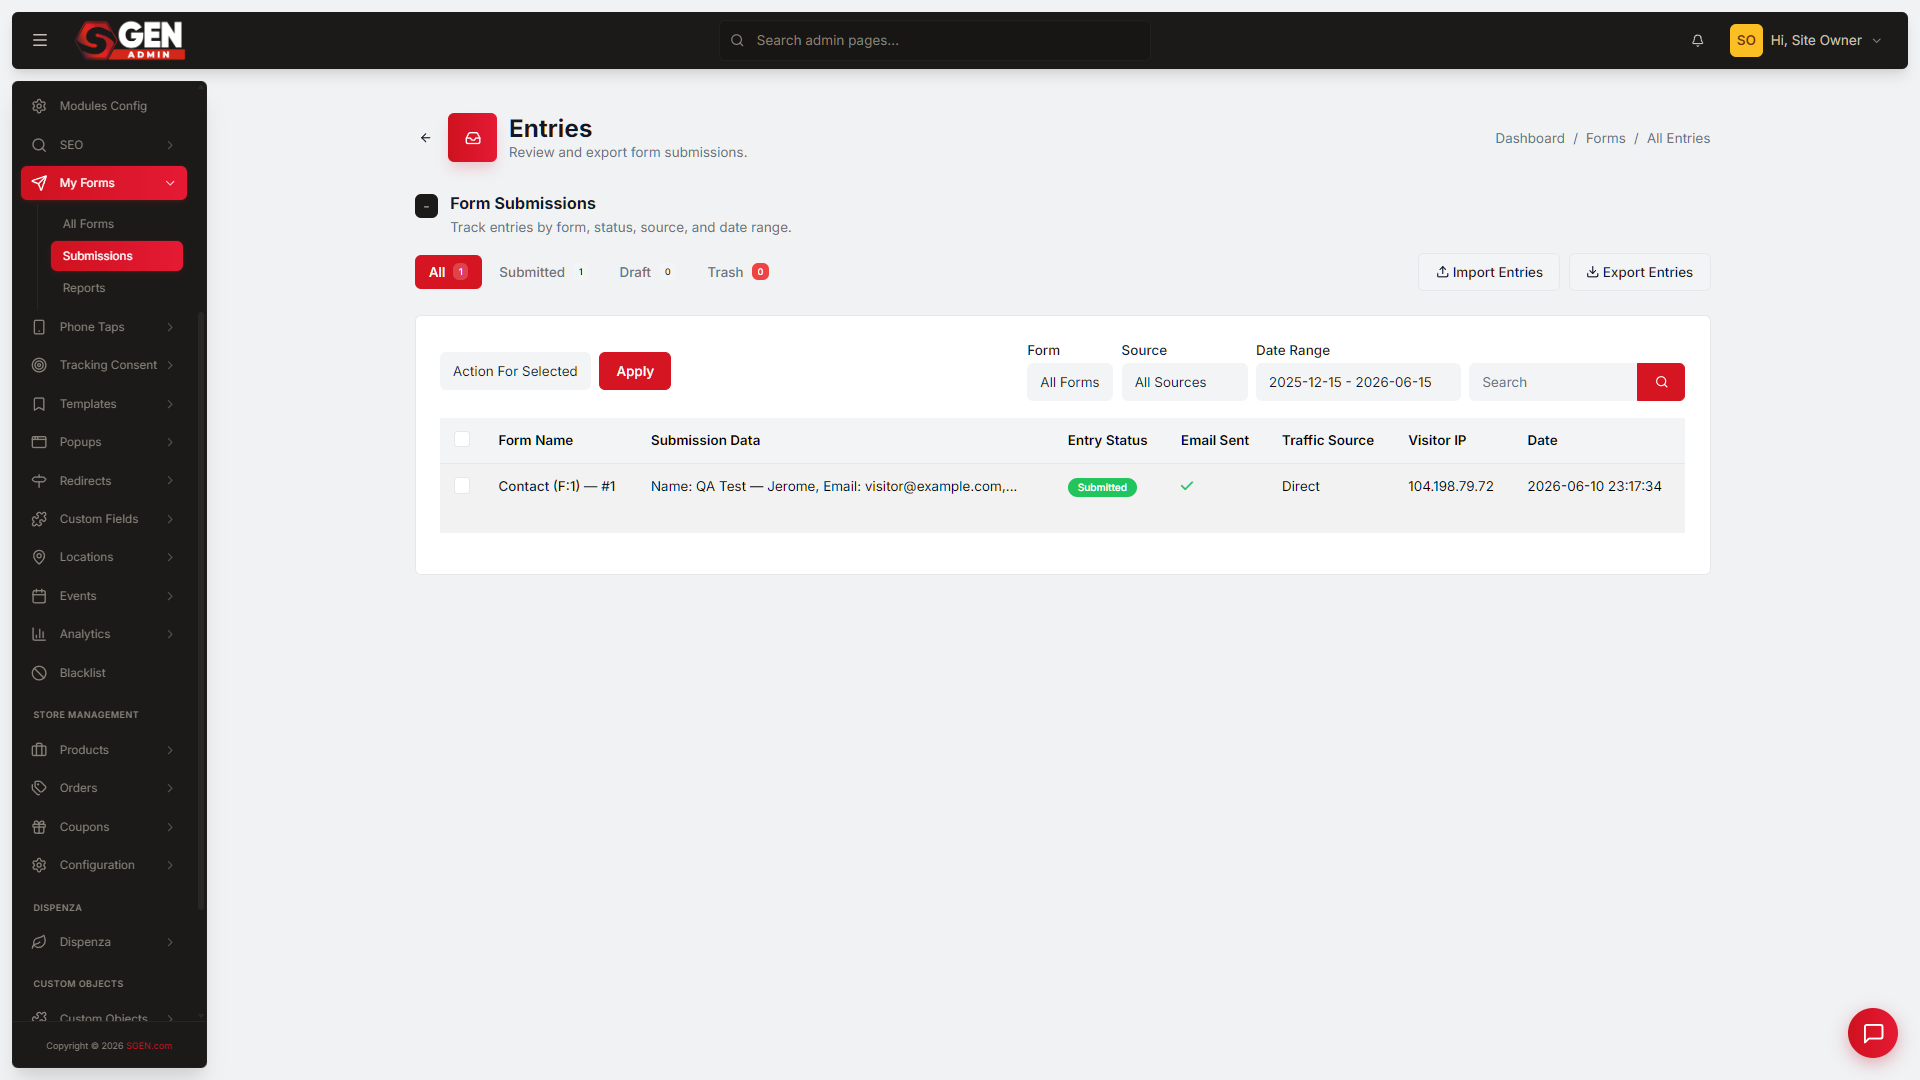
A typical morning shows 2-5 overnight submissions across newsletter and contact forms:
If Notified shows No on any row, click that row and use the Re-send button in the detail view to test dispatch. If re-send also fails, your administrator needs to check Settings → Email. See View and manage form submissions for the detail view and re-send workflow.
3. Confirm popup status
Go to Popups. Scan the status tab counts and the Published rows. You are confirming that the Published tab only contains popups you intend to be live right now — it is easy to leave an expired promo running.
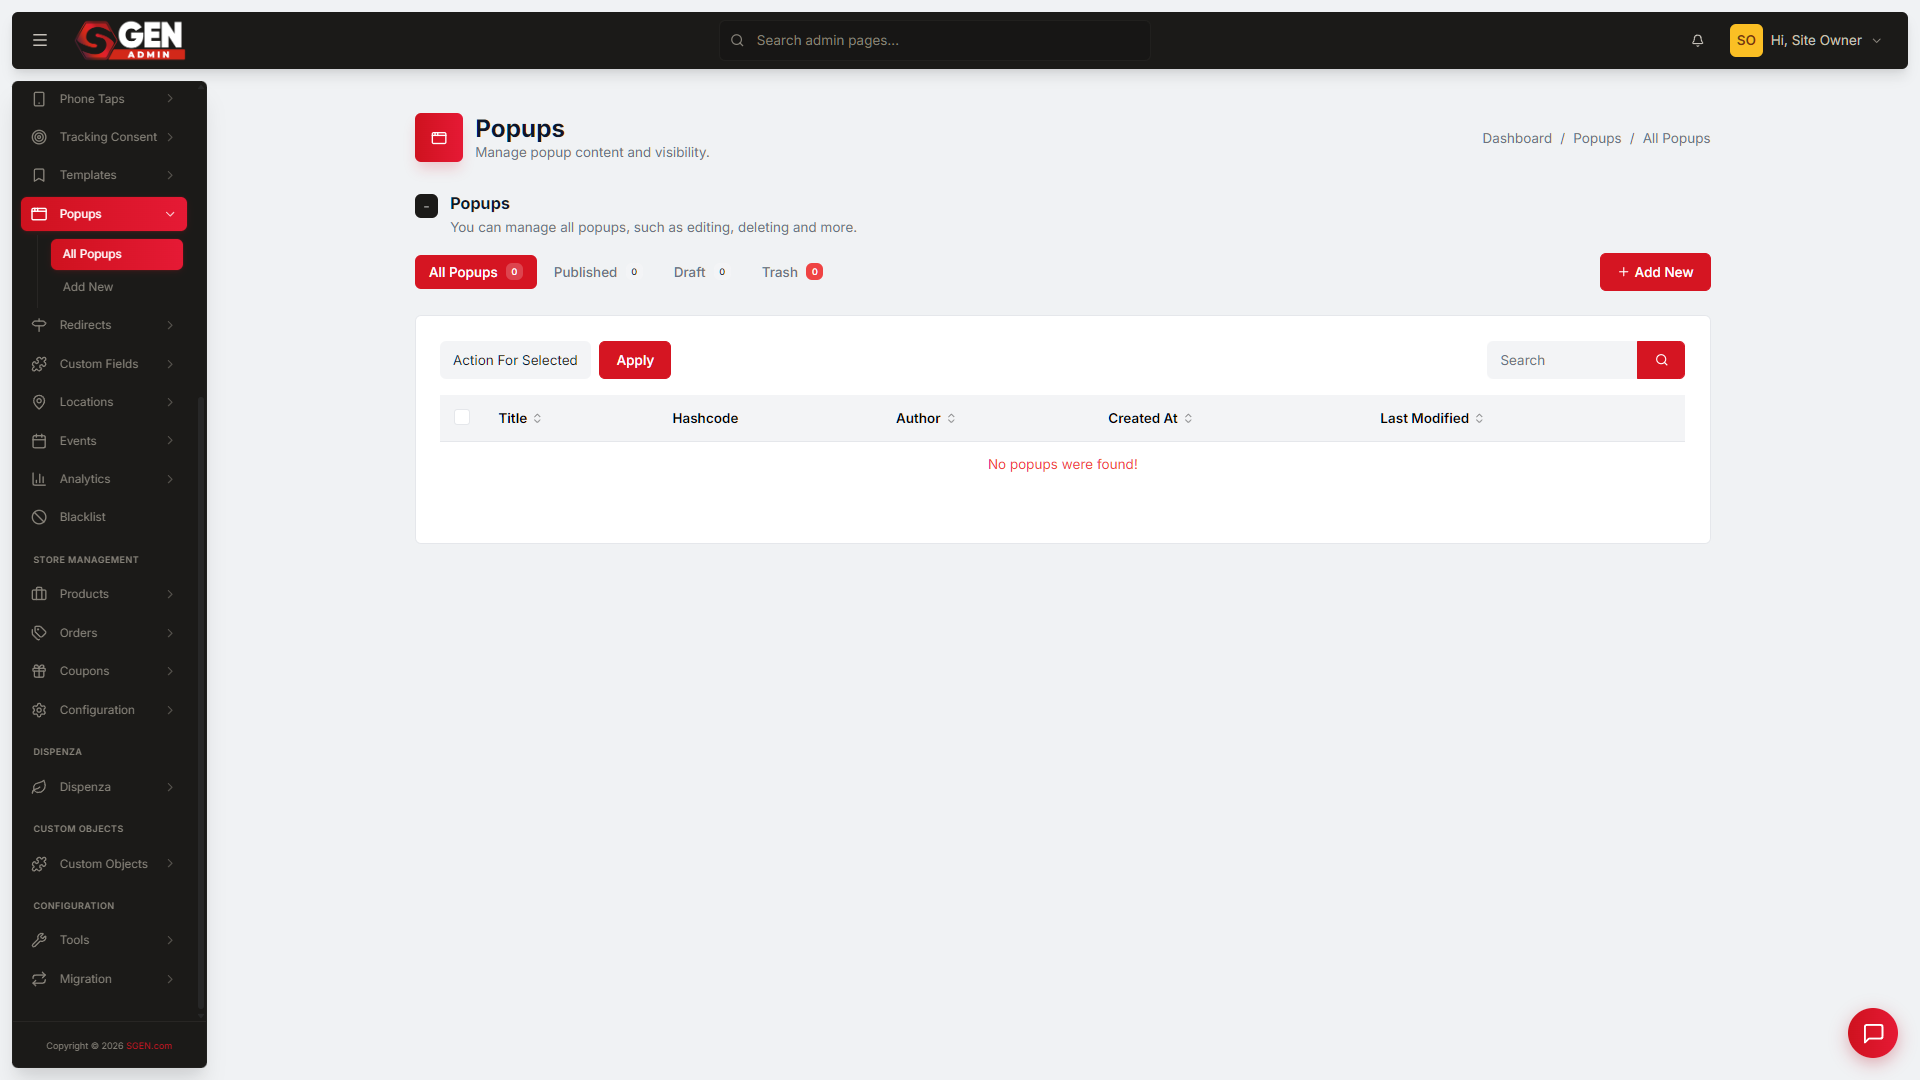
A typical setup during a campaign, with three overlays live and two in draft for next month:
If a popup in the Published tab should be paused, click its row, open the edit form, change status to Draft, and save. The overlay disappears from your public site immediately. See Browse your popups list for the status tab and bulk-action controls.
4. Skim fresh leads for high-value inquiries
Still in Forms → Submissions, clear the date filter and sort by newest first. Read the top 5 row previews — look for a business email on the contact form, a repeat submitter, or an unusual referral source that suggests a PR mention or backlink. Flag anything worth following up (an email, a CRM note, a message to the sales team), then move on. Two minutes, costs nothing when the inbox is quiet.
What to do if something is wrong
Analytics charts show no data. Charts populate from the previous 30 days of tracked events. If the site launched recently, wait 24-48 hours and reload. If data was visible before and has disappeared, ask your administrator to confirm the SGEN tracker script is still present on all public pages.
Form submissions stopped arriving in email. Go to Forms → Submissions and check the Notified column on recent rows. If any show No, click the row and use the Re-send button. If re-send also fails, your administrator needs to review Settings → Email — SMTP credentials may have expired.
A published popup is not showing on the site. Open Popups, find the popup, and confirm its status is Published (not Draft). Confirm the Autoload option is ticked if the popup is meant to fire on page load — without Autoload, the popup only fires when a visitor clicks a link or button containing its hashcode. See Browse your popups list for the hashcode system.
A blog post published before it was ready. Go to Blog, find the post, click Edit, change status to Draft, and save. The post disappears from the public site immediately. See Create and manage blog posts for the status-change workflow.
Weekly cadence — campaign review
Once a week — many teams do this on Friday mornings — run a structured campaign review. Budget 30-45 minutes.
Steps — weekly campaign review
1. Review campaign traffic
Go to Analytics → Reports. Set the date range to the past 7 days and the event type to Page View. Check whether your campaign landing page appears in the Top Paths list. A healthy campaign week shows the landing page in positions 2-5 of the doughnut. If it is not in the top 10, the campaign drove less traffic than expected — investigate whether your ads or email links are reaching your audience.
2. Check lead source attribution
Go to Forms → Reports. Set the form filter to your primary lead-capture form and the date range to the past 7 days. Look at the Distribution by Source doughnut.
A healthy week with four active acquisition channels:
If Sources shows 1 (everything attributed to Direct), your campaign links are missing UTM parameters — traffic is landing but attribution is lost. Add UTM parameters (?utm_source=…&utm_medium=…&utm_campaign=…) to every paid link before the next send. See View form reports for how to read the doughnut and set the date range.
3. Review blog publish schedule
Go to Blog. Open the Draft tab. Any post whose intended publish date has passed needs attention — either publish it now or set a new target date. For the coming week, confirm at least one post is drafted and ready to publish. See Create and manage blog posts for draft, schedule, and publish steps.
4. Audit active popups for copy freshness
Go to Popups → Published. For any popup running longer than 14 days without a copy update, note it as a refresh candidate. Campaign fatigue is real — rotate headline copy or swap the CTA every two weeks. See Create a popup for how to edit the popup body without changing its hashcode or trigger settings.
5. Confirm email notification health
In Forms → Submissions, filter to this week and check that every row shows Notified: Yes. A block on email notifications is the most common reason a lead sequence stops working. If you find rows showing No, re-send them and alert your administrator that SMTP may need attention.
Monthly cadence — deep review
At the start of each month, block two hours. This is where you look back at the full prior month and make decisions about the next month's content calendar and channel mix.
Steps — monthly deep review
1. Run a full-month traffic analysis
Go to Analytics → Reports. Set the date range to the full prior month (for example, April 1-30). Note Total Events and compare to the prior month. A healthy content-led site shows 5-15% month-on-month growth in page views without a proportional rise in 404s.
A solid April — organic blog traffic climbing, 404s holding flat:
If 404s are rising proportionally to page views, a renamed or deleted page is generating broken links — report the broken paths to your administrator for redirect fixes. See Read your site Event Logs for the 404 filter workflow.
2. Audit channel mix
Go to Forms → Reports. Set the date range to the full prior month. Look at Distribution by Source. A balanced channel mix — organic, paid, social, and referral all contributing — shows a doughnut with 3-5 distinct slices. If one channel dominates at 85%+, that channel is a single point of failure in your lead pipeline. Note it in your monthly report as a risk and build a plan to diversify before the next campaign cycle.
3. Review content output
Go to Blog. Count posts published in the prior month using the Published tab, narrowing by date. For a site publishing 2-4 posts per month, a healthy tally is 2-4 published posts, 1-2 drafts in progress, and 0 posts stuck in draft beyond their intended publish date. If you have drafts weeks past their target date, investigate whether the bottleneck is approval, imagery, or copy review and resolve it before the next planning cycle.
4. Measure lead volume trend
Go to Forms → Reports for the full prior month. Compare Total Leads to the prior month. Declining lead volume alongside stable page traffic usually means a landing page or popup is underperforming. Cross-check: go to Analytics → Event Logs, filter by Form Submit, and note which pages are generating form-submit events. If a page that used to generate submissions is now generating none, its form or popup may have broken. See Read your site Event Logs for the Form Submit filter.
5. Handoff — permission audit
Ask your administrator to confirm that the Users list reflects your current team. Marketing managers do not have access to the Users screen — this step is a handoff, not something you action directly. Anyone who has left should have their account moved to Trash to prevent stale sign-in access. Your administrator should use Add or edit a user for role changes and the bulk-trash workflow.
Things you should NOT need access to
The cadences above are your complete scope in SGEN. The following areas are explicitly out of scope — if someone asks you to make changes here, the request should go to your administrator.
Out of scope for your role:
- Settings — site name, email credentials, integrations, and billing. Changes here affect every user and the site's core behaviour.
- Theme Editor — visual design, fonts, and layout. Any design change should go through your administrator or your developer.
- Custom Codes — injecting HTML, CSS, or tracking scripts. Code-level changes have site-wide consequences and require administrator access.
- User role admin — creating, editing, or deactivating accounts. See Add or edit a user — but only your administrator should action this.
In scope for your role:
Your full in-scope surface map — feature, what you do, and where to read more
| Feature | What you do | Reference |
|---|---|---|
| Forms → Submissions | Read incoming leads, re-dispatch failures | View and manage submissions |
| Forms → Reports | Read lead volume and channel attribution charts | View form reports |
| Popups | Configure, publish, and retire campaign overlays | Browse popups list |
| Blog | Draft, schedule, and publish editorial posts | Create and manage blog posts |
| Analytics → Reports | Read traffic trend charts and summary tiles | Visualize traffic with Analytics Reports |
| Analytics → Event Logs | Review individual page views, 404s, and form submits | Read your site Event Logs |
| Media | Upload images for blog posts and popup content | (Media reference doc) |
If you find yourself needing to access something not in the table above, flag it to your administrator before making changes. Scope creep in admin access is the most common source of accidental site-wide changes.
Examples
Example 1: Monday morning traffic check reveals a 404 spike. You open Analytics → Reports, set the range to 7 days, and see 404s at 19 — up from the usual 4. You go to Analytics → Event Logs, filter by 404 Not Found, and find /product-guide is returning 404s across multiple sessions. A page was deleted over the weekend without a redirect. You message your administrator with the broken path. The administrator sets a redirect before the campaign targeting that URL goes live. See Read your site Event Logs for the 404 filter workflow.
Example 2: Weekly form report shows 100% Direct attribution. On Friday, you check Forms → Reports for the week. Sources shows 1 — every submission is attributed to Direct. You check the campaign email sent on Tuesday and find the link carries no UTM parameters. You add ?utm_source=email&utm_medium=newsletter&utm_campaign=may-launch to the link for the next send. Next Friday, Sources shows 3 — email, organic, and direct — and the attribution problem is resolved. See View form reports for how the Distribution by Source chart reads UTM data.
Example 3: Month-end review shows a popup running stale copy. During the month-end review, you open Popups → Published and notice the newsletter popup has been live for 28 days with the same headline copy. You click the row, open the edit form, update the headline to reflect the current offer, and save as Published. The updated copy goes live immediately — no page publish required. See Create a popup for the body editor and configuration options.
Day-one and first-week path
Use this table on your first day to confirm access and establish the baseline before running your first campaign.
Day-one and first-week schedule
| When | Action | Expected outcome |
|---|---|---|
| Day 1 — morning | Open Analytics → Reports, set range to last 7 days | Charts populate with traffic data — if blank, the site may be brand new (wait 24-48 h) |
| Day 1 — morning | Open Forms → Submissions, confirm at least one form is live | You can see recent entries and the Notified column |
| Day 1 — afternoon | Open Popups, read the Published tab | You have a baseline of what is live before you change anything |
| Day 1 — afternoon | Open Blog, count posts in the Draft and Published tabs | You know the content pipeline before your first editorial decision |
| Day 2 | Run the full daily 15-minute check solo | Traffic snapshot, form inbox, popup status, fresh leads — all four in under 15 minutes |
| Days 3-5 | Check Forms → Reports for channel attribution | You can name the top 2-3 acquisition sources without guessing |
| Week 2 | Run the weekly campaign review end to end | Traffic, attribution, blog schedule, popup freshness, email notification health — all five steps completed |
| Week 2 | Identify one popup or form live 14+ days without a copy update | Note it as the first refresh candidate |
Other roles on this site
Each role on a SGEN site has its own onboarding guide. Use the toggle below to understand who owns adjacent surfaces — and who to route tickets to when something is outside your scope.
Other roles and what they own
| Role | What they own |
|---|---|
| Content Editor | Blog posts, pages, media library, comment moderation |
| Ecommerce Manager | Orders, products, coupons, and fulfillment cadence |
| SEO Specialist | SEO audit grid, redirects, robots.txt, Search Console |
| Developer | Custom CSS, Custom Codes, tracking scripts, SG-Builder Additional CSS |
| Support Agent | Read-only admin lookups, ticket triage, escalation paths |
| Platform Admin | Site provisioning, user management, billing, SMTP settings |
| Partner / Agency | Multi-client delivery, white-label, reseller billing |