
Freelance creator onboarding guide
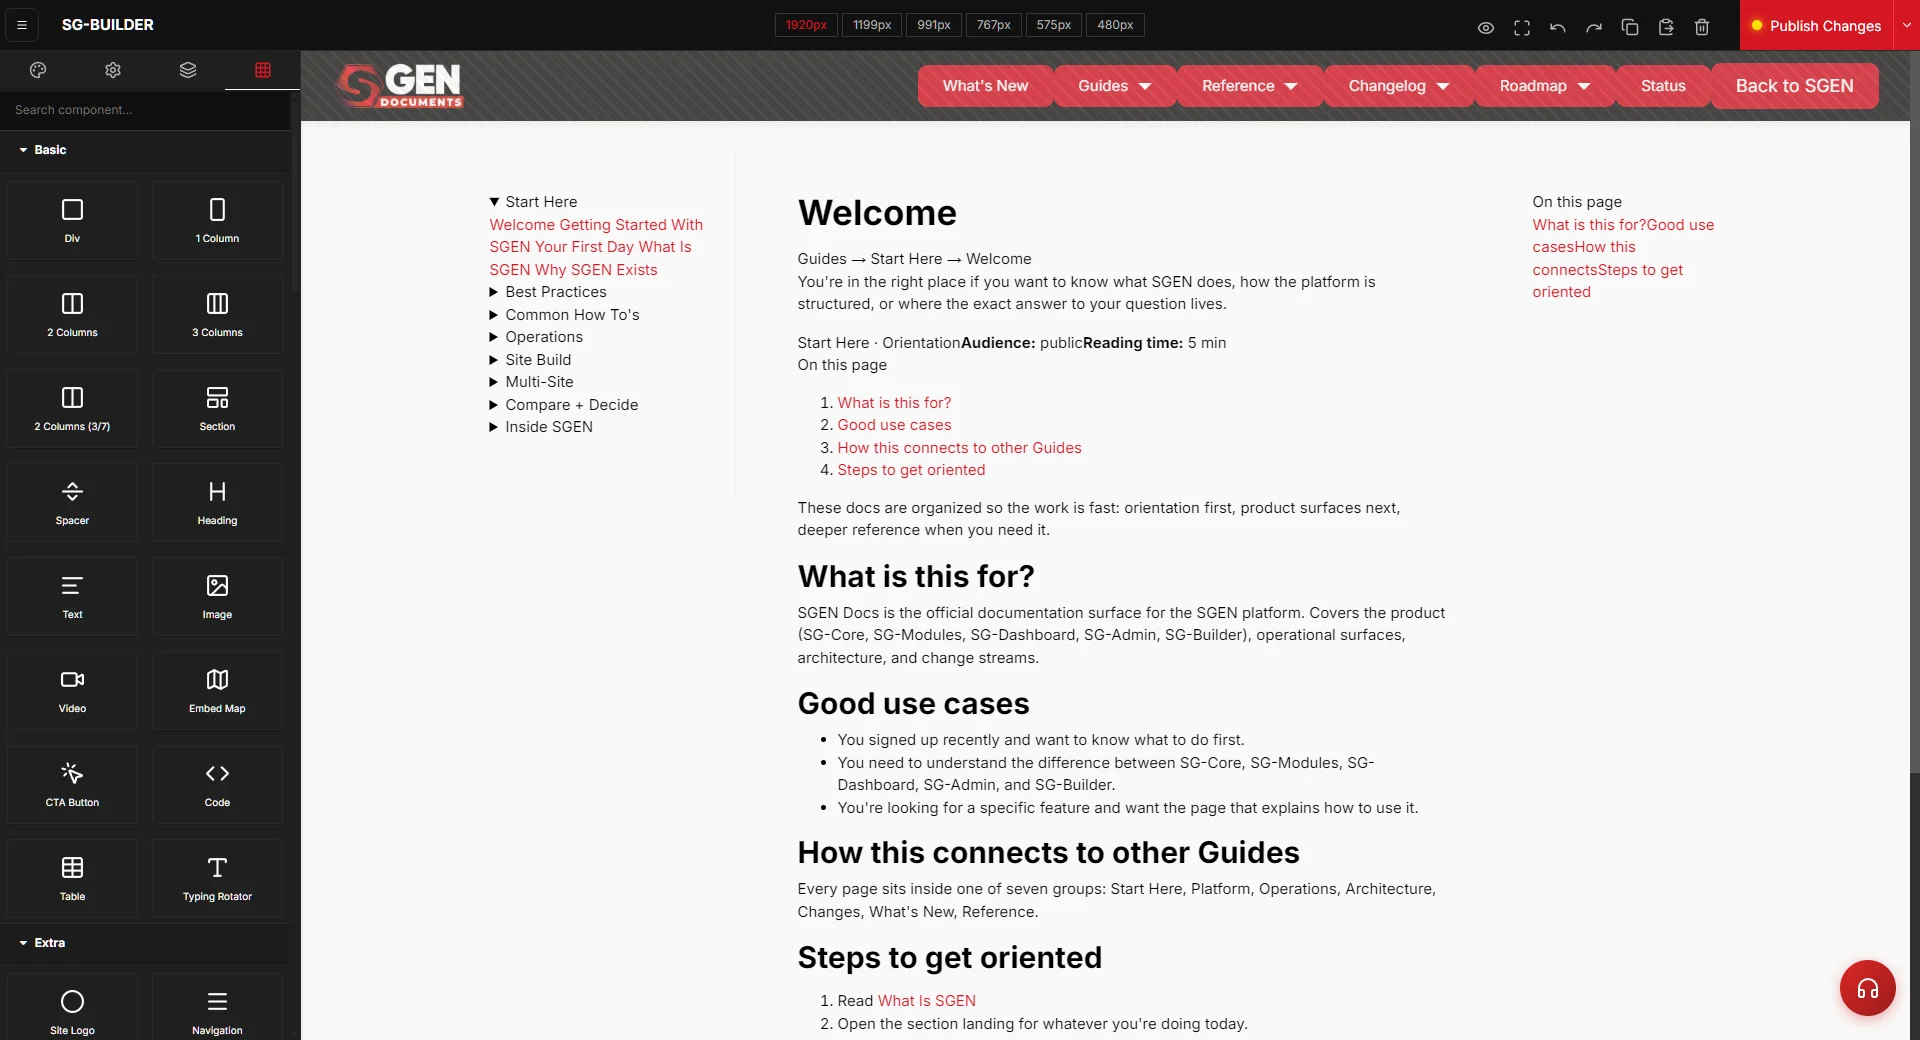
You own every part of your site — brand, content, visuals, and operations — from a single account, with no team to delegate to. This guide runs through six setup phases in order: brand kit and globals, core pages, lead capture, first blog post, SEO defaults, and backup activation. By the end of phase six your site is live, inquiries are landing in your inbox, and you can update any part of it without breaking the rest.
Brand kit goes in first
Globals sets your color palette, fonts, and site defaults before you build a single page. Every token change in Globals updates every page that references it — that leverage only exists if Globals is set up before pages are built.
Follow the phase order
Each phase has a dependency on the one before it. Build the brand kit before pages, pages before the form, the form before driving traffic. Skipping phases produces rework, not shortcuts.
Solo means no safety net
No teammate catches a broken deploy or a missed backup. This guide builds your safety net into the setup: backup is Phase 6, not an afterthought, because the backup captures the work done in Phases 1–5.
Before you start
Before your first session in SGEN, have these decisions made — not half-made, made. SGEN executes your decisions at speed; it does not make them for you.
Positioning
Know what you offer and who it is for
One sentence that says so. If this is still fuzzy, SGEN will expose the fuzziness on every page. Resolve it before you open the admin panel.
Brand kit
Logo, hex codes, and font names ready
SGEN's Globals screen accepts hex codes and font names directly. Arriving without them means your first session stalls at step one.
Pages
Five to ten priority pages mapped
A list on paper is enough: Homepage, About, Services or Work, Contact, and optionally a Portfolio or Blog index. You do not need copy for all of them — you need the list.
Access
Admin credentials saved and tested
SGEN does not send automatic password-reset emails unless SMTP is configured in Settings. Confirm your password before your first build session — a lockout mid-session with no teammate to call wastes real time.
Where to go in SGEN
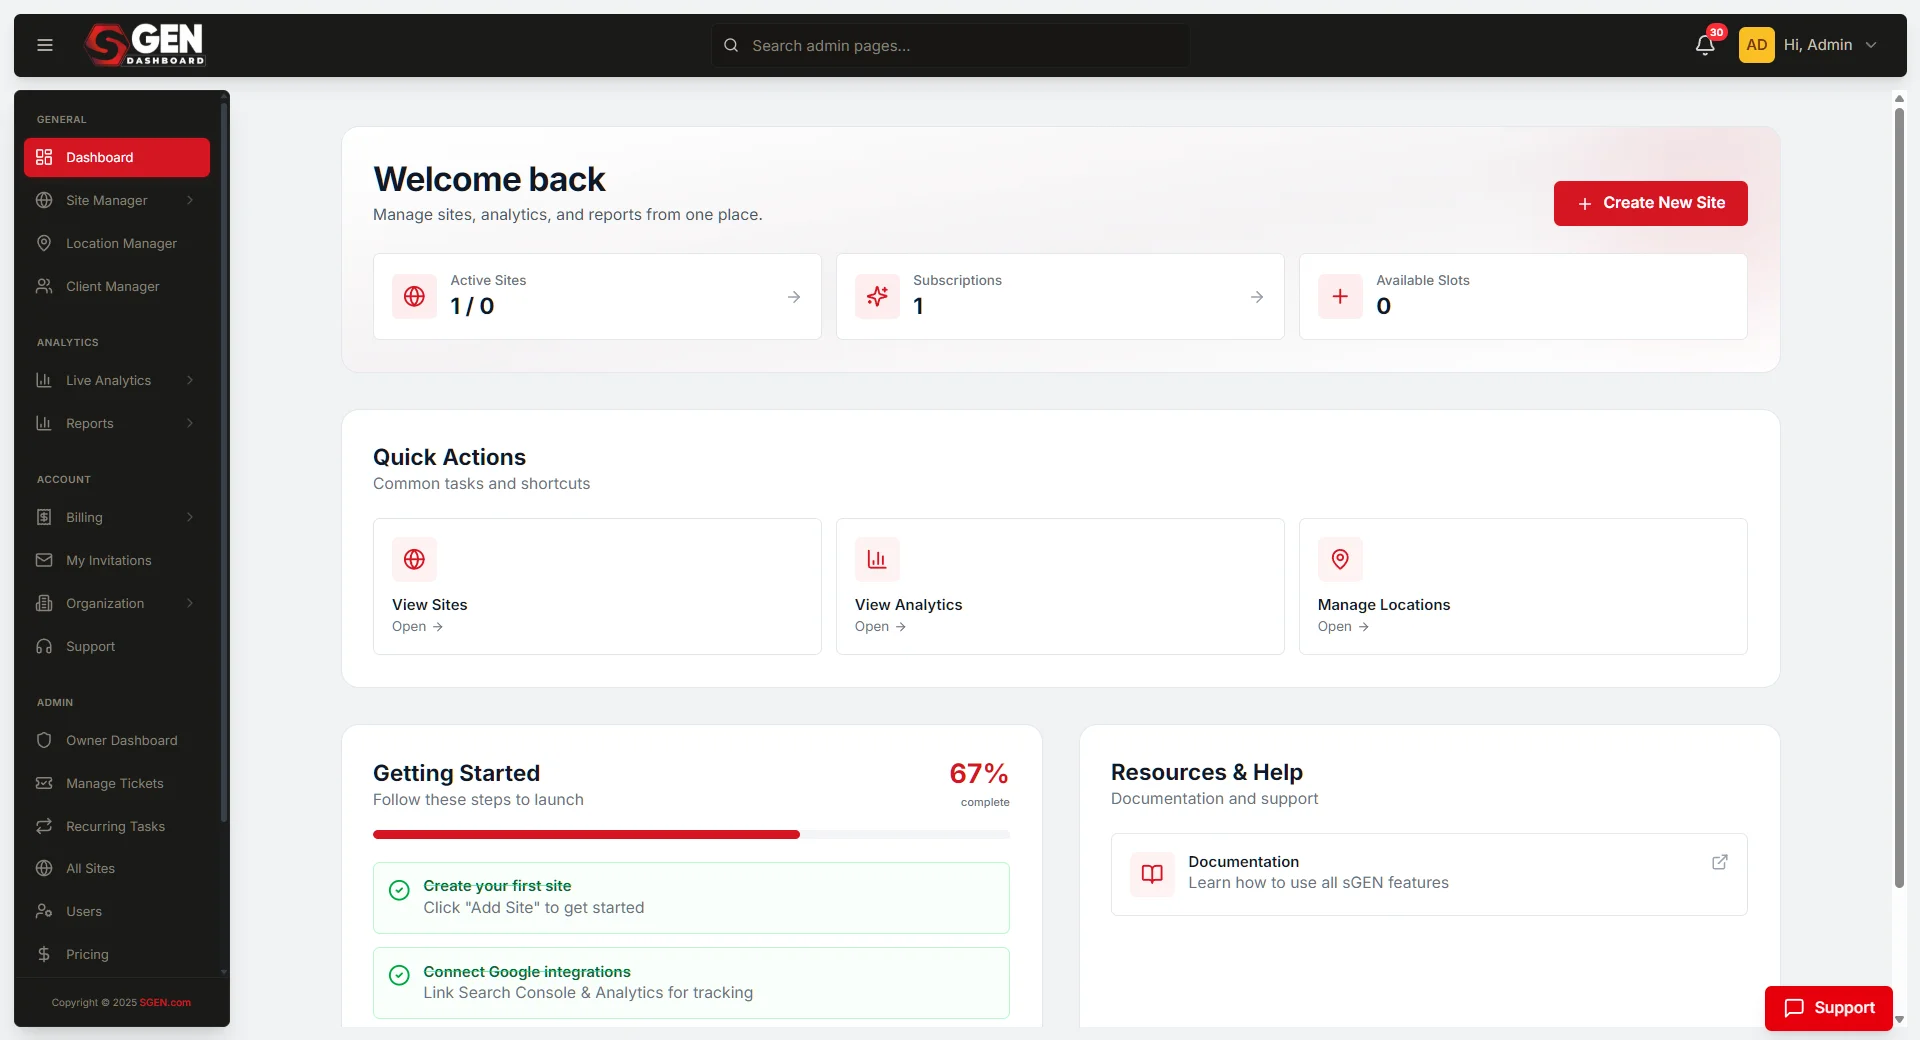
As a solo creator you are also the site administrator. You have full access to every area in SGEN from the moment you log in. These are your primary areas in roughly the order you will use them during the six phases.
Settings → Globals
Set brand colors, fonts, and site-level defaults. This is Phase 1 and the foundation for every page that follows.
Settings → Site Info
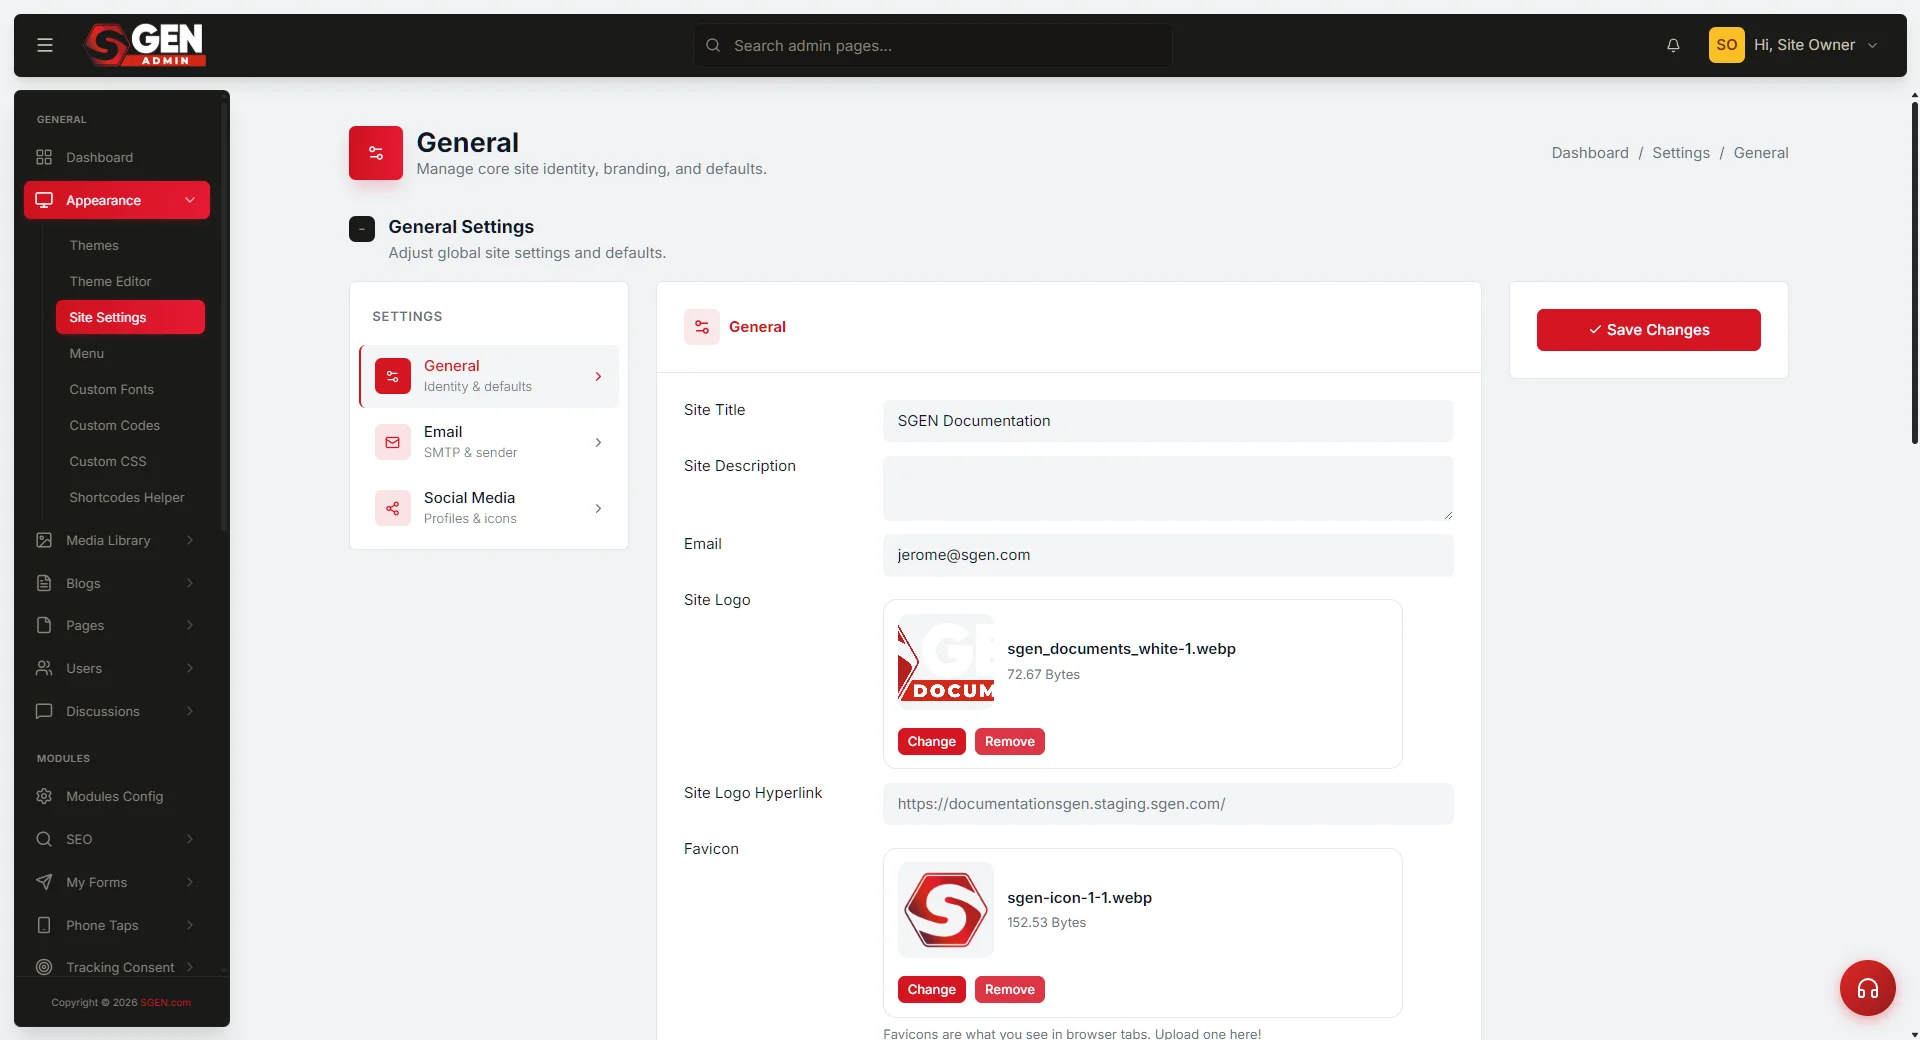
Site name, tagline, favicon, and admin email. These fields feed SEO title defaults and browser tab display.
Pages + SG-Builder
Build and publish your homepage, About, Services, and supporting pages. SG-Builder handles visual layout — drag, drop, configure each section.
Forms
Build lead-capture and contact forms; review submissions. Phase 3 — set up before driving any traffic.
Blog
Draft, schedule, and publish editorial posts and portfolio entries. Phase 4 content engine.
Settings → Backup & Restore
Scheduled and manual backups. Your only recovery path when working solo. Phase 6 — set up last so the backup captures Phases 1–5.
Phase 1 — Brand kit and globals
Your brand kit goes in first. Everything else on the site inherits from it. One field change in Globals updates every page that references the token — that leverage only exists if Globals is set up before you build pages.
1
Open Settings → Globals
Go to Settings → Globals in the SGEN admin sidebar. Enter your primary color hex code in the Primary color slot. Enter your accent or secondary color in the corresponding slot. Save before moving to the next field — SGEN auto-saves on field blur but a manual save after each group prevents silent failures.
2
Set your font stack
Still in Globals, locate the typography section. Set your heading font and body font. If your chosen typeface is on the Google Fonts list, select it by name — SGEN loads it from the CDN automatically. If you are using a self-hosted or custom axis font, add it first under Settings → Custom Fonts with a unique name, then reference that name in Globals. Use a unique name for custom fonts — a generic name like "custom" can collide with existing entries and load the wrong file.
3
Upload your logo and set the favicon
Go to Settings → Site Info. Upload your logo file to the Logo field. Upload a 512×512 PNG to the Favicon field — SGEN scales it to all required sizes. Set your site name and tagline. These fields feed your SEO title defaults and appear in your browser tab and share previews.
Phase 2 — Core pages
With Globals in place, build the three pages every solo creator needs before anything else: homepage, About, and Services (or equivalent work or portfolio page). Build in that order — homepage first, because it sets the layout conventions the other pages will follow.
1
Create and configure the homepage
Go to Pages and click Add New. Open the page in SG-Builder. Build the hero section first: headline, supporting statement, and a single primary CTA button that links to your lead-capture form or booking page. Publish the hero section before moving to the next. Add a brief proof section below the hero. Publish each section individually. Set this page as the site homepage from Settings → Homepage after you publish it.
2
Build the About page
Create the About page from Pages → Add New. Open it in SG-Builder. Include a clear headshot or professional photo, three to five sentences about your background and working style, and a secondary CTA linking to your contact form. Keep this page focused — one column, clear reading order, no sidebars competing for attention.
3
Build the Services (or Work) page
Create the Services or Work page. If you offer distinct service packages, present each as a named block with a brief scope description and a CTA. If you are a portfolio-first creator, use this page to display selected work samples linked to case-study posts.
Phase 3 — Lead capture form
A published site with no working form is not a lead-generation site — it is a brochure. Set up your inquiry form in Phase 3, before you spend time on blog posts or SEO. Leads in your inbox justify the rest.
1
Build the inquiry form
Go to Forms and click Add New. Name the form something specific: Coaching Inquiry, Project Brief, Work With Me — not "Contact Form." The name appears in your submission inbox; a specific name makes triage faster when you have multiple forms. Add the fields your inquiry process needs. Do not add fields you will not act on — every extra field reduces completion rates.
2
Configure notification settings
In the form editor, locate the Notifications section. Set Send To to your working email address. Set the Subject to something identifiable. If you are using Gmail or another hosted provider, test the notification before publishing — confirm a submission arrives and lands in your primary inbox, not a spam or promotions folder.
3
Embed the form on your Contact page
Create a Contact page from Pages → Add New if you have not already. Embed the inquiry form using the form embed shortcode from the form editor's Embed tab. Add the embed to the Contact page and link your homepage CTA button to /contact. If your homepage has a secondary CTA section, embed the form there directly rather than linking away.
Phase 4 — First blog post
Your first published post establishes the content pattern for everything that follows and gives search engines something to index beyond your static pages. Write it as if the most discerning potential client you have will read it before they decide to inquire.
1
Draft in Blog → Add New
Go to Blog and click Add New. Write a post that demonstrates your expertise on the topic most relevant to your primary service. A Your Store apparel brand might write "How to choose the right fabric weight for a small seasonal collection" — specific, expert, and directly relevant to the clients they want to attract.
2
Add a featured image and set metadata
Upload a featured image to the post. Toggle WebP and Compression in the media upload modal before uploading — the defaults are Format: Original and Compression: Off, which means unoptimized files go to your media library unless you change them. Set the SEO Title and Meta Description fields on the post.
3
Publish and link from the homepage
Set the post status to Published and save. Add a Recent Writing or From the Blog section to your homepage in SG-Builder that pulls your latest post. This keeps your homepage current without manual updates — every new post surfaces automatically.
Phase 5 — SEO defaults
Your pages are live and your first post is published. Now set the global SEO defaults so every page and post that does not have individually configured metadata inherits something accurate rather than a blank title.
1
Set the global title format
Go to Settings → SEO. Find the Title Format field. Set it to a pattern that reads naturally in search results — for example, {Page Title} — Your Name or {Page Title} | Your Role. The format applies to every page that does not override it individually. Avoid formats that put the site name first — search engines display roughly 60 characters before truncation, and a site name at the front pushes your page title toward the cut.
2
Write a site-level meta description
In the same settings screen, write your site-level meta description. One or two sentences for a cold reader who has no prior context. This description is the fallback for any page or post that does not set its own.
3
Set your robots directive
Confirm the Robots directive is set to Index, Follow for your public pages. If any page was set to No Index during draft development, verify it has been switched before publishing. A published page with No Index does not appear in search results — a common cause of "my page is live but not showing up" questions.
Phase 6 — Backup activation
No teammate means no one to catch a failed deploy, a broken Globals change, or an accidentally deleted page. Set up your backup schedule last — because a backup captures the work done in Phases 1–5. After this phase, every significant change you make exists in at least one recoverable version.
1
Enable scheduled backups
Go to Settings → Backup & Restore. Enable the scheduled backup toggle. Set the frequency to daily for an active site (publishing weekly or more) or weekly for a site in maintenance mode. SGEN stores backups as .sgen files — verify you know where they download to and can retrieve them if needed.
2
Run a manual backup now
Once scheduled backups are enabled, run a manual backup immediately. This creates a clean restore point that reflects your completed Phase 1–5 setup. If anything breaks in your next session — a Globals change that corrupts your font stack, a page accidentally moved to Trash — you can restore to this point.
3
Test the restore path before you need it
While you are in Settings → Backup & Restore, locate the most recent backup file and open the restore panel. You do not need to complete the restore — reading the steps and knowing where the control is counts. When you need it at 2 AM you do not want to learn the interface for the first time.
What to watch after launch
The six-phase setup covers launch. These patterns cover the first 90 days, when solo operators run into predictable friction.
Brand drift
Update Globals, not individual pages
When you are the only person updating the site, brand drift happens through small decisions — a slightly different button label here, a different shade on one page. The fix: every style that exists in Globals should be referenced as a token. When you update, update Globals first.
Form health
Check Notified column monthly
SMTP credentials expire. Email providers update security settings. A working notification from launch can stop working 60 days later with no error on the SGEN side. Add a monthly check: go to Forms → Submissions, filter to the past 7 days, confirm every row shows Notified: Yes.
SEO
Set individual metadata on top posts
After three months of posting, audit your top five posts in Blog → Published. Open each post and confirm the SEO Title and Meta Description fields are filled. Posts with blank metadata fall through to the global default — a generic site description does less for a specific post than a post-specific one does.
Backup
Manual backup before structural changes
Run a manual backup before any session that involves structural changes: editing Globals, publishing a new page, changing the homepage, adding a new form, or modifying Custom Codes. Blog posts and media uploads are recoverable from drafts and source files; structural configuration is not.
When something does not work
The most common issues solo creators run into after setup, and what to do about each.
Globals changes are not showing on the site
Changes to Globals apply site-wide but may require a hard reload to clear browser cache. Hold Shift and reload the page. If a specific page still shows old styles, open that page in SG-Builder, confirm the section style references the global token rather than a hardcoded value, and re-publish the section.
Form notifications are not arriving
Go to Forms → Submissions and check the Notified column. If any row shows No, click the row and use the Re-send button. If re-send also fails, go to Settings → Email and confirm your SMTP credentials are entered and tested. Without SMTP configured, SGEN cannot dispatch outbound email from your domain.
A published page is not resolving at the expected URL
Go to Pages, find the page, open the edit form, and confirm the slug matches the URL you expect. Confirm the page is set to Published status, not Draft or Scheduled.
SG-Builder looks different from the live site
Clear localStorage in your browser and reload the editor. SG-Builder caches editor state in localStorage — a stale cache can display an old version of a section while the published site shows the correct one. If the discrepancy persists, re-publish the affected section and perform a hard reload on the live page.
The brand font is not loading on the live site
Confirm the font was added under Settings → Custom Fonts with a unique name and the correct source URL. If the font name in Globals does not exactly match the name entered in Custom Fonts, SGEN falls back to the system font stack silently.
Heads up — As the sole admin, your admin credentials, SMTP settings, and backup files are all in one account. Do not share admin credentials with collaborators. If your site grows and you bring on a writer or VA, create a role-scoped account from Settings → Users — do not give a VA access to an account that includes your billing and SMTP credentials.