
How to edit an existing product in your store
⏱ Quick answer below · full page ≈ 8 min · skim the bold lead-ins to move faster.
In short. Find the product in Ecommerce → Products, click the Edit pencil, change what you need, and click Update. The Edit Product page is the same form you used to create the product — every field is already filled in. Changes go live on your storefront within about a minute. Order history, reviews, and the product URL are unaffected unless you deliberately change the slug.
On this page: What this is for · Common tasks · Before you start · Steps — change a price · Steps — restock · Steps — swap image · Steps — add variant · Troubleshooting
How to edit an existing product in your store
What is this for?
After you create a product, you almost never leave it alone. Prices change. Stock comes in or sells out. You take better photos. A new size becomes available. The Edit Product page is where you make any of those changes — without re-creating the product or losing its order history, reviews, or sales-report data.
The page is identical to the form you used when you first created the product, but every field is already filled in with whatever you saved last. Change the bits you want changed, click Update, and the public storefront reflects the change within about a minute.
What it covers
| Task | What to change |
|---|---|
| Run a sale price | Set Sale price in the General tab → Update |
| Restock a sold-out item | Inventory tab → update Stock quantity + set Stock status to In stock |
| Swap a product image | Click the existing thumbnail → choose new image from media library |
| Add a size or color variant | Switch Product type to Variable → Variations tab → Add variation |
| Update copy or description | Edit the Description field in the General tab |
| Move to a new category | Update the Categories field → Update |
| Change Draft to Published | Set Status to Published → Update |
| Adjust shipping weight | Shipping tab → update Weight field |
| Fix a typo in the title | Edit Product title — the slug stays unchanged unless you also edit it |
| Attach a downloadable file | Advanced tab → attach PDF or file |
Fields
The Edit Product form holds the same fields as the create form. The most commonly changed ones:
| Field | Tab | What it controls |
|---|---|---|
| Product title | General | The name shown on the storefront and in search. Editing it does not change the slug. |
| Slug | General | The product's URL segment. Changing it 404s the old URL — change deliberately and add a redirect. |
| Regular price | General | The standard price. Shows as a strike-through when a sale price is set. |
| Sale price | General | The discounted price. Goes live immediately on Update; clear it to end the sale. |
| Status | General | Published (public) or Draft (hidden from visitors, previewable in admin). |
| Categories | General | The category taxonomy the product is assigned to. Pulls from the global category list. |
| Stock quantity | Inventory | The available count. Set with Stock status to control buyability. |
| Stock status | Inventory | In stock / Out of stock. Out of stock disables the Add to cart button. |
| Weight | Shipping | Used for shipping-rate calculation. |
| Variations | Variations | Per-variant attribute, SKU, price, stock, and image (Variable products only). |
| File attachment | Advanced | A downloadable file delivered after purchase. |
What NOT to use this for
- Recreating a product from scratch. If the product exists, edit it — duplicating it fragments your sales history.
- Permanent product removal. Deleting is a separate action. Full detail: Trash a product.
- Bulk price changes. The Edit page changes one product at a time. Use the products-list bulk-action menu for batch updates.
- Correcting past orders. The Edit page does not change completed orders — they keep the values in effect at checkout. Go to the Orders area for order corrections.
- Changing customer reviews. Reviews are managed from the Reviews admin.
- Renaming categories globally. Assign categories here; to rename a category, edit it in the Categories admin.
- Importing products from CSV. Use the import tool for bulk migration.
How this connects to other features
- Products list — Edit Product is reached by clicking the Edit pencil on any row. The list also has Trash, Restore, Duplicate, and bulk actions.
- Media library — product images are selected from the media library. Upload new images there first, then attach here. Deleting an image from media removes it from any product that references it.
- Categories — the Categories field pulls from the global category taxonomy. To rename or re-slug a category, edit it from the Categories admin — changes propagate everywhere.
- Orders — every order is anchored to a product ID. Changing a product's title or price does not retroactively change past orders.
- Reviews — customer reviews stay attached across edits. Renaming the product or swapping its image does not remove reviews.
- Coupons — coupons that target a product follow the product ID, not the title. Renaming a product does not break the coupon. Trashing it makes the coupon's target invalid until restored.
Before you start
- You need admin access. Only users with permission to manage products can open the Edit page.
- Open the right product. Confirm the title at the top of the form matches what you intended to edit — working in two browser tabs is the most common reason people accidentally save changes to the wrong product.
- Sale prices apply immediately. If you set a sale price and click Update, it goes live now. Come back to clear the field when the sale ends.
- Upload images before opening Edit. Have new images in the media library before you open the form so you do not lose in-progress changes by leaving mid-edit.
- Auto-save does not happen. Edits live in the browser until you click Update. Closing the tab without saving loses everything you typed.
- Slug changes break old URLs. Changing the slug makes the previous product URL a 404. Only change it deliberately, and set up a redirect at the same time.
Where to go
Sidebar path: Dashboard → Ecommerce → Products → click the row of the product you want to edit → click the Edit pencil (or click the product title link).
If you cannot find Ecommerce in your sidebar, your store may not have ecommerce features enabled — contact your store owner or support to confirm.
Steps — change a price for a holiday sale
1. Open the product from the products list.
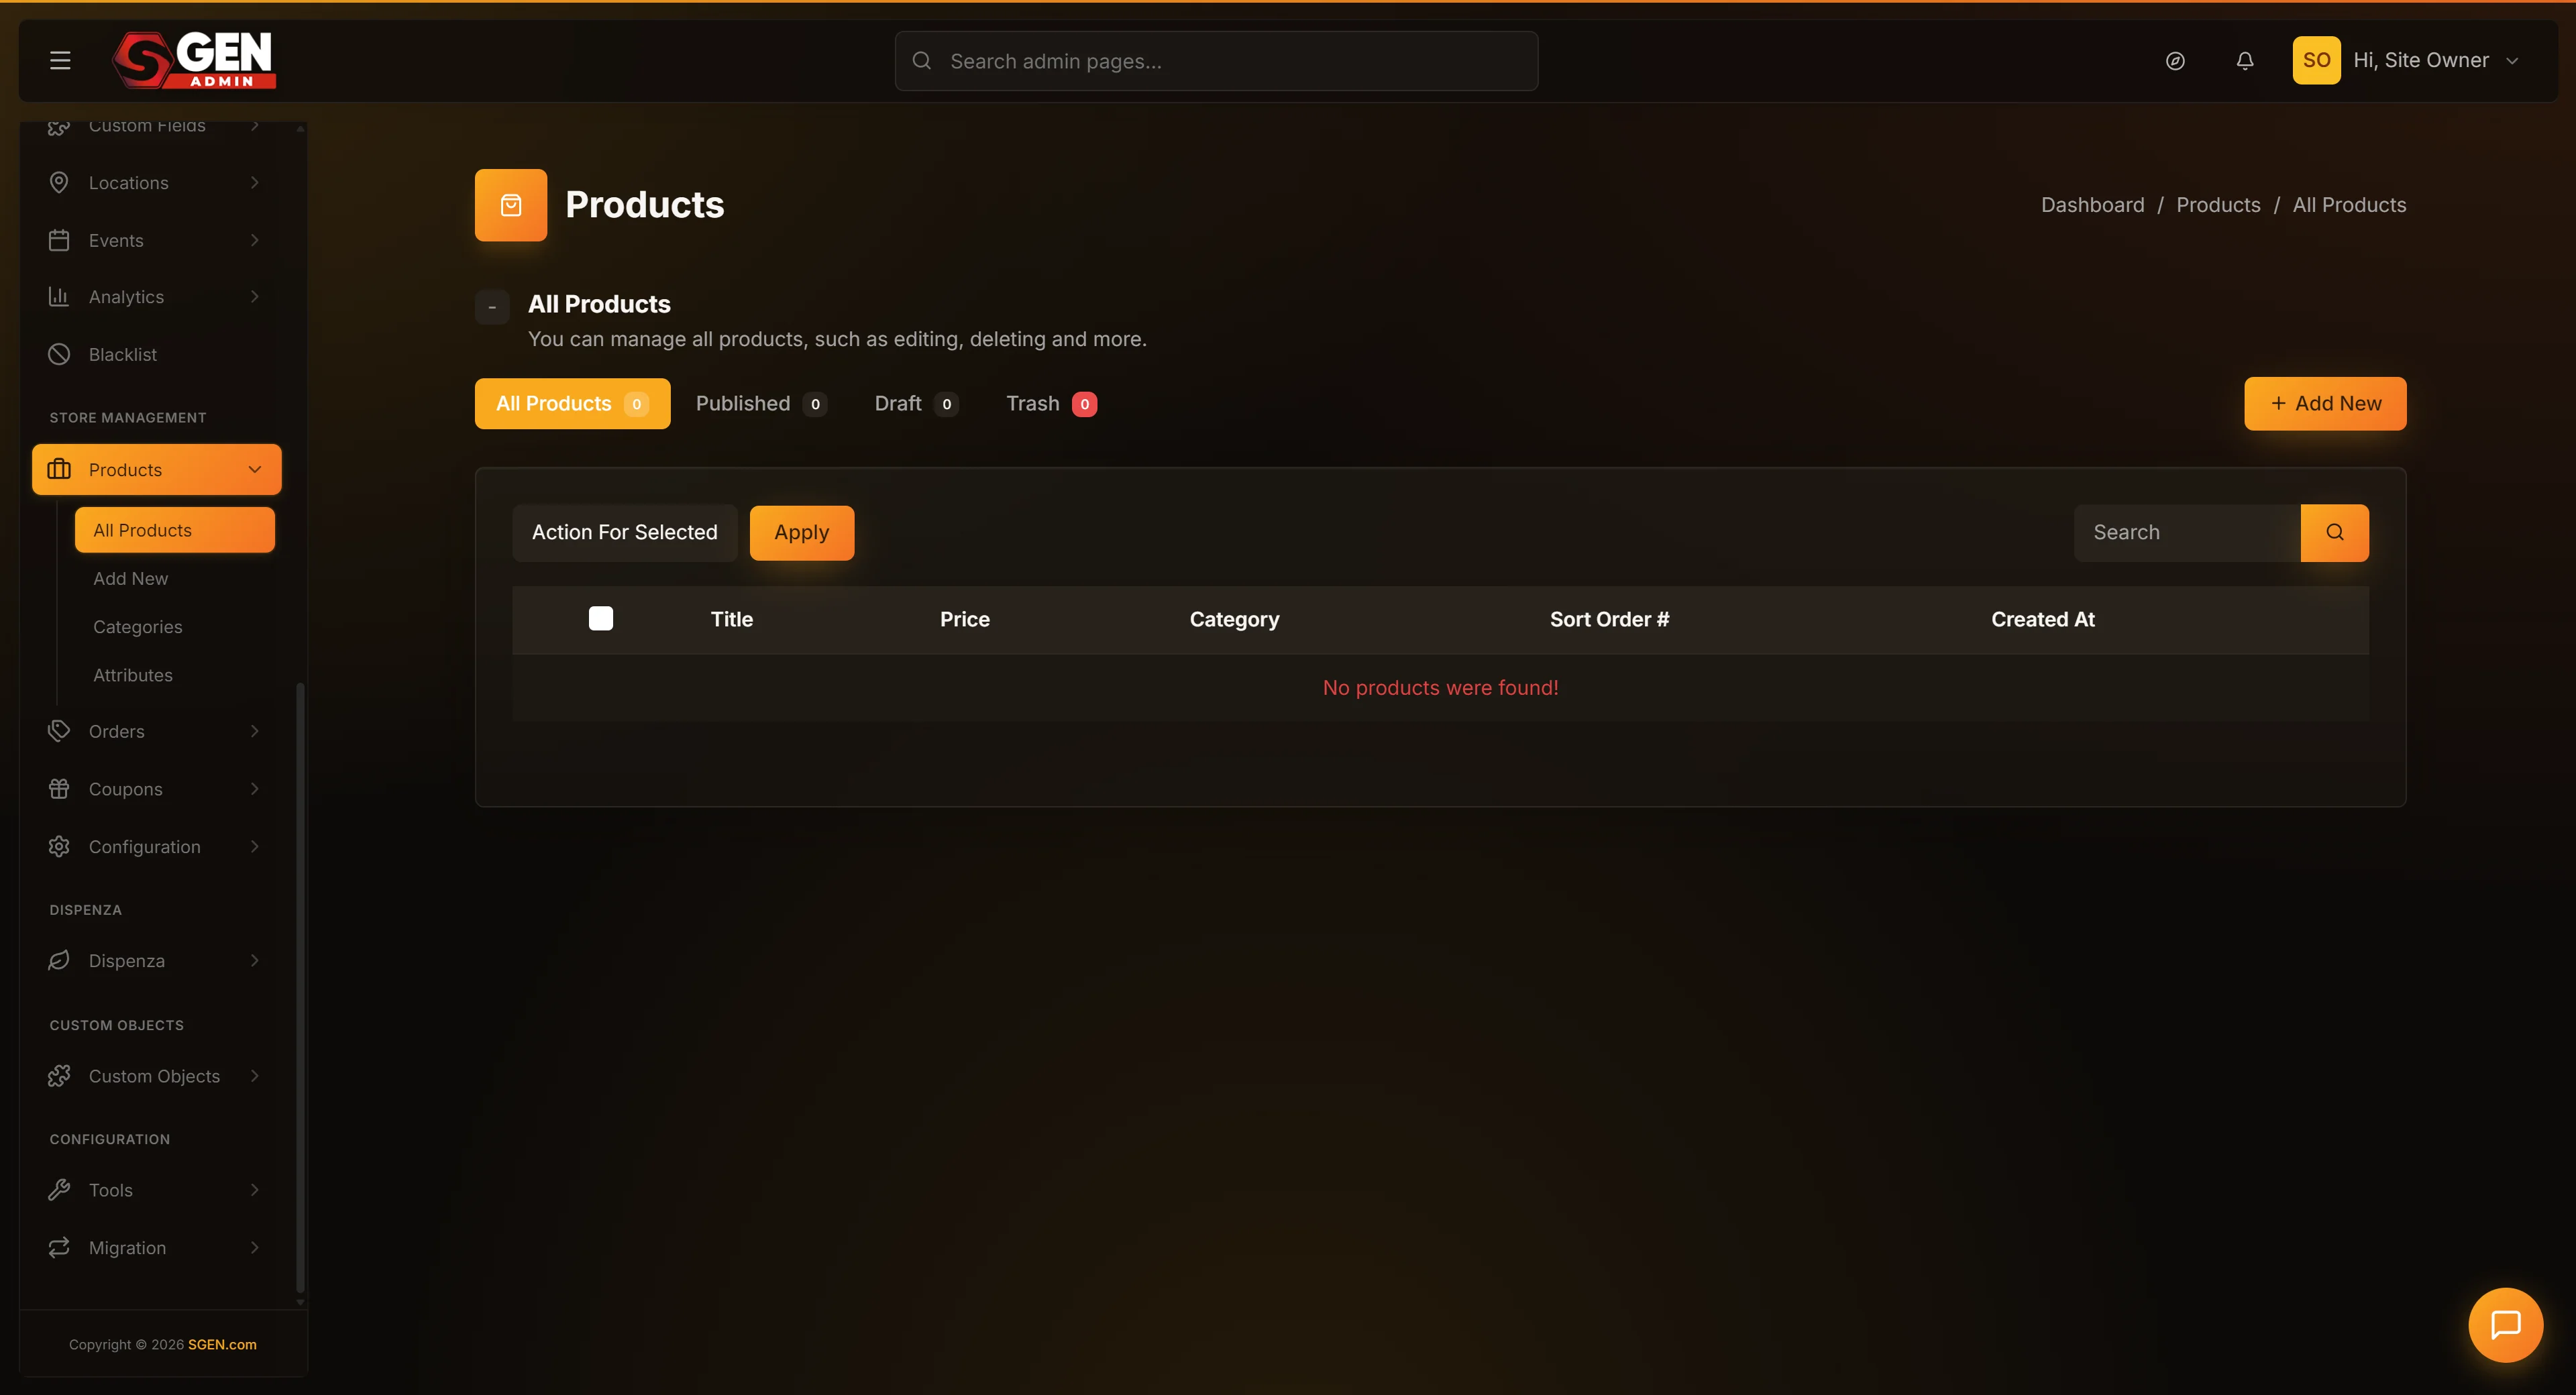 Products -> Edit pencil) — the tabbed product form (General / Inventory / Shipping / Variations / Advanced) showing price, stock, image picker and t" loading="lazy" style="width:100%;max-width:900px;height:auto;border-radius:8px;border:1px solid #e5e7eb;display:block;margin:12px 0">
Go to Ecommerce → Products. Find the product. You can scroll, filter by category, or use the search box at the top of the list.
2. Click the Edit pencil on the product row.
The Edit Product page opens with all of that product's current information already filled in. Check the title at the top to confirm you are on the right product.
3. Update the Sale price field.
In the General tab, find the Sale price field directly under Regular price. Type your new sale price in dollars and cents (for example 24.99). Leave Regular price unchanged so the original shows as a strike-through on the storefront.
4. Click Update.
A green confirmation banner appears above the form when the save succeeds.
5. Verify the sale shows on the public storefront.
Open your storefront in a new tab, navigate to the product, and look for the strike-through original price next to the discounted sale price. If you have caching on, give it a minute and refresh.
Steps — restock a product that sold out
1. Filter the products list to "Out of stock".
Click the Out of stock tab at the top of the products list.
2. Click Edit on the product you have new inventory for.
3. Open the Inventory tab on the Edit form.
Find the Stock quantity field and the Stock status dropdown.
4. Update Stock quantity to your new count.
Type the total available count — for example 100 for a fresh shipment, or 108 if 8 units were already on hand.
5. Set Stock status to "In stock".
The storefront Add to cart button re-enables.
6. Click Update.
Confirmation banner appears. Your product is buyable again.
7. Verify on the storefront.
Open the public product page. The Add to cart button should be enabled and the "Out of stock" label gone.
Steps — swap a product image after a re-shoot
1. Upload your new images to the media library first.
Go to Media → Upload Files → drag in your new images. Wait for the upload to finish.
2. Open the product from the products list.
Click Edit on the row of the product whose image you want to change.
3. In the General tab, click the existing thumbnail to open the image picker.
Find the new thumbnail you uploaded in the media library.
4. Click the new image, then click Set product image.
The thumbnail in the Edit form updates.
5. Repeat for the gallery section if needed.
Click Add to gallery, select the new images, and save the gallery selection.
6. Click Update.
The product page on the storefront shows the new images.
7. Hard-refresh your storefront to confirm.
Use Ctrl+Shift+R (Windows) or Cmd+Shift+R (Mac) to bypass image caching.
Steps — add a new variant to a product
1. Open the product and check Product type.
In the General tab, confirm Product type is set to Variable. If it is Simple, change it to Variable and click Update first — variants only appear once the product is configured as Variable.
2. Open the Variations tab.
You see a list of existing variants (or an empty table if this is the first).
3. Click "Add variation" to create a new row.
Fill in the attribute combination (size, color, etc.), SKU, price, stock quantity, and optionally a variant-specific image.
4. Set the variant's stock status.
Choose In stock if the variant is available now, or Out of stock if it is a placeholder.
5. Click Save changes on the variations row, then Update on the main form.
The new variant is selectable on the storefront.
What success looks like
After clicking Update, three things happen:
- A green confirmation banner appears at the top of the form.
- The form values you changed are now the new defaults — reopen Edit and your changes are still there.
- The public storefront reflects the change within about a minute — visit your product page and see the new price, image, stock state, or description.
If you also changed Status (for example Draft → Published), the product visibility changes too: a Published product appears on category pages and search results; a Draft product is hidden from public visitors but you can preview it from the admin.
You can also check the Activity log on the product (lower part of the Edit page) — every save creates an entry showing what changed and when. This is the easiest way to confirm a save committed.
Examples — running a sale
Your Store wants to discount three best-selling products for one week. The marketing manager opens the products list, filters to the Accessories category, and edits each in turn:
- Canvas Tote Bag — Sale price 24.99 (was 30.00)
- Classic T-Shirt — Sale price 19.99 (was 24.99)
- Sticker Pack — Sale price 3.99 (was 5.99)
For each product: keep Regular price intact (so the storefront shows the strike-through), set Sale price, click Update. The whole batch takes about three minutes.
After the sale week ends, the manager reopens each product, selects the Sale price field, presses Delete, and clicks Update. Storefront returns to regular pricing.
Worked example — retiring a seasonal product
A seasonal product — the Holiday Gift Box Limited Edition — sold well in December but goes off the menu in January. Two paths:
- Trash the product. Click Move to Trash at the bottom of the form. The product disappears from the storefront immediately. Past orders are preserved. Restore from the Trash tab if needed.
- Mark as Draft with a note. Change Status to Draft, add a sentence in the description ("This product is seasonal — returning in December"), click Update. Customers who find the product URL can see it but cannot buy. Flip back to Published next season.
When December comes around, the manager opens Edit on the same product, refreshes the copy and photos, sets Status to Published, and clicks Update. All reviews and order history from the prior year are intact. The product ID and slug never changed, so seasonal blog posts that linked to it still work.
What to do if it does not work
The Update button is grayed out / clicking does nothing. Look for a red error message on the form. The most common cause is an empty required field — title, slug, or price. Required fields have a small asterisk. Fill them in and try again.
You see "Not found" when clicking Edit. The product was permanently deleted. If it was trashed (not permanently deleted), find it under the Trash tab on the products list and click Restore first.
Your changes saved but the storefront still shows old data. Wait one minute, hard-refresh (Ctrl+Shift+R or Cmd+Shift+R), and try again. If still stale after 5 minutes, contact support.
The form is empty / blank when you open Edit. Refresh the page. If still empty after refresh, your session may have expired — log out and back in, then click Edit again.
The Variations tab is empty but you remember adding variants. Check that Product type is still set to Variable. If it was changed to Simple, variants are hidden (the data is preserved). Switch back to Variable and they reappear.
The Categories field shows text like a:2:{..} instead of category names. This is a legacy product saved with an old storage format. Re-select your categories from the dropdown and click Update — the product is rewritten in the current format.
You changed the slug and now external links return Not Found. Either revert the slug to its previous value, or set up a redirect from the old slug to the new one in the Redirects admin.
A yellow warning banner says some fields could not save. Check the field-level error messages — usually a variant row is missing a required value (price or SKU). Fix the flagged row and try Update again.
Tips for editing safely
- One tab at a time. Saving the same product from two browser tabs can overwrite the more recent change with the older one.
- Use Draft for big rewrites. Flip Status to Draft before a substantial overhaul so the half-finished version does not show on the storefront. Flip back when done.
- Save in stages. Click Update midway through a long session to commit progress so far. Status stays whatever it was.
- Use Duplicate to spin off variants. From the products list, Duplicate makes a near-identical copy — edit the copy with the differences rather than rebuilding from scratch.
- Communicate with your team. If multiple people manage the catalog, agree on who owns which products — concurrent edits to the same product can overwrite each other.
Next steps
- Add a new product — the Add New flow that uses the same form, blank.
- Create a variable product — deep dive on the Variations tab and attribute setup.
- Product data form reference — every field on the Edit form documented.
- Trash a product — take a product off the storefront temporarily or permanently.
- Manage the products list — bulk actions, filters, and the list view.
- Organize products into categories — set up and manage the category taxonomy your products are assigned to.
- See who is buying your products — the Customers tab on a product, showing order history per buyer.