
Create a variable product with variants
⏱ ~3 min to your first variant · full walkthrough ≈ 12 min · skim the bold step headers to move faster.
In short. A variable product is one product in several variants — a T-Shirt in four sizes and three colors. Each variant gets its own SKU, price, and stock count. Visitors pick their combination on the public product page; SGEN tracks inventory per variant automatically. To set one up: choose type Variable, attach your Size and Color attributes (tick "Used for variations"), click Generate variations, fill SKU / price / stock per row, then click Update Product. A 4 × 3 product (12 variants) takes about 10–15 minutes.
On this page: Before you start · Steps — Base product · Steps — Attributes tab · Steps — Variations tab · Fields reference · Troubleshooting
How to sell one product in multiple sizes, colors, or combinations — each with its own price, SKU, and stock
A variable product is one product offered in several variants — a Classic T-Shirt in Small / Medium / Large / XL, each in Black, Cream, or Forest Green. Each variant has its own price, its own SKU, its own stock count, and its own availability. On the public product page visitors pick their size and color before adding to cart; you track inventory per variant, not per product alone. This guide walks you through the full setup: attaching attributes, generating the variant grid, and filling each variant's details. For a 4 × 3 product (twelve variants) the whole setup takes about 10–15 minutes.
What is this for?
Use variable products when the same product exists in multiple pickable options at checkout — sizes, colors, or combinations of both. Apparel, prints with size options, anything with finish choices. Not the right fit for single-SKU products (use a simple product) or free-text customization (use a form field instead).
Scope
This guide covers choosing the product type, attaching global attributes with their values, generating the variant grid, and filling per-variant SKU, price, and stock — including how to handle unavailable combinations. For attribute setup, see Manage attributes.
Preview: Variable product variant matrix — a screenshot of this screen will be added here.
The variant grid above is the heart of the form ��� every combination of every value you tick "Used for variations" against gets its own row with its own SKU, price, and stock. The 12 rows you see come from Size (4 values) × Color (3 values). Add a Material attribute with two values and the grid grows to 24; remove Size and you collapse back to 3.
Examples
Running example — Classic T-Shirt. Four sizes (S / M / L / XL) × three colors (Black / Cream / Forest Green) = 12 variants. Each variant has its own SKU, stock, and price (S at $24.99, M at $26.99, L/XL at $28.99). Pick a SKU pattern before filling the grid — it follows you onto receipts, packing slips, and warehouse systems:
Other common patterns:
| Product | Attributes | Variants |
|---|---|---|
| Art print | Size (8×10 / 11×14 / 16×20) | 3 — one price per size |
| Mug with color options | Color (Black / Cream / Forest Green) | 3 — swatches on public page if display type = Color Swatches |
| T-Shirt, one color discontinued | Size × Color, XL / Cream removed | 11 — click Remove on that row (or set stock = 0 to reactivate later) |
Once published, your variable product shows a price range on the Products list (from $24.99) and a rolled-up stock total (52) — one row for all twelve variants:
The Classic T-Shirt row shows the Variable badge with 12 (twelve variants), the price range starting from $24.99, and the rolled-up 52 stock count. Use the row-actions menu (Edit / Quick Edit / Trash / View) to drill into the variant grid, update a single SKU's stock, or hide the whole product without opening every variant individually.
What NOT to use this for
- Do not use variable products for a single-variant offering. If your product has exactly one price and one SKU, use a simple product instead. Variable products add complexity for no benefit when there's nothing to pick.
- Do not use attributes for free-text customization. If a customer needs to type their name on a pillow or upload a photo, an attribute dropdown is the wrong shape. Use a form field on the product page (or pair the product with a form).
- Do not create more than three attributes for one product. Two attributes (Size × Color) already produces a 12-row variant grid for the Classic T-Shirt (4 × 3). A third attribute (Size × Color × Material) produces 24 rows for a 4 × 3 × 2 product. The grid gets unwieldy fast. Consider splitting into separate products.
- Do not rely on attribute deletion to remove variants. Deleting an attribute value (for example removing Size / XL) leaves any variants using that value broken on the public page. Always use the Remove button on the specific variant row first, then remove attribute values.
- Do not bulk-edit variant prices by hand-typing every row. For a 12-row grid that's twelve clicks. Use the Bulk actions dropdown at the top of the Variations tab to set a price, schedule a sale, or zero out stock across every variant in one pass.
How this connects to other features
- Attributes — the attributes you attach here (Size, Color) come from Products → Attributes. Each attribute has a display type (Dropdown, Buttons, Color Swatches, Image Swatches) that controls how it renders on the public product page. See Manage attributes for setting up Size and Color before you reach this form.
- Products list — variable products show a price range on the Products list (
from $24.99with– $28.99in light grey) rather than a single price. The range is the lowest to highest variant regular price. - Categories — variable products belong to categories the same way simple products do. Pick from the Categories card in the sidebar.
- Media Library — the main Thumbnail is shared across all variants. If you need per-variant images (a separate photo for the Black vs Cream T-Shirt, for example), contact your store operator — that's a configuration beyond the standard picker.
- Your store's public page — the variant picker on
/product/is automatic once you publish. Size renders as a dropdown (or buttons, depending on the attribute's display type). Color renders as swatches if you set Color's display type to Color Swatches. - Quick Edit on the Products list — once a variable product is saved, the Products list row exposes a Quick Edit panel for fast title / slug / status / sort changes without re-opening this full form. Variant-level edits still need the full edit page.
Before you start
- You are signed in to SGEN as an admin.
- You've set your store currency under Ecommerce → Configuration.
- Each attribute you want to use (Size, Color, Material, and so on) is already created under Products → Attributes with the right display type. See Manage attributes.
- Each attribute has its values (S/M/L/XL for Size; Black/Cream/Forest Green for Color) configured — see the same Attributes doc.
- For Color Swatches: each color's hex code is set on its attribute item (
#000000for Black,#f5f0e1for Cream,#1f4d2efor Forest Green). - You have your product photo uploaded to the Media Library.
- You have the per-variant prices, SKUs, and stock counts ready in a list or spreadsheet.
Where to go
- Open the left navigation.
- Click Store Management → Products → Add New.
- The Add New Product form loads.
Steps — Base product
1. Write the title and slug
The Title field (Classic T-Shirt) is the name your product wears on the cart, on the public product page, in receipts, and in every email about that product. Variants share this title — the picker labels (S / M / L / XL, Black / Cream / Forest Green) hang off it on the public page; visitors see "Classic T-Shirt" with a Size and Color selector below.
The Slug field (classic-t-shirt) becomes part of the public URL /product/classic-t-shirt. The same URL serves every variant — switching size or color on the public page does not change the URL, only the price, SKU, and stock shown beneath the picker. Use lowercase letters, numbers, and hyphens. Don't change the slug after visitors have bookmarked the page.
2. Write the description, attach the thumbnail, pick the category and SEO
Everything in this pass applies to the product as a whole — variant differences come later in the Variations tab. Write the Description; attach the main Thumbnail from your Media Library (the same hero image is shared across every variant); pick the Categories in the sidebar; fill the Page Title, Meta Description, and Featured ALT in the SEO card. For per-variant photos (different shots per color, for example), see the Media Library cross-reference in How this connects to other features.
3. Pick the type
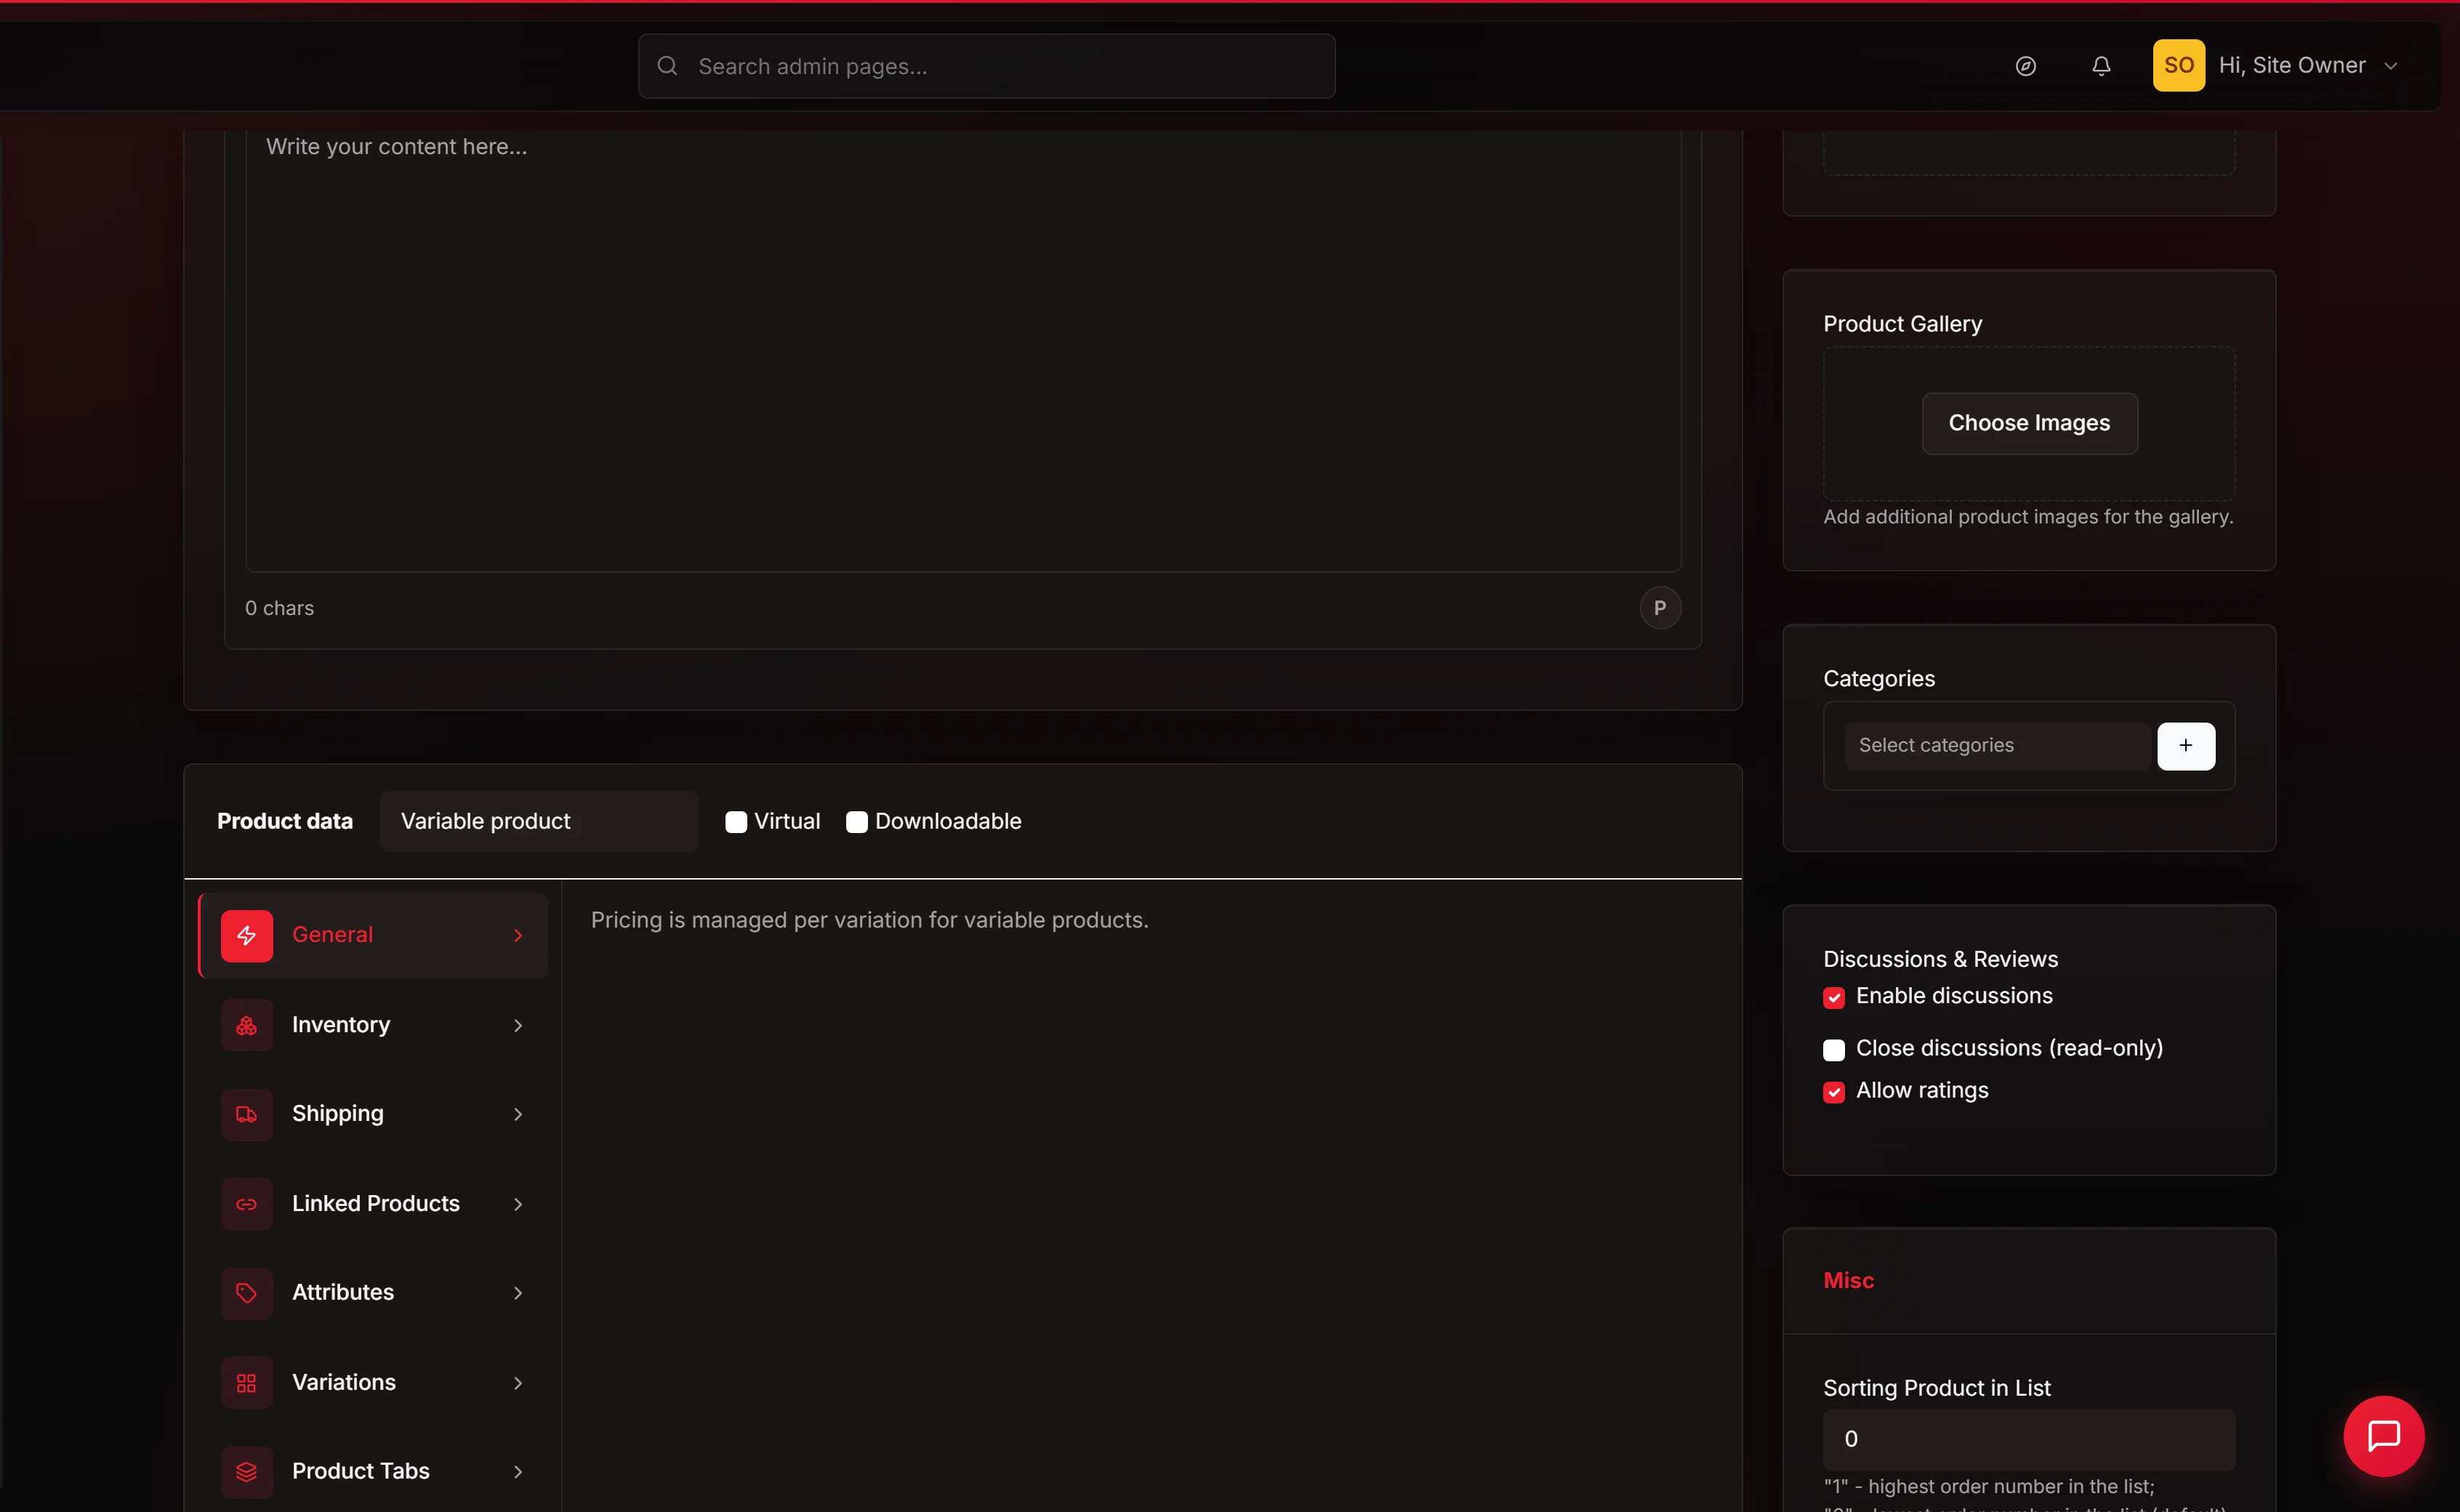
In the Product data panel header, change the type selector from Simple to Variable. The General tab changes to show a notice reading Pricing is managed per variation — regular and sale price fields disappear at the product level. The tab row updates: an Attributes tab and a Variations tab become the two tabs you'll spend the rest of this flow inside.
Steps — Attributes tab
Click Attributes in the Product data tab row.
4. Add your first attribute
Click Add existing (or the similar button in the Attributes panel). A picker lists every attribute you've created globally. Pick Size. It appears as a row in the Attributes list.
5. Pick the values for this product
Each attribute row shows a values editor. Pick the specific sizes this product comes in — Small, Medium, Large, XL. If your product only comes in a subset of sizes, pick only that subset.
6. Tick "Used for variations"
Next to the values editor, tick Used for variations. This tells the variant generator that Size is an axis of variation for this product. Attributes without this ticked become descriptive-only — they display on the public page but don't create variant combinations.
7. Add your second attribute
Click Add existing again. Pick Color. Pick its values (Black, Cream, Forest Green). Tick Used for variations.
Repeat for any further attribute you want — keep it to at most 2–3 variation attributes.
8. Save attributes
Click Save attributes at the bottom of the Attributes panel. A confirmation message appears; the Variations tab is now ready to populate. Here is the Attributes panel filled out for the Classic T-Shirt — both Size and Color are attached, their values are listed as chips, and both are ticked "Used for variations":
Steps — Variations tab
Click Variations in the Product data tab row.
9. Generate the variant grid
Click Generate variations. The grid populates with one row per combination of selected attribute values — S/Black, S/Cream, S/Forest Green, M/Black, M/Cream, M/Forest Green, L/Black, L/Cream, L/Forest Green, XL/Black, XL/Cream, XL/Forest Green. For a 4 × 3 product that's 12 rows; for a 4 × 3 × 2 product it's 24.
10. Fill each variant's details
Each row has fields:
- SKU — the per-variant stock-keeping code. Use a pattern like
- - - TEE-S-BLACK. The pattern stays stable across the catalog so warehouse and supplier systems can decode it without a lookup table. - Regular price ($) — the variant's price. Type with up to two decimals —
24.99,26.99,28.99. - Sale price ($) — optional discount for this variant. Must be less than regular. In the running example, Large / Black is on sale at
$24.99against a regular$28.99. - Stock — per-variant inventory count. Set to
0for sold-out variants — the row stays, the public picker disables Add to Cart for that combination.
If every variant shares the same price, you can type it into the first row and then use your browser's copy-paste to fill the rest — or use the Bulk actions dropdown at the top of the grid to set a price or stock across all rows at once.
11. Remove variants that aren't offered
If one combination isn't available (you never made XL / Cream), click Remove at the end of that row. The row deletes; the remaining variants stay intact. Alternatively leave the row in place and set its Stock to 0 — same visitor experience, but the variant comes back online the moment your next batch lands.
Steps — Save and verify
12. Click Update Product
Scroll up to the sidebar. Click Update Product. The form submits; the page reloads with a success confirmation. A note appears in the right-sidebar Logs panel. Here is the flash banner you'll see at the top of the reloaded edit page — it confirms which fields wrote and stamps the update with a timestamp matching the Logs entry:
13. Open the public product page
Open /product/classic-t-shirt in a new tab. Confirm:
- Your product photo, title, and description are there.
- A Size dropdown (or Size buttons) appears, showing S, M, L, XL.
- A Color picker appears, showing Black, Cream, and Forest Green as swatches if you set Color's display type to Color Swatches.
- The base price shows a range —
from $24.99with the high end$28.99either alongside or on hover. - Picking Small / Black updates the price to $24.99 and the SKU to
TEE-S-BLACK. Picking XL / Forest Green updates to $28.99 and SKUTEE-XL-FOREST. - The Add to Cart button is enabled only when both Size and Color are picked, and is disabled with "Out of stock" text when the chosen combination has Stock = 0 (the XL / Cream variant in the matrix above).
The public product page renders the same shape every product in your catalog gets — hero photo on the left, the picker stack on the right, Add to Cart at the bottom. Here's how the Classic T-Shirt looks once published, with Size and Color pickers above the price block:
The picker on the right shows the live state after a visitor selects M and Black — the price updates to $26.99 (the M variant price), the SKU shown beneath the Add to Cart button changes to TEE-M-BLACK, and the in-stock count drops to that variant's specific count (18 in stock, not the rolled-up 52 you saw on the admin list).
14. Confirm the product on the Products list
Go back to Store Management → Products. Find the Classic T-Shirt row. Confirm the Price column shows a range (from $24.99), the Stock column shows the rolled-up total across all variants (52), and the row displays the Variable badge with the variant count (12). If the values look stale, hard-refresh the list — the cached counts update after the next page view.
What success looks like
- The Products list shows your variable product with a price range in the Price column (
from $24.99 – $28.99for the Classic T-Shirt with variants from $24.99 to $28.99). - The Stock column shows the rolled-up count across every variant (
52for the Classic T-Shirt — that's S/Black 14 + S/Cream 9 + S/Forest 6 + M/Black 18 + M/Cream 12 + .. XL/Forest 3). - The product's edit page shows the Variations tab with one row per combination, each holding its own SKU, price, and stock.
- On the public product page, picking a combination of Size + Color updates the displayed price and SKU and makes Add to Cart clickable. Combinations with stock = 0 show "Out of stock" and disable the button.
- On the Cart page after adding a specific variant, the line item shows the variant's attributes (e.g. "Size: Medium, Color: Black") and the variant's price ($26.99 for M / Black, $28.99 for L / Cream, etc.).
- On the category archive page (for example
/product_category/apparel), the product card shows the price range and a single thumbnail.
Fields
The Variations tab exposes four editable fields per variant row. Here is a quick-reference for what each one does and what to watch out for:
| Field | What it holds | Notes |
|---|---|---|
| SKU | Per-variant stock-keeping unit code | Use a consistent pattern across every variant (e.g. BRAND-PRODUCT-SIZE-COLOR). SKU appears on receipts, packing slips, and order confirmation emails. Leave blank only if your store does not use SKUs. |
| Regular price ($) | The variant's standard selling price | Decimals preserved — enter 24.99 not 25. Required if you want the variant to be purchasable. |
| Sale price ($) | Optional discounted price for this variant | Must be strictly less than Regular price. Clear this field to end the sale on that specific variant. |
| Stock | Per-variant inventory count | Enter 0 to mark a variant out of stock without removing it. Leave blank to inherit the product-level stock setting (not recommended for variable products — set per-variant). |
What to do if it does not work
- Generate variations didn't create any rows. Confirm at least one attribute has Used for variations ticked, and each attribute has at least one value selected. Click Save attributes first; then return to the Variations tab and click Generate variations.
- My Size attribute shows as a plain dropdown on the public site but I want colored buttons. The attribute's display type controls the rendering. Go to Products → Attributes, edit Size, change Display Type to Buttons or Labels, save. Reload the product page.
- My Color swatches don't show the correct colors. Each Color value has its own color hex. Go to Products → Attributes, click Color's items link, and set the hex color for each value (
#000000for Black,#f5f0e1for Cream,#1f4d2efor Forest Green). - A variant's price won't save. Sale price must be strictly less than Regular price for that variant. Clear Sale to save Regular alone.
- I set the Regular price on a variant to $24.99 and it displays as $24.99 on the variant page. That's correct behavior for variable products — variant-level prices preserve decimals.
- The product saved but the variant picker isn't appearing on the public page. Confirm at least one attribute has Used for variations ticked and at least one variant exists in the Variations tab. Save and reload.
- I can't add a new Size value from this form. Attribute values (the specific sizes or colors) are managed at Products → Attributes. Add S/M/L/XL there first, then come back and attach Size to this product.
- The Stock column on the Products list shows a different number than the sum of my variants. The list shows the rolled-up total. If you edited a variant's stock moments ago, hard-refresh the Products list — the cached value catches up after the next view.