
Bulk image WebP conversion
⏱ 2-min answer below · full page ≈ 9 min · skim the bold lead-ins to move faster.
In short. Open SG-Admin → Media → Optimize, set Format = WebP + Compression = Lossy 82 + Preserve originals = On, scope by folder for large libraries, run the batch, spot-check 10-15 images, then purge the CDN image cache. New uploads auto-convert once the setting is on — this recipe covers the retroactive pass for images already in the library.
On this page: Before you start · Steps · What success looks like · Troubleshooting · Quality settings reference · FAQ
How to convert your entire media library to WebP and confirm every image renders correctly
WebP images are 25-35% smaller than JPEG or PNG at equivalent visual quality. On a site with 400 images, converting to WebP can remove 40-80 MB from total page weight — a measurable load-time improvement with no page layout changes.
SGEN's media library has a built-in bulk optimization tool that converts uploaded images to WebP, applies compression, and keeps all file references intact. This recipe covers the full sequence for existing images — new uploads auto-convert when the WebP setting is on.
When to use this recipe:
| Trigger | Notes |
|---|---|
| Post-migration library cleanup | WordPress / Shopify exports arrive as JPEG or PNG |
| Pre-launch performance pass | Lighthouse flags "Serve images in next-gen formats" |
| After a bulk media import | Product photography, event photos imported in original format |
| Quarterly site maintenance | Per site — media libraries are converted independently |
What NOT to use this for: SVG logos (already vector), animated GIFs (convert to WebM/MP4 instead), and images where exact color accuracy is critical — handle those manually with quality set to lossless. Also: do not convert images using an external tool and re-upload them — re-uploading creates a new file ID and breaks existing page references. Use the built-in conversion to keep references intact.
Before you start
Check storage quota. During processing SGEN temporarily holds both versions. For libraries over 1 GB, confirm headroom at SG-Admin → Settings → Storage.
Take a backup first. For libraries over 200 images, take a full backup (see pre-migration backup recipe) before bulk converting.
Note current media count and size. Go to SG-Admin → Media and record total file count and storage usage. You will compare these after conversion.
Tag exemption images. Move brand marks and color-critical product shots into a folder you can exclude from the bulk operation. SGEN's bulk tool supports folder-scoped and tag-scoped batches.
Confirm CDN WebP delivery is on. Go to Settings �� Performance → Image delivery and confirm WebP serving is enabled. Converting without this means files are smaller on disk but still served in original format to browsers.
Where to go
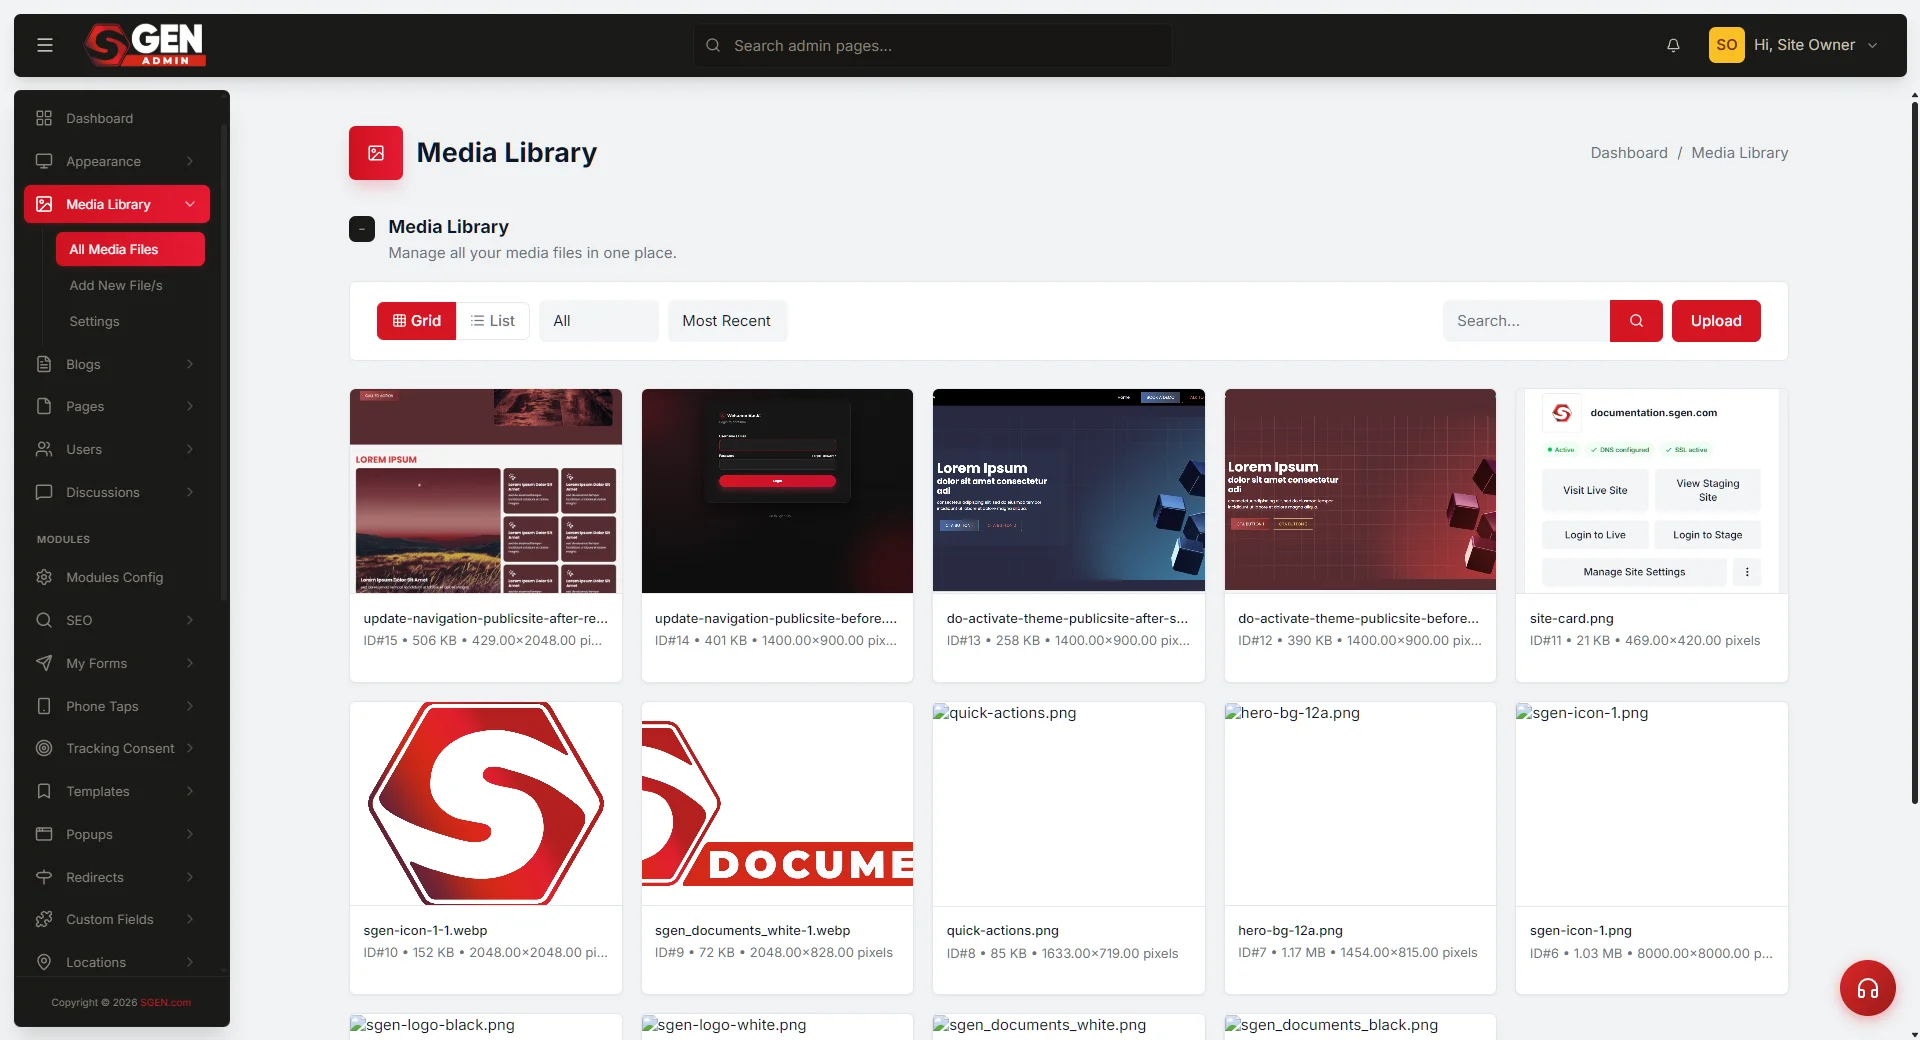
Open SG-Admin → Media. In the top toolbar, click Optimize to open the bulk optimization panel. You can also navigate to SG-Admin → Settings → Media to set global conversion defaults for new uploads and trigger a retroactive batch.
Steps — Convert the full media library to WebP
1. Open the media optimization settings
Go to SG-Admin → Settings → Media. Under Image format, set:
- Format for new uploads: WebP — ensures all future uploads auto-convert.
- Compression level: Lossy, quality 82 — balances visual quality against file size. Quality 82 produces files 25-35% smaller than JPEG at quality 85 with no visible degradation for most content. For color-critical images, use quality 90 or lossless.
- Preserve originals: On — SGEN archives originals during the batch. Keep this on for at least 30 days as a fallback.
2. Scope the batch — folder-first for large libraries
For libraries under 200 images, run a single full-library batch. For larger libraries, batch by folder — it keeps processing manageable and makes the spot-check in step 4 tractable (50 images per batch vs. 500 at the end).
In SG-Admin → Media → Optimize, use the Scope selector to pick a folder. Start with your largest folder (typically product images or blog images), verify, then proceed to the next.
3. Run the conversion batch
Click Convert to WebP. The progress panel shows Queued, Processing, Complete, Skipped (already WebP, SVG, animated GIF), and Failed counts. Leave the tab open — navigating away does not stop the batch, but the progress display will not update until you return.
For a library of 400 JPEG/PNG images, expect 5-15 minutes depending on image dimensions and server load.
4. Spot-check the conversion quality
After the batch completes, open 10-15 converted images across different content types and confirm:
- The image renders correctly — no visible color shift, banding, or artifact blocks.
- The file size is smaller — the conversion log shows before/after sizes.
- Pages render correctly — open three or four pages that use converted images and confirm display.
For color-critical images, compare the converted and original versions side by side. If you see visible color shift, re-convert those images at quality 90 or lossless using the single-image override in the media library.
5. Check and clear any failed conversions
Common failure reasons:
- Corrupted source file. Download the original, confirm it opens in an image editor, re-export cleanly, re-upload, and retry.
- Invalid EXIF metadata. Strip EXIF metadata using an image editor, re-upload, and retry.
- File too large for single-pass conversion. Files over 20 MB may exceed the per-image processing limit. Convert these using an external tool and re-upload — note that re-uploading creates a new file ID, so update any page references manually.
For a typical library, expect 0-2 failures. More than 5 suggests a systematic issue with the source images — investigate before proceeding.
6. Confirm total size reduction
Go to SG-Admin → Settings → Storage and note the new total media library size. A successful full-library conversion of a JPEG/PNG library should show 25-40% total size reduction. If the reduction is less than 10%, many images may have already been heavily compressed or were already WebP.
What success looks like
- Every image in the scoped folders shows Complete in the conversion log.
- Spot-check passes: no visible artifacts, correct colors, images render on public pages.
- Total media library size is 25-40% smaller than before conversion.
- New uploads auto-convert to WebP (confirm by uploading a test JPEG after the batch).
- The performance tab of SEO health no longer flags image format as a high-impact opportunity.
What to do if it does not work
Images on public pages still show as JPEG after conversion. The CDN is serving the cached original. Go to SG-Admin → Settings → Performance → Cache and click Purge image cache. After the purge, converted images should serve as image/webp.
Converted images show color banding on product photos. Lossy quality 82 is too aggressive for those images. Select the affected images in the media library and re-convert at quality 90 or lossless. This overrides the batch setting for those specific files.
Batch stops partway through with no error shown. A tab that went to sleep may have interrupted the progress display — the background job continues. Reload the optimize panel to see current state. If the batch genuinely stopped, resume by scoping the next batch to the remaining folders.
Storage usage increased after conversion. If originals are being preserved, the library temporarily holds both versions. Size decreases after originals are purged (typically after a 30-day archive window). Check Settings → Storage → Archive to see archived original size separately.
A converted image breaks a page layout. In rare cases, dimension metadata may be stripped during conversion. In the media library, open the image and confirm dimensions are shown. If not, re-upload the original and re-convert.
Reference — WebP quality settings guide
| Image category | Recommended quality | Rationale |
|---|---|---|
| Hero images, banners | Lossy 82-85 | Large files; strong size reduction with no visible artifact at screen resolution |
| Editorial photos (blog, news) | Lossy 80-82 | Screen resolution viewing; less headroom needed |
| Product photography (standard) | Lossy 85-88 | Slightly higher quality to preserve product detail |
| Product photography (color-critical) | Lossy 90 or lossless | Cosmetics, paint, fabric — hue accuracy is part of the product |
| Thumbnails and preview images | Lossy 75-80 | Small display size; aggressive compression acceptable |
| PNG icons and UI elements | Lossless | Hard edges and flat colors artifact badly under lossy |
| SVG (logos, illustrations) | Not applicable | SVG is already vector |
| Animated GIF | Not applicable | Convert to WebM/MP4 instead |
Expected size reduction by source format:
| Source format | Typical reduction | Notes |
|---|---|---|
| JPEG (camera-original, quality 95+) | 35-50% | High-quality originals compress well |
| JPEG (web-optimized, quality 75-85) | 15-25% | Already compressed; less headroom |
| PNG (flat color, icons, logos) | 10-40% (lossless) | Depends on color count and transparency |
| PNG (photography) | 50-70% (lossy) | PNG photography is rarely optimized |
| BMP | 60-80% | Virtually no compression in source |
If reduction is less than 10%, images may already be heavily compressed or already WebP. If more than 70%, the originals were likely uncompressed — confirm visual quality before proceeding.
Anti-patterns to avoid
Converting logos with transparency at lossy quality. Lossy WebP on PNG logos with alpha transparency can produce fringing artifacts. Use lossless or keep them as SVG.
Running the bulk conversion without originals archive on. If you discover a quality issue months later with no fallback, you have no recourse. Always keep the archive on for at least 30-90 days.
Uploading externally converted WebP files. Re-uploads create new file IDs — any page referencing the original file ID now has a broken image. Always use SGEN's built-in conversion.
Treating conversion as a one-time task. New images uploaded without WebP auto-conversion enabled will arrive in original format. Confirm Settings → Media → Format for new uploads is set to WebP so the library does not drift back.
FAQ
Does WebP work in all browsers? WebP is supported in all modern browsers (Chrome, Firefox, Safari 14+, Edge, Opera). SGEN's CDN serves WebP when the browser's Accept header includes image/webp and falls back to the original format otherwise — format negotiation is automatic.
Will converting to WebP affect my image URLs? No. SGEN's in-place conversion keeps the same file reference. The CDN serves WebP to supporting browsers and the fallback format to others, both from the same URL.
Can I revert a converted image to its original? Yes, if "Preserve originals" was on during the batch. In the media library, open the image and look for "Restore original" in the image actions.
What happens to animated GIFs during bulk conversion? They are skipped. SGEN does not convert animated GIFs to WebP. For animated content, convert GIFs to WebM or MP4 video.
Do I need to convert images on every subsite separately? Yes. Each site's media library is converted independently — the batch is per-site, not global.
How long should I keep archived originals before deleting them? 30 days minimum after a clean spot-check. 90 days if any images were flagged for quality concerns. After the archive window, go to Settings → Storage → Archive and purge the originals.
Checklist — WebP conversion complete
- [ ] Storage quota checked — sufficient headroom before the batch.
- [ ] Backup taken — pre-conversion snapshot confirmed.
- [ ] CDN WebP delivery confirmed enabled in Settings → Performance.
- [ ] Exemption images moved or tagged out of scope.
- [ ] Conversion settings: Format = WebP, Compression = Lossy quality 82, Preserve originals = On.
- [ ] Batch run — all folders covered.
- [ ] Failed conversions reviewed and resolved.
- [ ] Spot-check of 10-15 images — no visible artifact or color shift.
- [ ] Total size reduction noted (before/after figures recorded).
- [ ] Auto-convert for new uploads confirmed enabled.
Related reading
- Media library — full media panel reference including the optimize tool, folder management, and archive/restore controls.
- Performance and caching overview — how SGEN serves images via CDN and how WebP format negotiation works at the CDN layer.
- SEO health — after running this recipe, the image format score on the performance tab should improve or clear.
- Brand kit — logo and favicon assets require separate treatment (lossless WebP or SVG). Do not include brand marks in the bulk lossy conversion pass.