
Set up your brand kit — colors, fonts, logo
⏱ 2-min answer below · full page ≈ 10 min · skim the bold lead-ins to move faster.
In short. Your brand kit lives in one place — SG-Admin → Settings → Globals. Set your primary color, upload your logo, pick your fonts once, and every page on your site inherits them automatically. One change, site-wide effect.
On this page: Before you start · Where to open Globals · Steps · What success looks like · Troubleshooting
How to set up your brand kit in SGEN
Every SGEN site has a Globals layer — a single place where brand colors, fonts, logo, and favicon are defined once and applied everywhere. Update a color in Globals and it updates on every page that uses that token. Swap your logo and it swaps on every header. One change, site-wide effect.
The brand kit covers four token categories:
| Token | What it controls |
|---|---|
| Primary color | Buttons, active links, primary CTAs, section headers |
| Secondary color | Alternate backgrounds, secondary buttons, highlight bands |
| Heading font | H1-H4 across all templates, blog posts, and builder sections |
| Body font | Paragraphs, labels, captions, form fields |
| Logo | Header image on all pages |
| Favicon | Browser tab, bookmarks, mobile home screen |
What Globals is not for: per-page color overrides (use SG-Builder component styles or a scoped Custom CSS rule), structural layout changes (use SG-Builder and Template settings), or general brand asset storage (use the Media library). Globals is for tokens that should propagate site-wide by design.
Before you start
Have these four things ready before opening Globals.
Your brand colors as hex values. The color picker accepts hex directly — for example, #af0200 primary and #fff6f6 secondary. RGB or HSL values can be converted with any free online color converter.
Your logo file. SVG or transparent-background PNG of your horizontal logotype. SVG is preferred — it scales without loss at any size. Prepare a light and dark variant if your header color varies.
Your favicon file. Square PNG at 64×64 or 128×128 px. Should be a simplified mark or single letterform — not the full wordmark. Modern browsers resize as needed.
Your font choices. Know the exact name as it appears in the Google Fonts library (for example, "Playfair Display" or "Source Sans 3"). If using a self-hosted font, upload it first via Settings → Custom Fonts, then return to the Typography tab.
Where to open Globals
Via SG-Admin Settings (recommended for initial setup): Go to SG-Admin → Settings → Globals. This shows the full editor with all token tabs visible.
Via SG-Builder: Click the Globals button in the top toolbar while editing any page. Same data, same effect — but the Settings path is easier for first-time setup across all tabs.
Steps — Set up your brand kit in SGEN
Logo and favicon first, then colors, then fonts.
1. Upload your logo to the Media library
Go to SG-Admin → Media → Upload Files. Before uploading, toggle format to WebP (or keep PNG for SVGs) and compression to On — SGEN defaults are format=Original and compression=Off, which can produce oversized files.
Upload your logo file. Repeat for the favicon. You now have both files in the Media library.
2. Set your logo and favicon in Globals
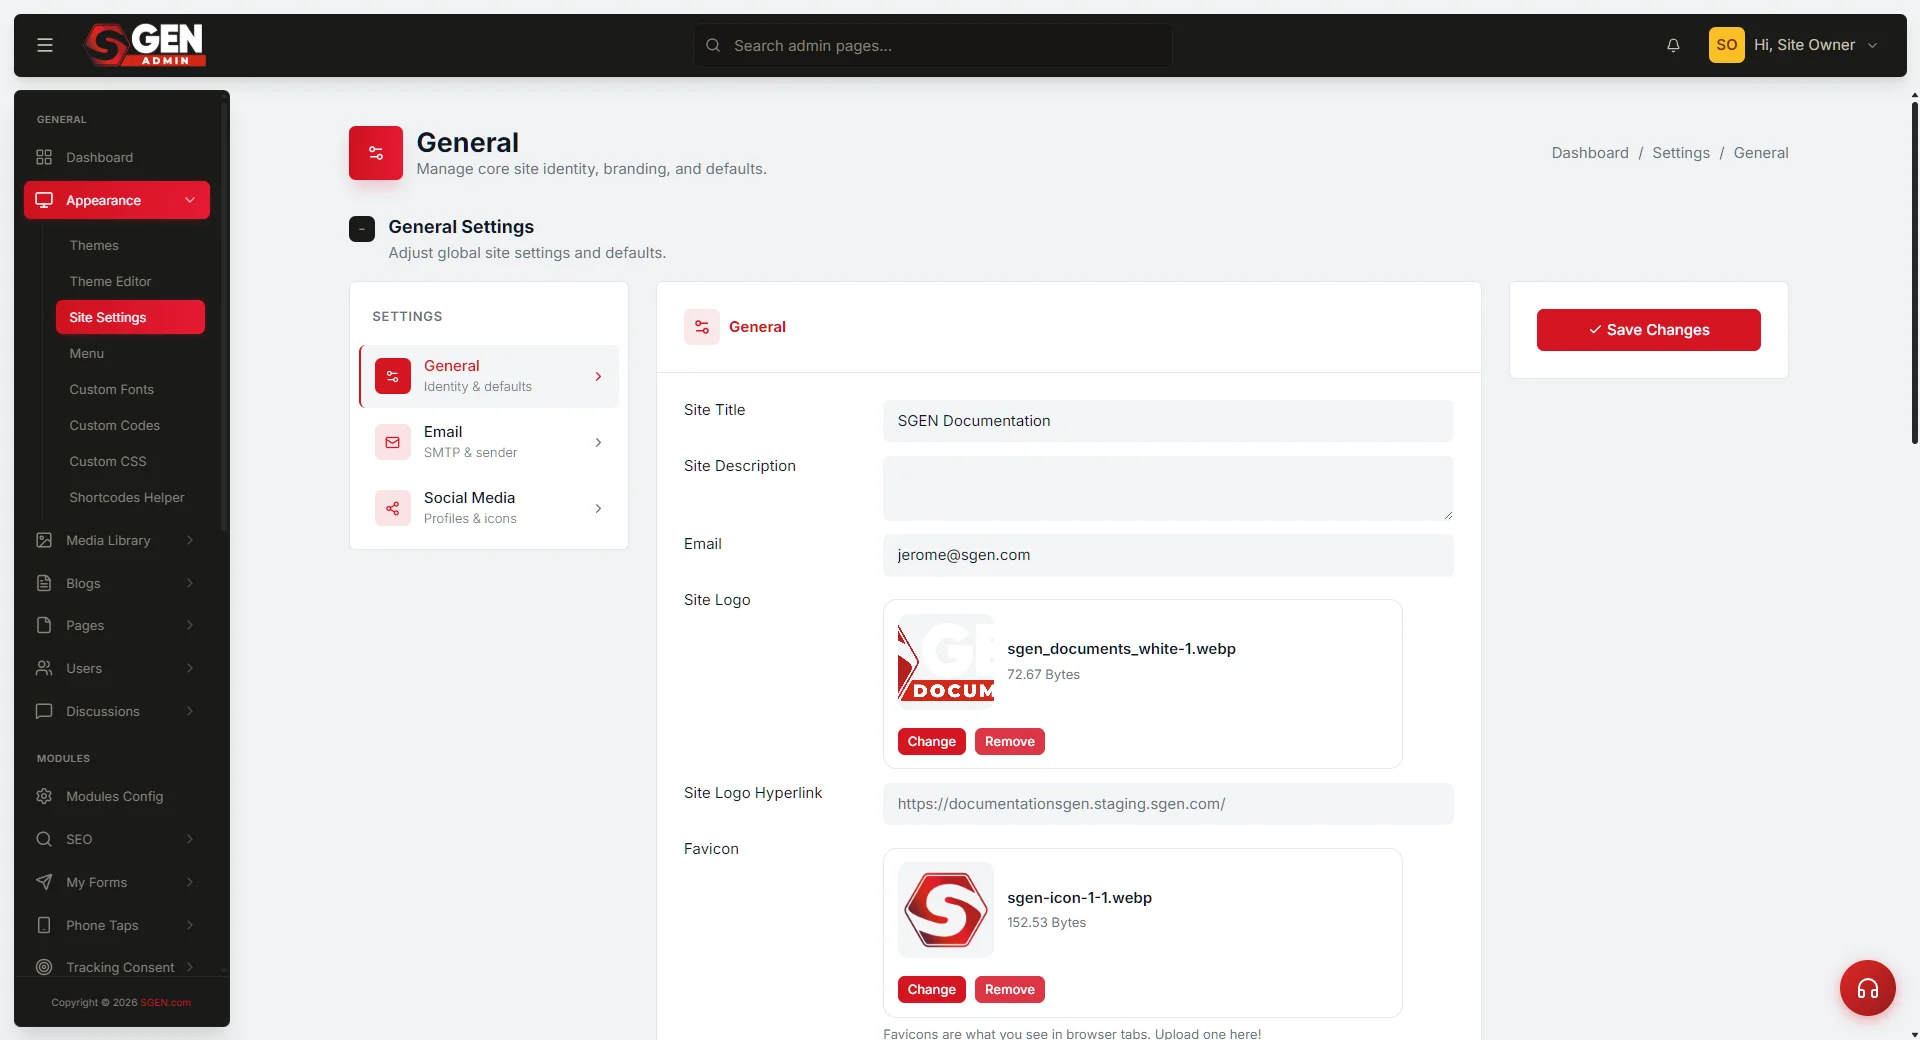
Go to SG-Admin → Settings → Globals and click the Logo and Favicon tab.
In the Logo field, click Select from Media, find the logo you uploaded, and confirm. A preview appears below the field — check that it is the right file, not stretched or pixelated.
In the Favicon field, do the same. The preview shows a small square thumbnail — confirm it is legible as an icon.
Do not save yet. Set colors and fonts first, then save everything at once.
3. Set your primary and secondary brand colors
Click the Colors tab in Globals.
In the Primary color field, type your hex value and tab out — the swatch updates immediately. If it does not match, check for a typo: six characters after #, no spaces.
In the Secondary color field, enter your secondary color. If you have an Accent color, enter it; otherwise leave it blank and it defaults to the primary.
4. Set your heading and body fonts
Click the Typography tab in Globals.
In the Heading font dropdown, start typing the font name — the list filters as you type. Set Heading font weight to match your brand style guide (most display typefaces look correct at Bold/700).
In the Body font dropdown, select your body typeface. If using a self-hosted font not in the Google Fonts list, upload it first via Settings → Custom Fonts, then select Custom font (uploaded) here.
5. Preview the combined result
Click Preview on the Typography tab. The preview shows H1-H3 headings, body paragraphs, and a button in your primary color. Confirm:
- Heading letterforms and weight match the brand.
- Body text is legible at 16px.
- Primary color on the button has sufficient contrast.
- The two fonts work together — adjust heading weight if the pairing looks off.
6. Save and confirm site-wide application
Click Save Changes. SGEN applies all Globals values site-wide immediately.
Open a private browser window and navigate to your site's homepage. Verify:
- Logo in the header matches the file you uploaded.
- Favicon in the browser tab is the mark you uploaded.
- A heading renders in your heading font.
- Body text renders in your body font.
If nothing appears to have changed, the browser is serving cached assets. Hard-refresh: Ctrl+Shift+R on Windows, Cmd+Shift+R on Mac.
What success looks like
Open your site in a private browser window after saving. Everything below should be true.
- Logo appears in the header on every page — homepage, blog index, SG-Builder pages.
- Favicon in the browser tab is the mark you uploaded, not the default SGEN icon.
- Headings on every page use your heading font — H1, post titles, builder section headings.
- Body text uses your body font — paragraphs, form labels, captions, navigation items.
- Buttons and primary links use your primary brand color.
- Alternate section backgrounds use the secondary color on templates that reference that token.
- No SGEN default placeholder colors remain (unless the default happens to match your brand).
- SG-Builder component palette shows your brand colors in the token slots.
What to do if it does not work
Font not loading — text falls back to a browser default. Most likely a typo in the font name. Open the Typography tab and confirm the name matches the Google Fonts library exactly — case matters. Delete the value, re-type it (or re-select from the dropdown), save, then hard-refresh (Ctrl+Shift+R / Cmd+Shift+R).
If the name is correct but the font still does not load, a privacy filter or ad blocker may be blocking fonts.googleapis.com. Test in a different browser to confirm. If it loads there, the font is set correctly — the issue is the browser filter. Fix: self-host the font by uploading the files via Settings → Custom Fonts and referencing the custom version in Globals instead.
Logo appears too large or too small in the header. Go to Globals → Logo and Favicon and adjust the Logo max-height field. Typical range: 32px-64px; 48px is a good starting point. Save and hard-refresh.
If the logo looks blurry at the correct height, the source file resolution is too low. Re-export at 2×-3× the intended display height (for a 48px display height, export at 144px or 192px tall).
Favicon stuck at the default SGEN icon. Favicons are heavily cached. After confirming the Globals preview shows the correct image, close all tabs on your site, close the browser entirely, reopen, and navigate back. If it still shows the old icon, clear the browser cache (Ctrl+Shift+Delete / Cmd+Shift+Delete) and reload.
Colors or a Globals change not applying to a specific component. Some components — especially those built or modified in SG-Builder — may have a hard-coded color value overriding the Globals token. Open the component in SG-Builder, find the color setting, clear the hard-coded value, and set it to use the Globals token. The component then updates automatically whenever Globals changes.