
SGEN Sandbox Walkthrough
The SGEN sandbox is a fully isolated environment that lives completely apart from your production site. Nothing you do there affects your live site, your SEO footprint, or real visitors. This guide covers the full lifecycle — creating a sandbox, working safely inside it, understanding how it differs from production, saving and restoring state via snapshots, and promoting a finished build to a live production site.
Safe by design
The sandbox is permanently separated from production. No action inside it affects your live site, your SEO, or real visitors — it is built for breaking things.
Snapshot before you reset or promote
Take a named snapshot before any destructive action. Resets are permanent. Promotions are one-direction. A snapshot is your only rollback path.
Sandbox is a specification tool, not storage
Content you build in the sandbox does not auto-migrate to production. Use the sandbox to make decisions, then reproduce them in production with the sandbox as your reference.
What the sandbox is for
Most platforms hand you a production environment and tell you to be careful. SGEN gives you a sandbox first. When the cost of a wrong click is nothing, you move faster and retain more. The sandbox is right for five specific situations.
Learning
First-time orientation
You signed up for SGEN this week, or you inherited admin access. Walk through every content area — blog posts, pages, media, forms, settings — without treating every action as permanent.
Evaluation
Pre-purchase assessment
Create real pages, connect a starter template, add content, and test specific workflows against your requirements — a working environment instead of a demo.
Prototyping
New sections and content types
Build a prototype of a resource library, a product launch sequence, or a custom content structure. Review it, revise it twice, then hand the dev team a finished specification instead of a vague brief.
Migration
Trial imports and rehearsals
Run the trial import in sandbox before executing against production data. The sandbox absorbs field-mapping errors so production does not have to.
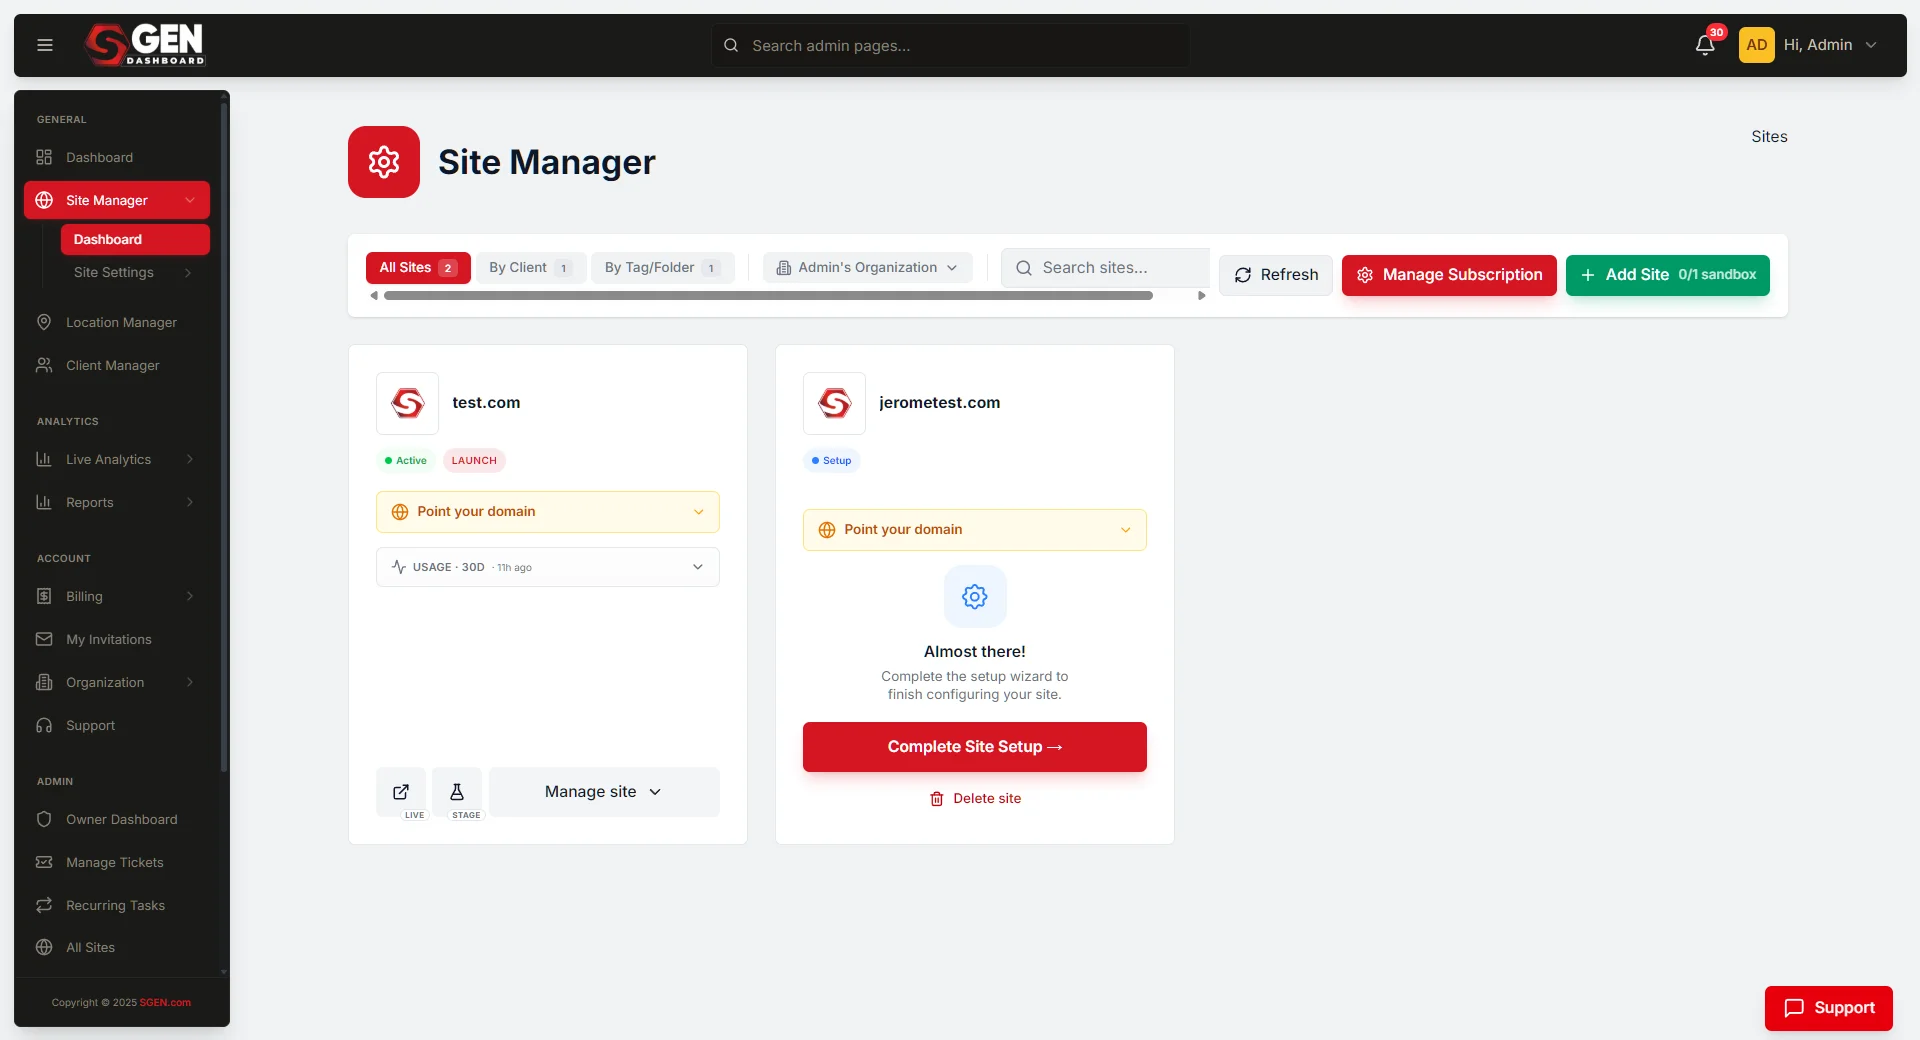
Create your sandbox
Go to Dashboard in the left navigation and click Sandbox under Environments. Click New sandbox to open the setup form.
1
Name the sandbox
Give it a descriptive name that matches your intent. For orientation: "My first sandbox." For a prototyping project, name it after the feature — "Your Store — spotlight section prototype." The name appears in the Sandbox list and in the sandbox header bar.2
Choose a starter template
Retail Store (hospitality, food and beverage, service businesses) · Portfolio (agencies, freelancers, professional services) · Blog (content-heavy operations) · Ecommerce (product-led businesses) · Blank (scoped redesigns from scratch). If you are evaluating for the first time, pick the template closest to your real use case. Everything is editable after creation.3
Pre-load brand kit (recommended for prototyping)
Check Pre-load brand kit to import your current brand colors, fonts, and logo automatically. Have your hex values, font names, and logo file ready. This takes two minutes and makes every prototype representative of your real brand.4
Click Create sandbox and explore
The sandbox initializes and opens the dashboard. Walk through the left navigation: Pages, Blog, Media, Forms, Settings. For orientation, click into each area in that order — it covers every content area the marketing team uses day to day.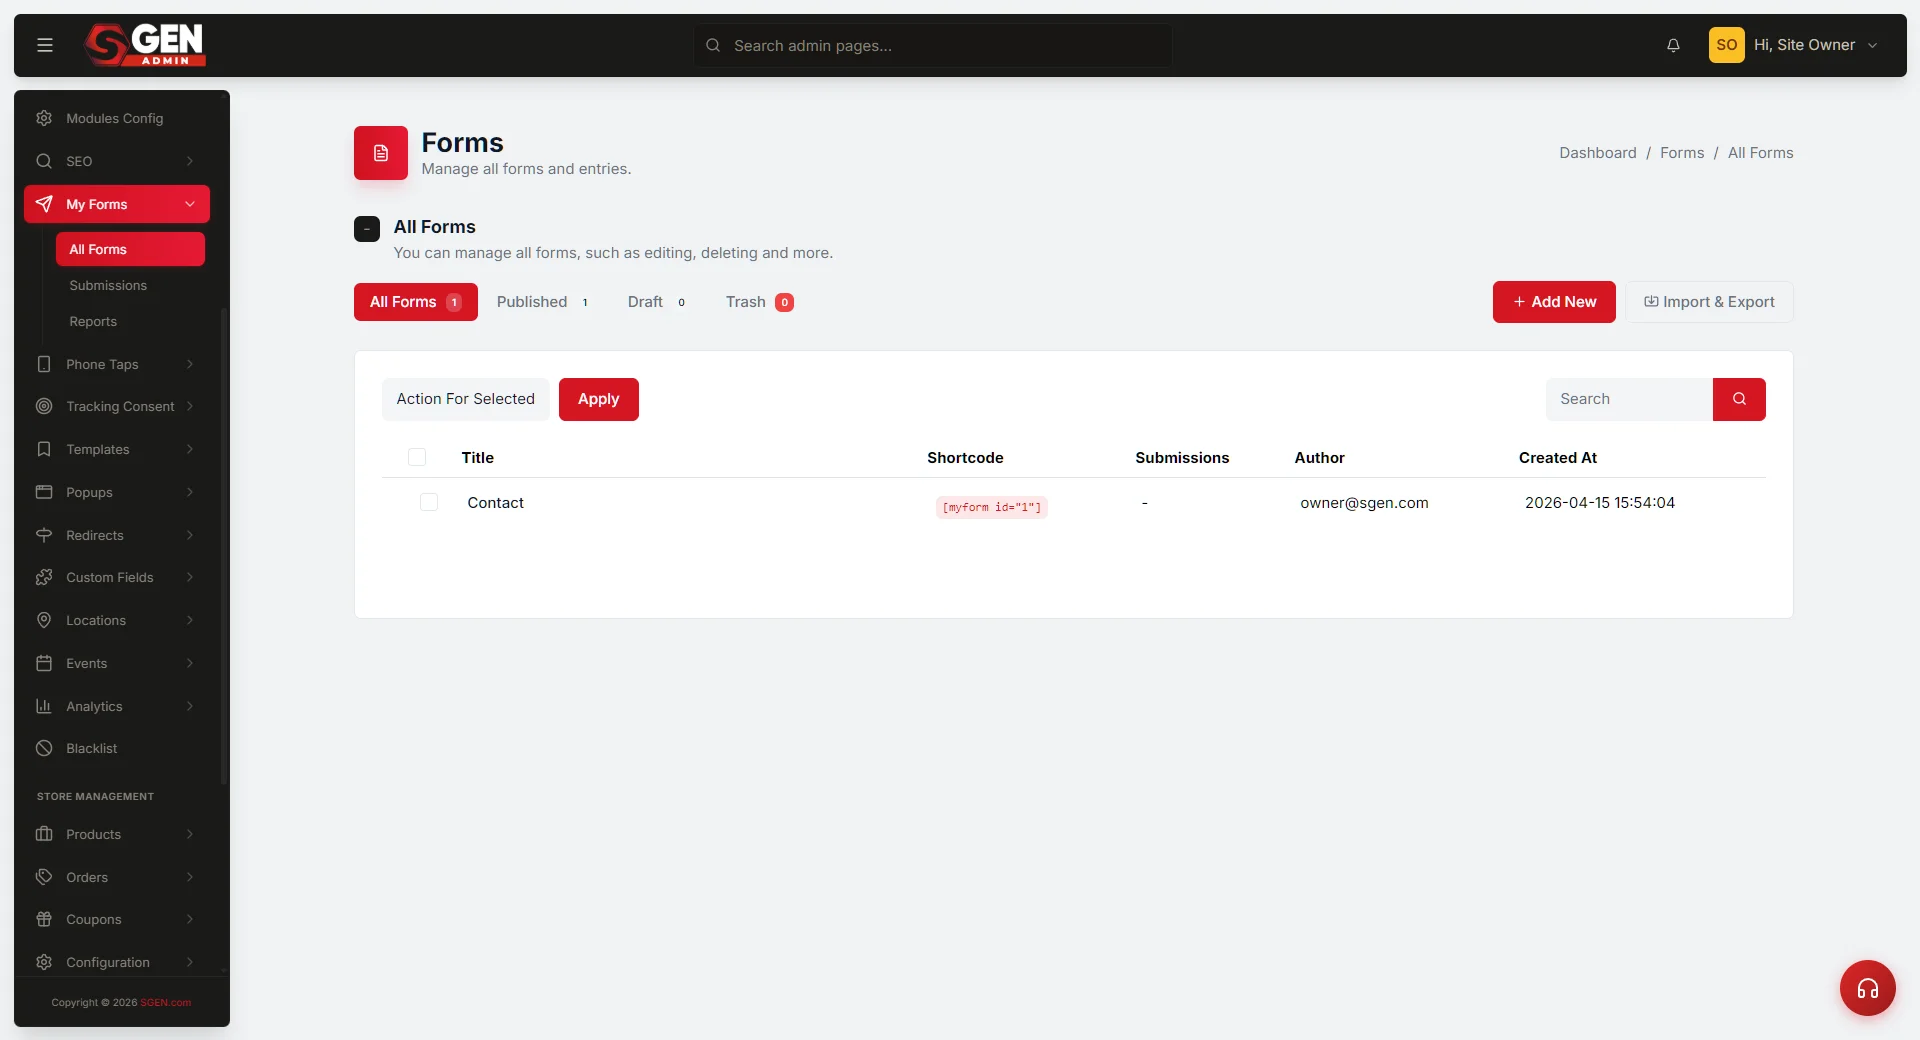
Sandbox vs production — know which one you are in
Before any significant session, say aloud what you are about to do. "Update the pricing page to add a new tier" is production work. "Try a different homepage hero layout" is sandbox work. Four signals tell you which environment you are in.
Top nav badge
Sandbox shows an amber Sandbox badge next to your site name. Production shows the site name with no badge. Check this before every save.
Browser tab title
Sandbox tabs read [Sandbox] Your Site — Dashboard. Production tabs read Your Site — Dashboard with no prefix.
Address bar domain
Sandbox environments live at sandbox.sgen.com/your-site. Production sites live at your own domain or your production admin URL.
Inactivity archive
Sandbox environments auto-archive after 30 days of inactivity. If you have not touched a sandbox in a month, log in and confirm it is still active before starting new work.
Snapshots and resets
Both operations live in one place: Sandbox Settings → Reset and Snapshots. A snapshot saves your sandbox exactly as it stands now into a named .sgen file you can restore any time. A reset wipes the sandbox back to a baseline — blank, your original template, or a specific snapshot. Your other snapshots survive a reset untouched.
1
Take a snapshot
From the sandbox dashboard, go to Settings → Reset and Snapshots. Click Take Snapshot. Type a descriptive name with context and date — yoursite-homepage-v1-2026-05-24 tells you the project, content, version, and date at a glance. test-snapshot tells you nothing. Click Save Snapshot. For a typical sandbox this takes 30 seconds to two minutes depending on media volume.2
Reset the sandbox
Go to Settings → Reset and Snapshots. Choose a Reset Baseline — Blank, Current template, or Restore from snapshot. Type RESET (exactly, all capitals) in the confirmation field. Click Reset Sandbox and confirm in the final dialog. Do not navigate away during reset — large media libraries can take up to five minutes.Download snapshots you want to keep beyond 30 days
Auto-expiry applies to sandbox snapshots. If a sandbox state represents a demo, a completed prototype, or a pre-promote record, download the .sgen file and store it locally or in a team drive.
Treat the pre-promote snapshot as mandatory
Before promoting any sandbox build to production, take a named snapshot. Label it with pre-promote and the date. This is the snapshot you will reach for if something surfaces in production that was not visible in sandbox.
Delete snapshots you no longer need
Storage limits are finite. Old test snapshots from rejected layout experiments or prototypes rebuilt from scratch are candidates for deletion once the work is done.
Promote your sandbox to production
Promoting converts your sandbox environment into a fully operational production site — with its own domain, live analytics, scheduled backups, and the complete production feature set. Everything that was in the sandbox comes with it. The sandbox stays behind as a preserved snapshot of what you launched from. Promotion is one-direction and cannot be undone.
1
Take the pre-promote snapshot
Open the sandbox site card, go to the Snapshots tab, and click Take snapshot. Name it with today's date — "pre-promote 2026-05-25." This is listed first because it is the step people skip under time pressure. The promote action is one-direction and a snapshot is the only rollback path available.2
Open the promote flow
Go to Sites in the left sidebar. Find your sandbox. Click Promote to production from the site detail view. Read each screen in the multi-step dialog before clicking through — the flow includes a summary of what carries over, a plan tier confirmation, and a one-way warning. All three screens matter.3
Confirm plan tier and set or defer domain
The first screen confirms the plan tier for the new production site. If your current plan is at its site limit, the promote flow prompts you to upgrade. The second screen asks whether to connect a domain now or defer it. If you defer, the new production site is accessible via a temporary SGEN-assigned URL immediately after promotion.4
Confirm and fire the promote
Review the full summary of everything moving from sandbox to production. Click Promote to production. For most sandboxes promotion completes in under two minutes. Do not close the tab during promotion.5
Complete the three post-promote steps
Connect your domain (Settings → Domains), set SEO defaults (Settings → SEO — these were not active in sandbox), and activate scheduled backups (Settings → Backups). All three are required for the production site to be correctly configured.What carries over automatically
Pages, posts, media library, brand kit, user accounts, custom objects, site settings, and the content structure built in the sandbox.
What requires post-promote setup
Scheduled backups, domain DNS records, and OAuth-based third-party integrations (email marketing, payment processors, CRM). These must be re-connected under the production domain — expected behaviour, not a promote bug.
What NOT to use the sandbox for
The sandbox is purpose-built for learning, prototyping, and evaluation. Treating it as a secondary production environment creates problems.
Do not
Host content for real visitors
The sandbox URL is not indexed by search engines and is not served at your branded domain. Any content you publish inside it is only accessible to people with the sandbox link.
Do not
Share the sandbox URL with customers
The sandbox is an internal tool. If you need to show work to a client, promote the content to production first — the sandbox URL is not appropriate for client presentations or branded communication.
Do not
Use the sandbox as long-term storage
Content created in the sandbox does not sync to production. If you build something you want to move, the promote flow handles it — but treat sandbox content as a specification, not a backup or archive.
Do not
Run live payment or data-collection workflows
Sandbox environments are not connected to live payment processors or CRM systems by default. Treat any form submission or integration test inside the sandbox as synthetic.
Heads up: Sandbox resets are permanent — there is no restore-from-reset. If you reset a sandbox by mistake, the content cannot be recovered. Before clicking Reset, always take a snapshot of anything worth keeping.