
Build Your First Custom Object on SGEN
Pages handle one-off content. The blog handles date-driven content. Custom objects handle everything else — the repeating, structured content that keeps a team page current, a product catalog consistent, and a testimonial slider maintained without touching the page layout. This guide takes you from an empty account to a published object type with records rendering on your site, in about twenty minutes.
Plan the schema before you build
Write out your fields before opening the admin. Field types lock on save — changing a type after records exist means deleting the field and losing that data.
Four to eight fields is the right size
If you have more than ten fields, some are probably display concerns handled at the template level, not data fields. Keep the schema lean and purposeful.
Records update the site — no page edits needed
Once connected, content problems are fixed in the record, not in the page editor. A new team member, a new product, a new testimonial — add a record and it appears.
What custom objects are for
A custom object type is a table with columns you define. Each record is a row. The field schema defines what every record in that type must or may carry. Once the schema exists, anyone with editor access can add records without touching the schema or the page layout. Custom objects are part of SG-Modules and integrate directly with Templates, Pages, Forms, and SG-Builder.
When to use a custom object
Six content types that are almost always better as custom objects than as manually written page sections.
Team
Team members
Name, role, department, bio, profile photo, LinkedIn. The team page auto-generates from records. When someone joins, add a record — no page edit required.
Commerce
Products
Name, description, price, image, category, SKU, availability. The product catalog renders from records. A Your Store seasonal blend appears on the site the moment the record is published.
Social proof
Testimonials
Quote, customer name, company, role, rating. The testimonial slider pulls from the most recent records. No copy-paste into page sections.
Content
Case studies & locations
Case studies get their own detail pages at /case-studies/{slug}. Location records give a multi-site business one record per branch — opening a new branch means adding one record.
What not to use custom objects for
Custom objects pay off at two or more records — ideally more than five. For these use cases, choose the right tool instead.
One-off content
An About page, a Privacy Policy, a Contact page — singular non-repeating content. Use Pages. There is no benefit to an object type with exactly one record.
Date-driven content
News, announcements, editorial articles — content where chronological order and authorship are the primary organizing principles. Use Blog. It already handles scheduling, categories, tags, and author attribution.
Binary files
Custom objects store structured data, not files. Upload PDFs, images, and downloadable assets through Media Library and reference them in your object fields using the image or link field types.
Site configuration
Site name, default SEO values, email sender address, third-party integration keys — these live in Settings. Settings are operational configuration. Custom objects are content.
Before you start
Do this planning before you open Custom Objects in SG-Admin. The time here saves rebuilding later.
Problem
Write the problem sentence
"I want a team page that updates without manual page edits." If you cannot write that sentence, you probably do not need a custom object yet.
Fields
List four to eight fields
For a team member object: name, role, department, bio (rich text), profile photo (image), LinkedIn URL (link). Six fields. Match each to a field type before you start — text, rich text, number, image, date, link, or reference.
Detail pages
Decide on detail pages
Does each record need its own public URL (e.g. /team-members/operations-lead)? Make this decision before saving the schema — it determines how you configure the object type.
Access
Confirm your access level
Schema creation requires Admin or Owner access. Editor roles can add records but cannot create or modify object types. Contact your account admin before continuing if unsure.
Steps — Build your first custom object
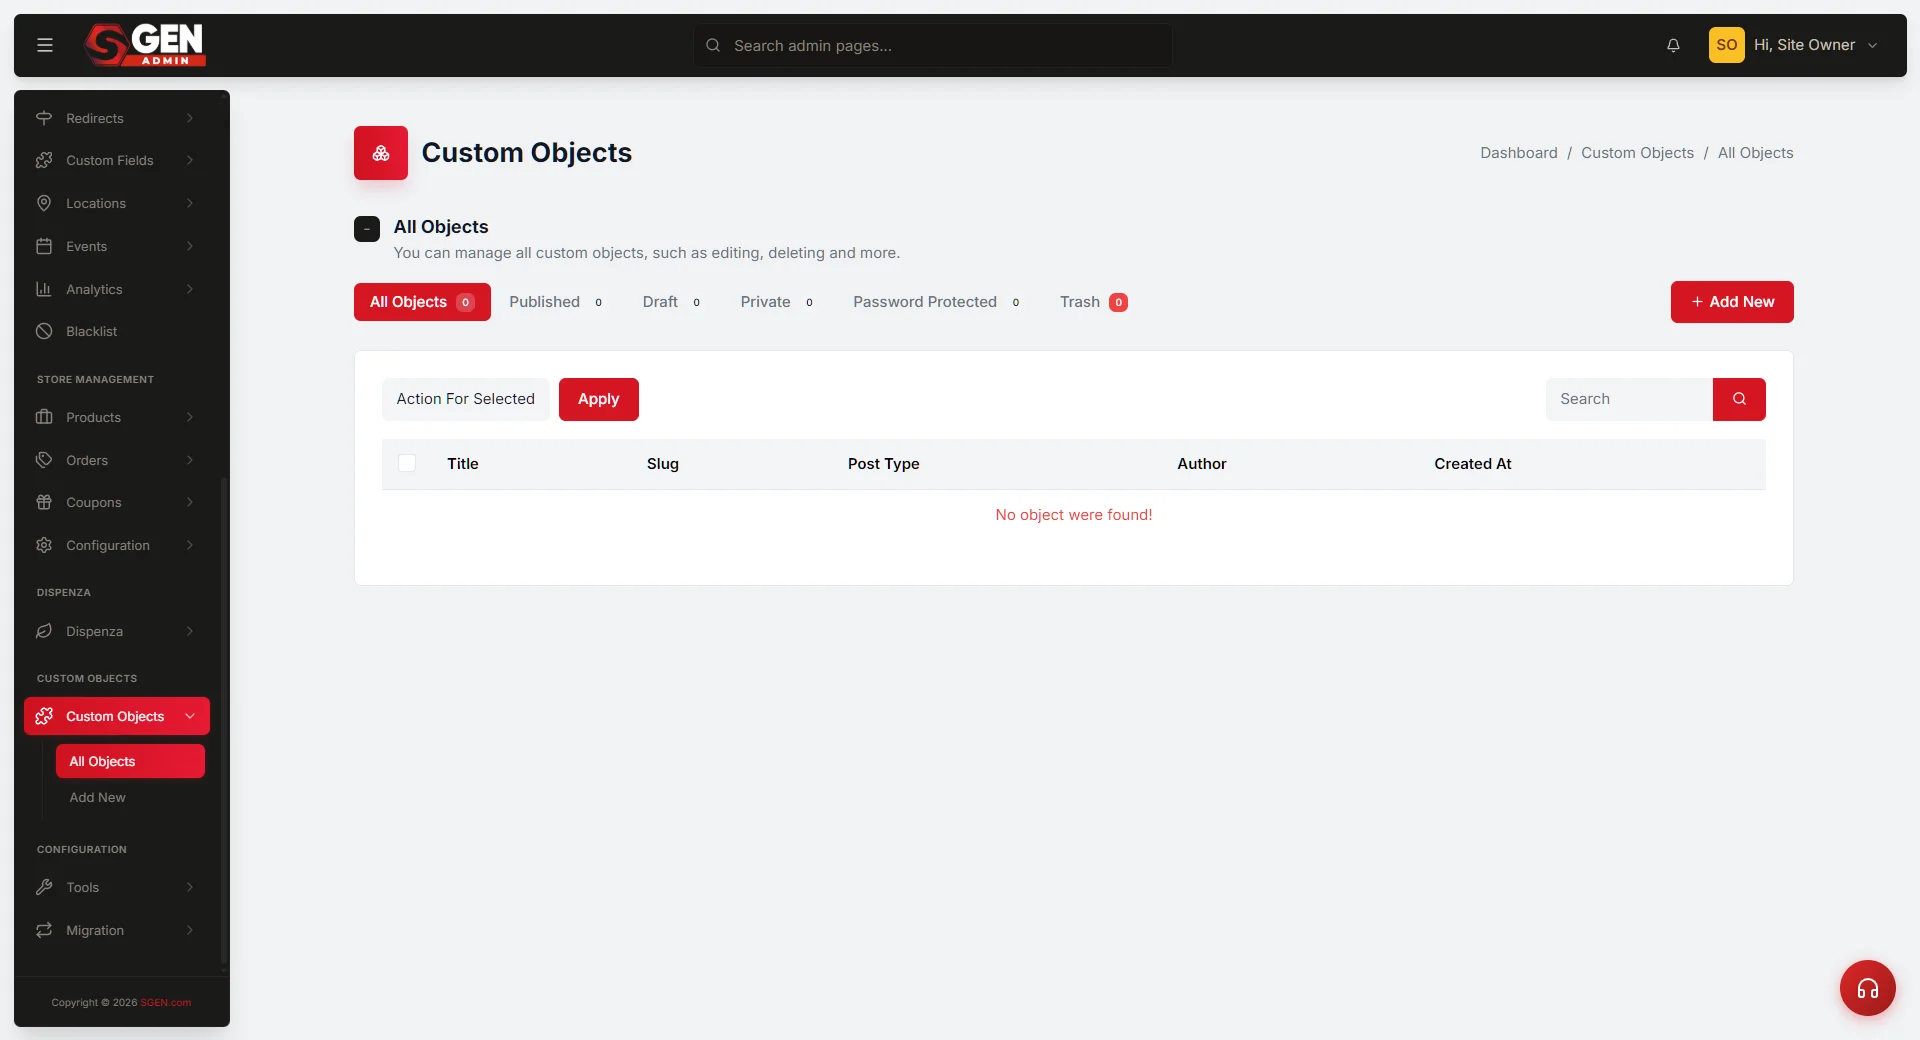
From Custom Objects in SG-Admin to a published record rendering on your site. Navigate to SG-Admin → Custom Objects → New Object Type to begin.
1
Name the object type
Click New Object Type. Fill in the singular name ("Team Member") and plural name ("Team Members"). SGEN generates the URL slug from the plural name — team-members becomes the base for detail page URLs (/team-members/{record-slug}). Edit the slug before saving if you want a different URL base. Check or uncheck Enable public detail pages based on your Step 0c decision. Click Save object type.
2
Add fields to the schema
The field editor opens after saving. Click Add field for each field on your pre-built list. For each field: set the label (your team will use this), choose the field type (text, rich text, number, image, date, link, or reference), mark required or optional, and add a hint for the record editor. Put the most important fields first — name, primary image, primary text. Work through the full list.
3
Mark required fields and save the schema
Review the Required column before saving. Required fields block record publishing if left empty — use them for fields where an empty value would cause a display problem. For a team member object, Name, Role, Bio, and Profile photo are typically required. Department and LinkedIn URL are optional. Drag fields into order using the drag handle, then click Save schema.
4
Add your first record
From the Custom Objects list, click the object type and then New Record. Fill in each field. SGEN auto-generates a URL slug from the name field when detail pages are enabled — for "Operations Lead" the slug becomes operations-lead. Click Save record to save as draft before publishing.
5
Preview the record on a page
Two ways to preview. Detail page: click Preview on the record page — SGEN renders the record using your assigned template. Page section: open the page in SG-Builder, drag a Custom Object Section onto the layout, choose your object type, and preview the page. You should see your draft record in the preview before it is published. If the detail page returns a 404, see the troubleshooting section — the most common cause is a missing template assignment.
6
Publish the record
When the preview looks correct, open the record and click Publish. The record status changes from Draft to Published. If detail pages are enabled, the public URL is now live. For team pages and product catalogs, add your initial batch of records, publish them, then review the full collection for layout consistency — one image in the wrong aspect ratio, one bio much longer than the others. Fix issues at the record level, not the page level. That is the point of the object.
What to do if it does not work
Common issues and how to resolve them.
The schema does not save
Check that both the singular and plural name fields are filled. The slug must contain only lowercase letters, numbers, and hyphens — no spaces, no uppercase, no special characters. Fix the slug and try again.
The object type does not appear in the sidebar
Browser cache is the most common cause. Hard refresh the page (Ctrl+Shift+R on Windows, Command+Shift+R on Mac). It may take up to thirty seconds. If still missing after a minute, navigate directly to SG-Admin → Custom Objects and check the list.
A field type is wrong and records already exist
You cannot change a field type without deleting the field. Copy any data from that field in every existing record first, then delete the field, add a new one with the correct type, and re-enter the data. Do this off-peak hours — field deletion is immediate and permanent.
Records are not rendering in a page section
Open the SG-Builder editor, select the Custom Object Section, and confirm it is pointing to the correct object type. Check that Records to show is set to Published records, not Draft only. Publish at least one record, then reload the page editor.
The detail page returns a 404
Two causes: no template assigned to the object type (go to Custom Objects → your object type → Settings and assign one), or the record is still in Draft status. Draft records do not have a live public URL. Publish the record and try the URL again.
An image field is not displaying
The media file may have been deleted from the Media Library. Go to Media and search for the file name. If it is not there, re-upload through Media and re-link it in the record image field. Images are stored in Media and referenced by records — deleting the media file breaks any record that references it.
Heads up Field types lock on save. Once a field is saved with a type, you cannot change it without deleting the field and losing its data. Plan your field types against your Step 0b list before saving the schema — especially for fields like price (number, not text) and bio (rich text, not text).