
Custom Objects
⏱ ~5 min read · define a content type, set its URL and templates, add entries, and trash or restore a type without losing content.
In short. Custom Objects is where you define content types that SGEN doesn't ship by default — a Team Members area, a Recipes section, Case Studies, anything your site needs. You create a type, give it a name and a URL pattern, and SGEN adds a sidebar entry and a public listing page for it. Each type has its own entries (added much like blog posts) and its own templates for how items and listings look. Trashing a type takes it offline without deleting your content, and you can restore it later. The feature must be turned on in Modules Config.
On this page: What a custom object type is · Where to find it · Create a type · Add entries · Set the templates · Trash and restore a type · Objects vs fields · Worked examples · Troubleshooting · Vocabulary
What a custom object type is
A custom object type is a content type you define for your site, and Custom Objects is the admin area where you define and manage them. Where Pages, Posts, and Products ship as platform defaults, custom types are configured per site. Each type carries:
- Name — what it's called (e.g. "Team Members", "Recipes").
- Permalink structure — the URL pattern for its items, such as
/team/%slug%. The%slug%part is replaced with each item's URL-friendly name. - Listing layout — Items per page (default 12) and Items per row (default 3).
- Templates — a Single template, an Archive template, and a Loop item template.
- Entries — the individual records inside the type, each with its own public URL.
- Status — Published (live) or Draft (hidden while you prepare).
Where to find it
Sign in to your SGEN dashboard, open Site Manager, find your site, and choose Manage site → Login to staging (or live). In your site's admin, choose Custom Objects in the sidebar. The feature must be turned on in Modules Config; if you can't see it, ask your account admin to check your role and that the module is enabled.
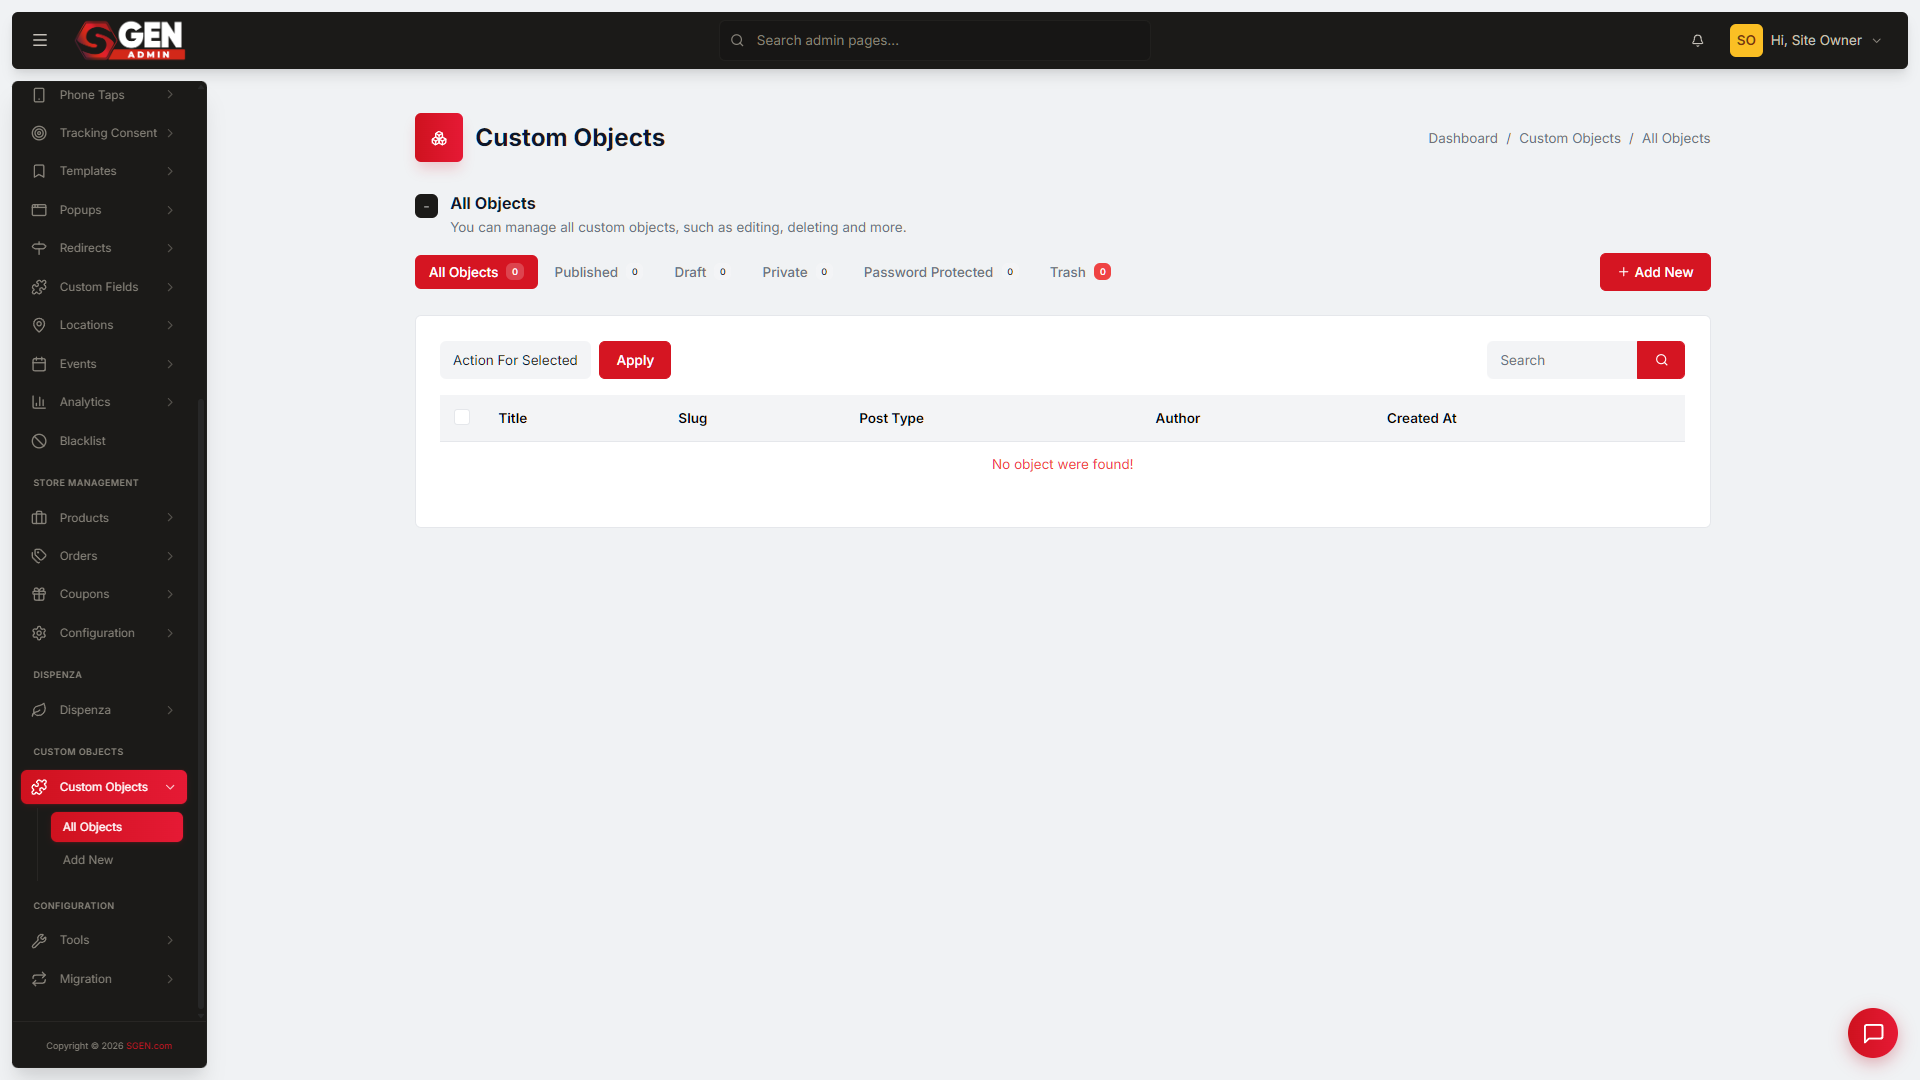
Create a type
- In Custom Objects, click Add New at the top right of the list.
- In the Title field, type the name of your type — for example, "Team Members" or "Recipes".
- In the Permalink structure field, set the URL pattern for items — for example,
/team/%slug%. - Set Items per page (default 12) and Items per row (default 3) if you want a different listing layout.
- Choose a Single template and Archive template if your site has custom-built ones — leave both at default if unsure.
- Set Status to Published (live immediately) or Draft (hidden while you prepare).
- Click Create Item in the right sidebar.
A success message confirms the type was saved, a new sidebar entry appears under the type's name, and the public listing page becomes reachable at the permalink path you set.
Add entries
A type is the container; entries are the individual records inside it. Adding one works much like adding a blog post:
- In Custom Objects, find your type. Hover the row and click View Pages — this opens the items browser for that type.
- At the top right of the items browser, click Add Page.
- Fill in the item's Title, Content, Status, and any other fields shown — including Custom Fields if your type has them attached.
- Set Status to Published to put the item live right away, or Draft to save it privately.
- Click Save.
The new entry appears in the items browser and, if published, goes live at its public URL under the type's permalink pattern. To find an existing entry, type part of its title into the search box at the top of the items browser.
Set the templates
Each type has three template slots that control how it looks on your public site. You set them on the type's edit screen:
| Template slot | What it controls |
|---|---|
| Single template | How one item (e.g., one recipe) looks on its own page |
| Archive template | How the listing of all items looks |
| Loop item template | How each item card looks inside the listing |
- In Custom Objects, click the type's name (or hover and click Edit).
- Choose a template from each of the three dropdowns. If you're not sure, leave all three at their defaults.
- Click Update Item in the right sidebar.
The next time a visitor loads the listing or an item page, the new template is used — you don't need to touch individual entries.
Note: template names in the dropdowns come from your site's Templates area. If a template your designer built isn't listed, confirm it has been saved in Templates first.
Trash and restore a type
Removing a type is reversible and never deletes the entries inside it.
- Trash a type from the list (hover the row and click Trash) or from its edit screen (Move to Trash at the bottom of the sidebar), then confirm. The type leaves the active list and sidebar, and its public listing returns a 404 — but every entry inside it is kept.
- Restore a type by clicking the Trash filter pill at the top of the list, finding the type, and clicking Restore. It comes back as Draft; open it, set Status to Published, and click Update Item to make it live again.
Tip: to hide a type temporarily without trashing it, set its Status to Draft instead. Draft keeps it in the active list with a Draft badge; Trash removes it from the active list entirely.
Objects vs fields
A custom object is a whole new content type, with its own list, detail pages, and set of fields. A custom field adds one piece of extra data to an existing type — for example, a "Certification" field on a product. Use a custom object when you need a brand-new content area; use a custom field when you want to extend one you already have.
Worked examples
| Goal | What you do |
|---|---|
| Team Members area | Add New → Title "Team Members" → permalink /team/%slug% → Published → Create Item. Then View Pages → Add Page for each person. |
| Recipes section | Add New → Title "Recipes" → permalink /recipes/%slug% → set Items per row to 4 → Create Item. Add each recipe via View Pages → Add Page. |
| Restyle a listing | Open the type → pick a designer-built Archive template and Loop item template → Update Item. Existing entries pick up the new look automatically. |
| Retire a type for now | Trash the type — sidebar entry and public listing go away, entries are preserved. Restore from the Trash filter when you need it back. |
| Extend instead of replace | Want one extra field on Products rather than a new area? Use a custom field, not a custom object. |
Troubleshooting
- I can't find Custom Objects. The feature must be enabled in Modules Config, and your role must include access. Ask your account admin to check both.
- My new type's listing page 404s. Confirm the type's Status is Published (not Draft) and that you're visiting the permalink path you set.
- A designer's template isn't in the dropdown. Templates come from the Templates area — confirm the template was saved there first.
- I trashed a type by mistake. Nothing is lost. Open the Trash filter, click Restore, then set the type back to Published.
Vocabulary
| Term | Meaning |
|---|---|
| Custom object type | A content type you define, extending the platform-default set |
| Permalink structure | The URL pattern for a type's items, using %slug% for each item's name |
| Entry | One individual record inside a type, with its own public URL |
| Single / Archive / Loop item template | The three templates controlling item pages, listings, and item cards |
| Trash / Restore | Take a type offline without deleting its entries, and bring it back |
Related
- SG-Admin Overview — parent surface.
- Custom Fields — per-type schema mechanism.
- Pages — the platform-default page-shaped record type, for comparison.