
Custom Fields
⏱ ~6 min read · build a field group, add fields to it, choose which content types show it, render the values on your page, and recover a group from the trash.
In short. Custom Fields lets you add your own data fields to a content type — Pages, Blog posts, Events, or any Custom Object — without code. You build a field group, add one or more fields (each with a Label, a Name, and a Type), then tick the Locations where the group should appear. Authors fill in the values on each record, and you render those values on the public page with the [custom_field name="..."] shortcode.On this page: Where to find it · How it fits together · Create a field group · Add fields · Field types · Choose where fields appear · Use a field value on your page · Edit a group · Restore a trashed group · Worked examples · Troubleshooting
Where to find it
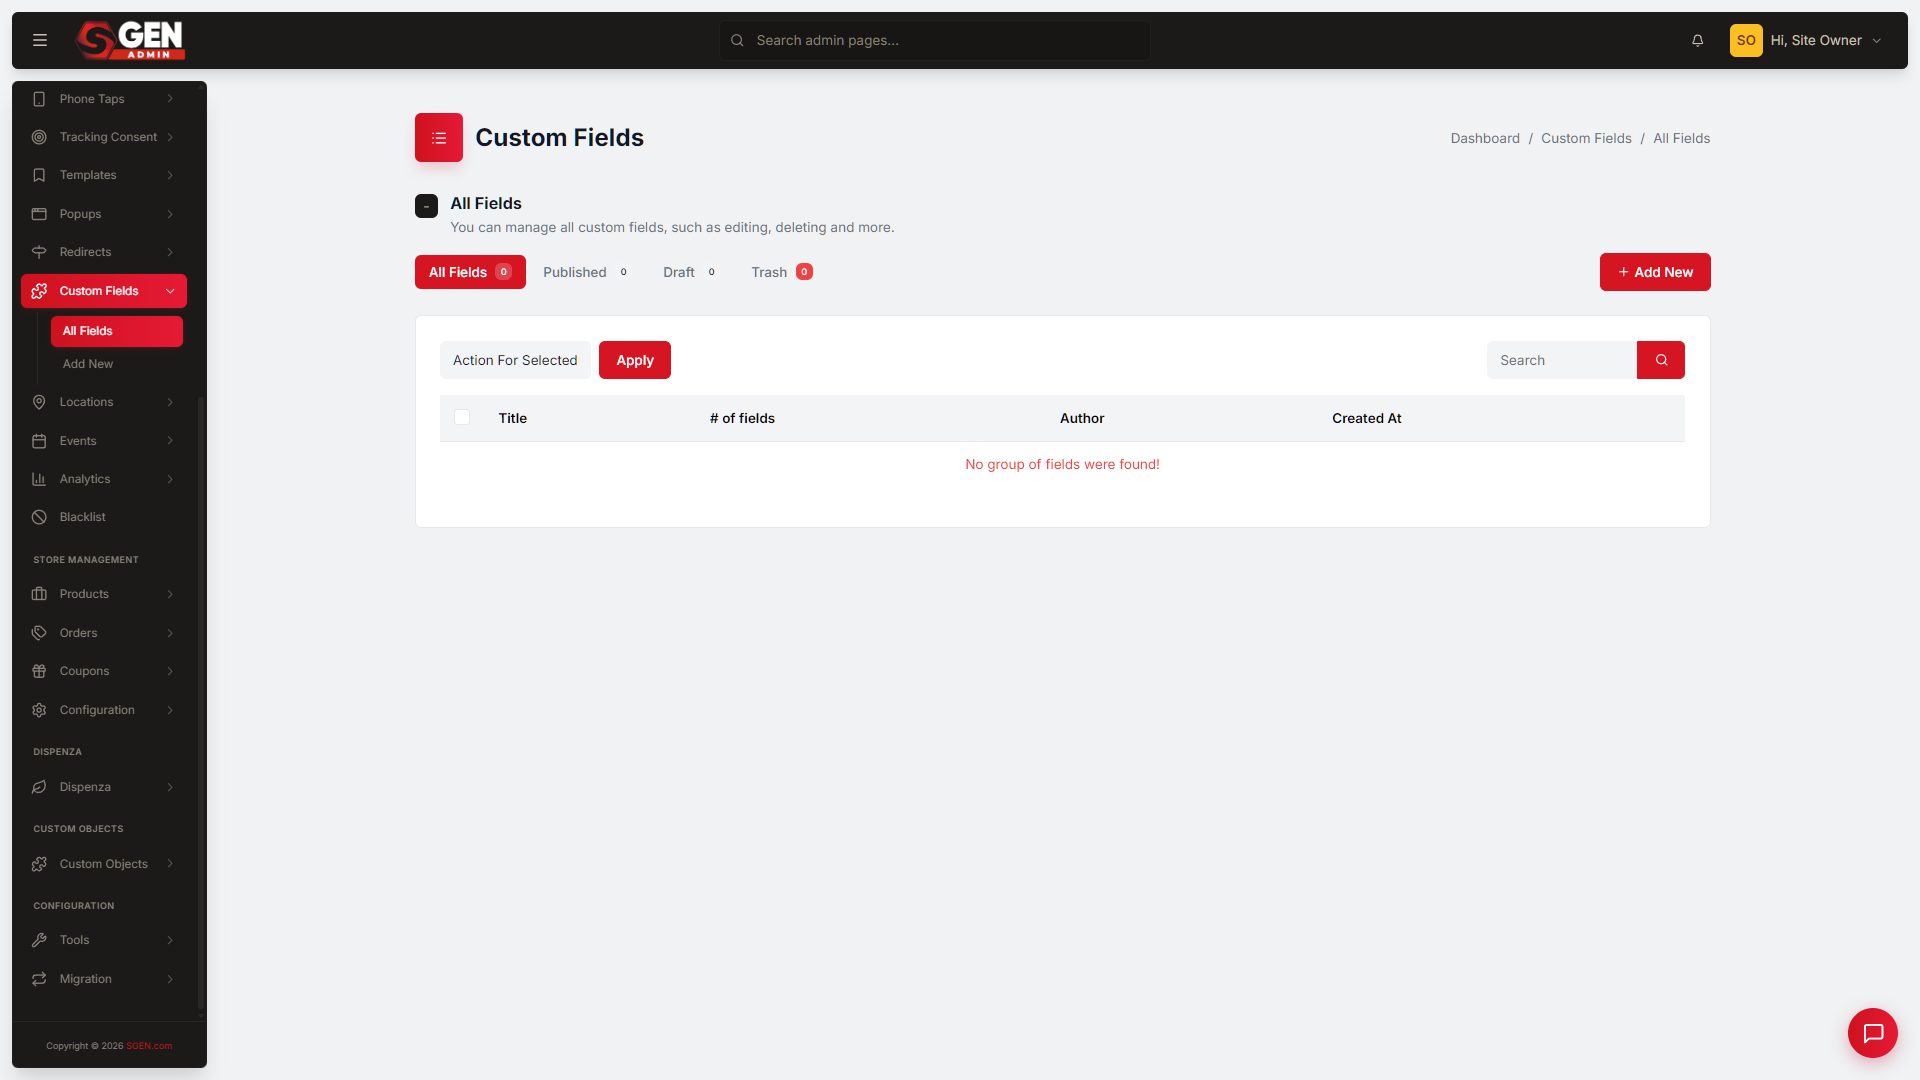
Open the admin for your site and, in the left navigation, click Custom → Fields. You'll land on the Custom Fields list, where each row is a field group with its title, the locations it's attached to, and the date it was last modified. Use the filter tabs at the top — including Drafts and Trash — to narrow the list, and click + Add New in the top-right to start a new group.
How it fits together
Custom Fields extends the default record schema without code, and it works in three layers:
- A field group is the container you create. It holds one or more fields and is attached to one or more content types.
- A field lives inside a group and has a Label (what authors see), a Name (the internal key), and a Type (text, number, select, image, and more).
- Locations decide which content types show the group's fields. A group with no location ticked is invisible on every author screen.
If you need a brand-new content type rather than extra data on an existing one, that's a Custom Object — Custom Fields then attach to it. The rule of thumb: a custom object extends your content model with a new type; a custom field extends an existing type with new data.
Create a field group
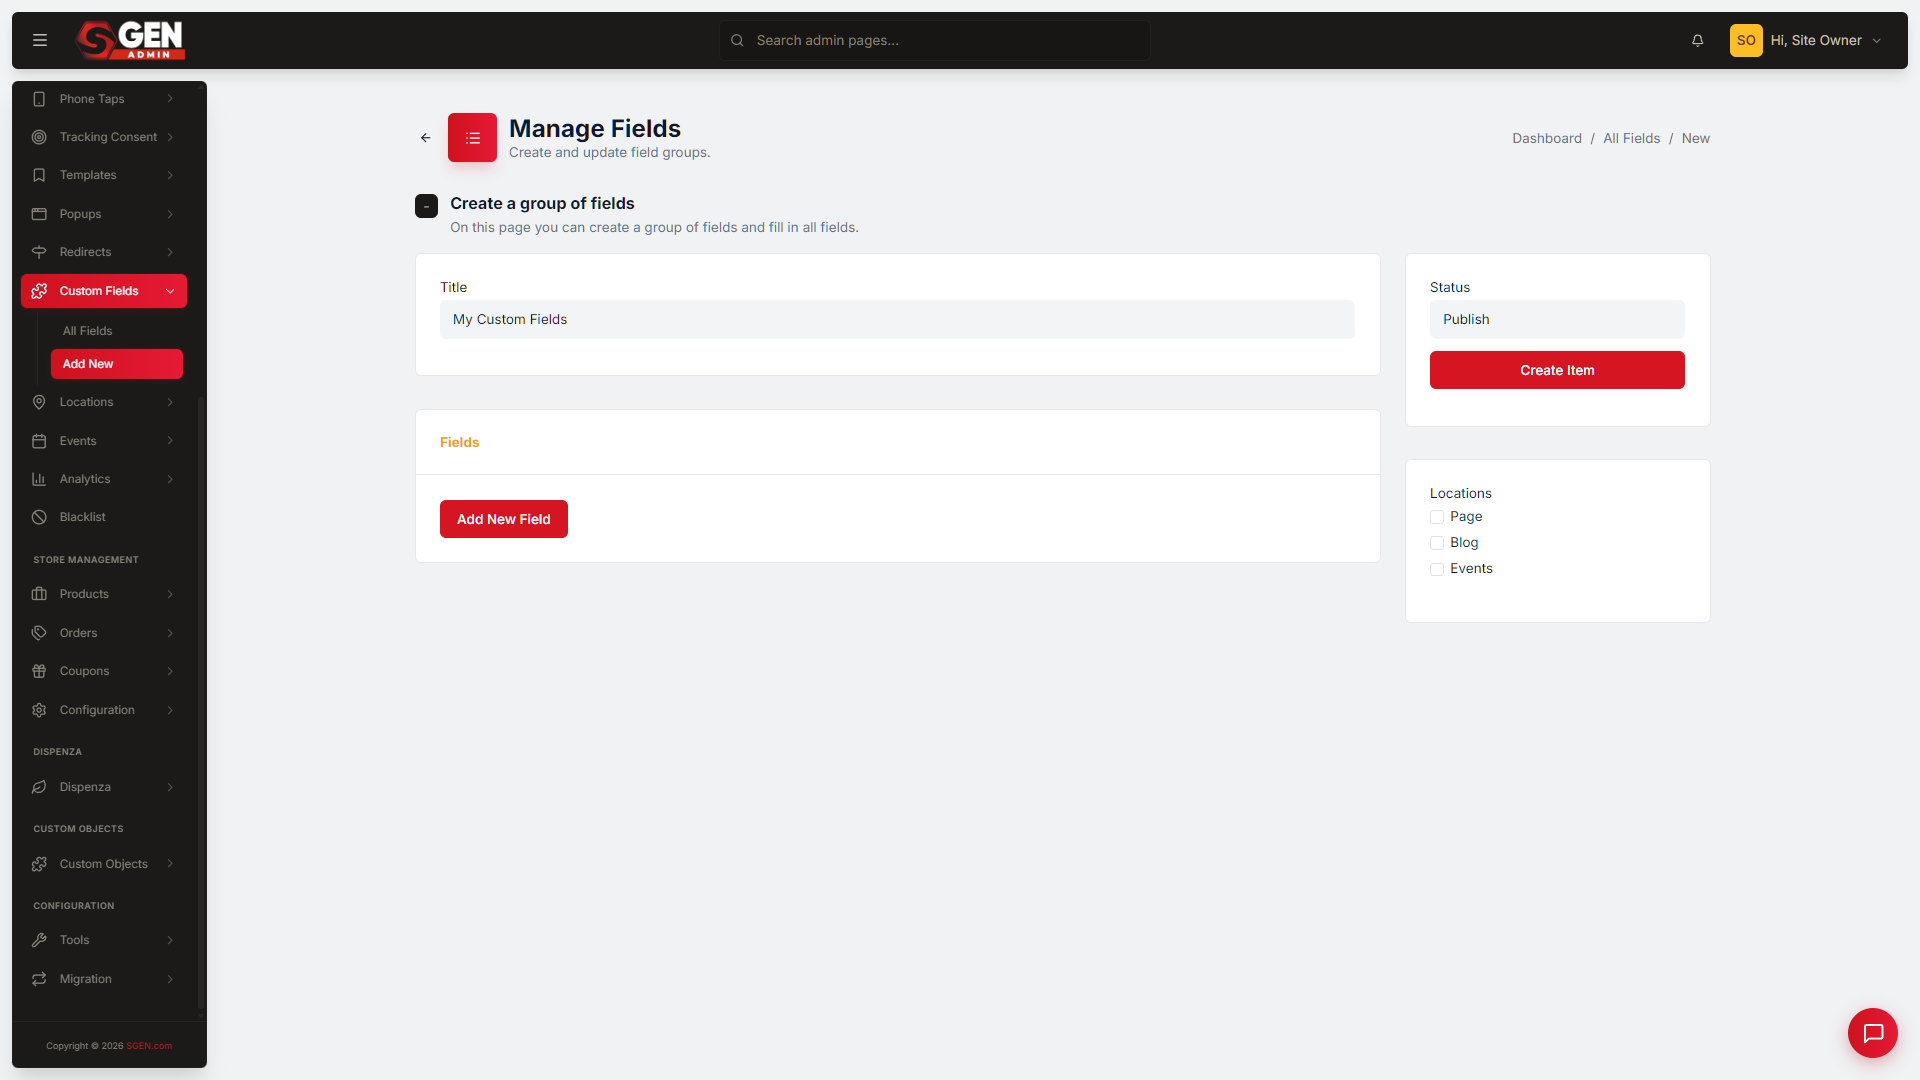
- Click Custom → Fields, then + Add New in the top-right.
- In the Title field, give the group a descriptive name — for example, "Staff Bio" or "Event Details".
- Click Add New Field for each field you want (see Add fields below).
- In the Locations section, tick every content type the group should attach to — Page, Blog, Events, or any Custom Objects you have.
- Set Status to Publish (or leave it Draft if you're not ready to show it to authors yet).
- Click Create Item.
Add fields
Inside the group editor, each field is a row you fill in:
- Click Add New Field to append a field row.
- Fill in Label — the text authors see above the input (for example, "Origin Country").
- Fill in Name — the internal key used in the shortcode (for example,
origin_country). Use lowercase with underscores. SGEN auto-generates it from the label if you leave it blank, but check it before saving. - Choose a Type (see the table below).
- For Select, Radio, or Checkbox fields, enter one choice per line in
key : Display Labelformat — for example,light : Light. - Repeat for each field. Drag a field row by the handle on its left edge to reorder.
- Click Create Item (new group) or Update item (existing group).
Each field row collapses to a header once you move on. Click the pencil icon on a row to expand it again.
Field types
| Type | What it stores |
|---|---|
| Text | A short, single-line answer |
| Textarea | Longer, multi-line copy |
| Number | A numeric value |
| Select | A dropdown from a defined choice set |
| Radio / Checkbox | A choice (or choices) from a defined set |
| Image | A pick from the media library |
| Repeatable Fields | A list of repeating rows |
Choose where fields appear
The Locations section is what makes a group's fields show up:
- Open the group editor and scroll to the Locations section.
- Tick Page to show the fields on Page edit screens, Blog for blog posts, Events for events, and tick any Custom Objects you've created — they appear in this list when they exist on your site.
- Click Create Item or Update item. The fields appear on the ticked content type's edit screens the next time someone opens a record of that type.
If a Custom Object you expect is missing from the Locations list, go to Settings → Custom Objects, confirm it's published, then reload this screen.
Use a field value on your page
Once a group is published, a location is ticked, and an author has filled in a value, you render that value on the public page with a shortcode:
- Confirm the group's status is Publish and the right Location is ticked. Authors must have entered a value on the record for the shortcode to output anything.
- Open the page, post, or event in your editor (SG-Builder or the text editor).
- In a text paragraph or an HTML block, type
[custom_field name="your_field_name"], replacingyour_field_namewith the exact Name you gave the field (for example,origin_countryorroast_level). - Save and view the page. The shortcode resolves to whatever the author typed into that field on this record's edit screen.
For a Select or Radio field, the shortcode outputs the Display Label (the text after the : in your choices list), not the stored key.Edit a group
- On the Custom Fields list, click the group's title (or hover the row and click Edit). The editor opens pre-filled with the current settings.
- Make any combination of changes — add a field (click Add New Field), rename a label (click the pencil icon; labels are safe to rename anytime), reorder fields (drag by the left-edge handle), change locations, or hide from authors temporarily by switching Status to Draft (the fields disappear from author screens without deleting any stored values).
- Click Update item. The green save banner confirms the change.
Restore a trashed group
- On the Custom Fields list, click the Trash tab.
- Find the group — each row shows its title, locations, and last-modified date — and click Restore in its actions column.
- The group comes back as a Draft, with all its fields, locations, and stored values intact. Click the Drafts tab to confirm.
- Open the group, change Status from Draft to Publish, and click Update item to make it live again.
Worked examples
| Goal | What you do |
|---|---|
| Reading time on posts | New group → add a Number field "Reading time" (reading_time) → tick Blog location → publish. Render with [custom_field name="reading_time"]. |
| Warranty tier on products | Add a Select field "Warranty" with 1yr : 1 year / lifetime : Lifetime → tick the product location → publish. |
| Staff directory | Create a Custom Object for Staff → add a group with Role, Bio, Photo → tick the Staff location. |
| Hide a group during a rebuild | Open the group → set Status to Draft → Update item. Values are preserved; fields vanish from author screens. |
| Recover a deleted group | Trash tab → Restore → open it → set Status to Publish → Update item. |
Troubleshooting
- My fields don't show on the edit screen. Confirm the group's Status is Publish and the matching content type is ticked in Locations. An unticked group is invisible everywhere.
- A Custom Object isn't in the Locations list. Go to Settings → Custom Objects, confirm it's published, then reload the group editor.
- My shortcode outputs nothing. Check that the field group is published, the location is ticked, the author filled in a value on the record, and the Name in the shortcode exactly matches the field's internal Name.
- A Select field shows a code instead of a label. That's expected only if the choices weren't entered as
key : Display Label. Re-enter them in that format; the shortcode then outputs the label. - I deleted a group by mistake. Open the Trash tab and click Restore — the group, its fields, and stored values all come back as a Draft.
Related reading
- SG-Admin Overview — the parent surface.
- Custom Objects — define new content types that field groups can attach to.
- Pages · Blogs — content types that field groups attach to via Locations.