
How to delete a file from your media library
⏱ Steps in ~2 min · full page ≈ 8 min · skim the bold lead-ins to move faster.
In short. Go to Media → Library, hover the file row, click the trash icon, read the filename in the confirmation modal, then click Delete Permanently. The file is gone from the server immediately — no recycle bin, no undo. The only safe-guard is the two-click confirmation, so always read the modal before confirming. If any page on your site still points to that file, it will show a broken image the moment you delete. Audit usage before you click.
On this page: Steps · Before you start · What breaks · Troubleshooting · Examples · Vocabulary
How to delete a file from your media library
Overview
Your media library holds every photo, PDF, and video on your site. Over time it fills up with old product shots, test uploads, and replaced hero images. This page walks you through removing a single file — including what to check before you click and what to do if something goes wrong.
Deletion is permanent. There is no recycle bin. A two-click confirmation is your only safety net — use it.
Scope
Deleting a file permanently removes it from the server and every thumbnail size generated for it. This page covers single-file deletion only.
| What this covers | In scope? |
|---|---|
| Deleting one file at a time via the row trash icon | Yes |
| Reading the confirmation modal before confirming | Yes |
| Understanding what breaks if a file is still in use | Yes |
| Bulk deletion of multiple selected files | No — see the bulk-delete guide |
| Recovering a file after deletion | No — there is no undo from inside the admin |
| Renaming a file | No — use the Edit row action |
| Swapping a file while keeping the same URL | No — use the Replace row action |
Good use cases
Delete a file when it is no longer referenced anywhere on your site:
- Old or replaced files — a previous hero photo, a superseded price list, a seasonal sale banner that is off all pages.
- Test uploads — anything with "test", "draft", "v1", or "old" in the name that was never published to a live page.
- Duplicates — you uploaded the same file twice; remove the older or lower-quality copy.
- Departed team members or inactive partners — headshots and logos no longer on any page.
What NOT to use this for
- Files still in use on a live page — the page shows a broken image immediately. Check first.
- Files you might want back — there is no recycle bin. Save a copy to your computer before deleting if you are unsure.
- Bulk cleanup — use the checkboxes and the bulk "Delete Permanently" action; it is faster and you only confirm once.
- Hiding a file temporarily — remove it from the page that uses it, but leave the file in the library.
- Renaming or replacing — use the Edit or Replace row actions instead.
How this connects to other features
- Pages and Page Builder — every image on a page points at a library file. Delete the file, the page shows a broken image. Always check which pages use a file before deleting.
- Blog Posts — same rule: if the post still references the file, the post will go broken.
- Public links and download links — if you shared a PDF link in an email or social post, deleting the PDF makes that link dead for anyone who saved it.
- Replace — if you only want to swap one file for a newer version, use the Replace row action. It keeps the same filename and URL, so existing pages keep working without any edits.
- Themes and Appearance — your logo, favicon, and social-share images come from this library. Deleting one leaves a gap on every page until you upload a replacement.
- Forms — file-upload fields store visitor submissions here. Deleting one of those files removes the submission record.
- Custom fields — image-type and file-type custom fields draw from this library. A deleted file can leave those fields empty on every page that uses them.
Before you start
- Identify unused files. Sort the library by upload date so the oldest files are at the top. Look for names with "old", "test", "draft", "v1", or "backup".
- Audit each file. For each candidate, open the related page or post and use your browser's Find function (Ctrl+F or Cmd+F) to search for the filename. If it appears, do not delete — update the page first.
- Back up anything valuable. Save a copy to your computer or your team's shared drive before any major cleanup pass.
- Tell your team. Notify anyone who might be editing the same files so you do not delete something they are actively using.
Where to go
Go to Media → Library in the admin sidebar. Switch to list view if needed. The Delete action is the trash-can icon — it only appears when you hover over a row.
Steps — Delete a single file
1. Find the file you want to delete
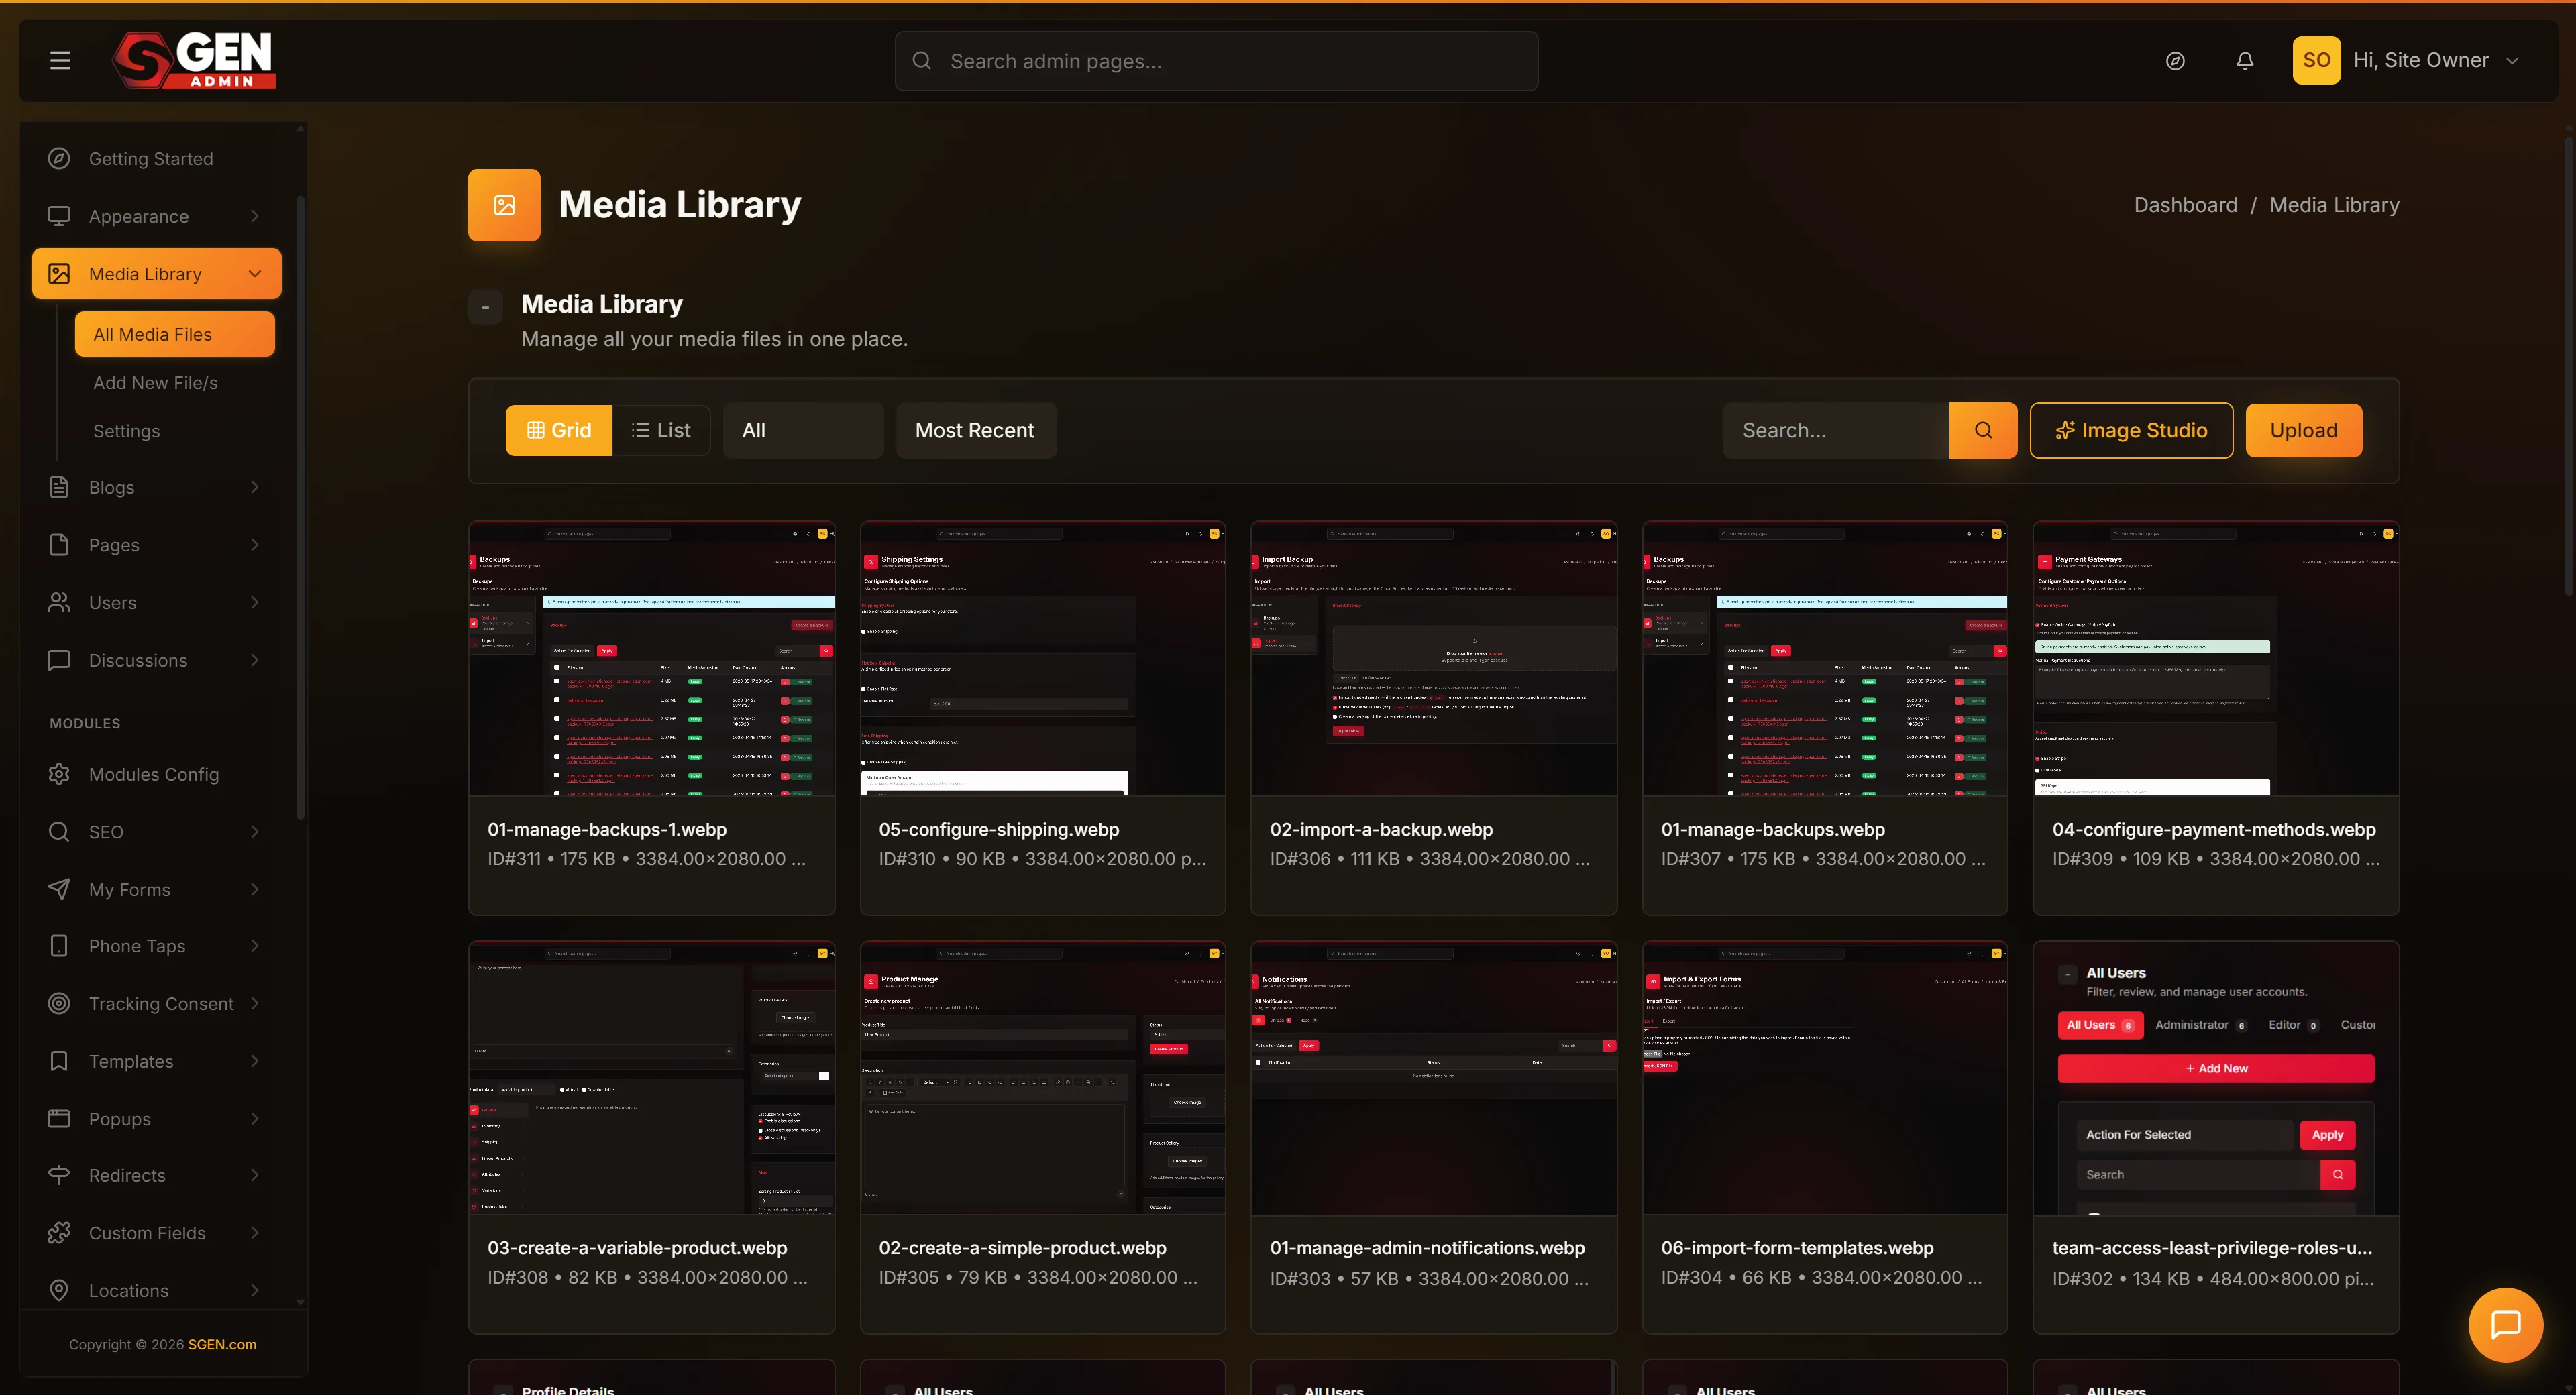 Library) with a file row hovered to reveal the row actions (Edit, Copy URL, Replace, Delete trash icon)" loading="lazy" style="width:100%;max-width:900px;height:auto;border-radius:8px;border:1px solid #e5e7eb;display:block;margin:12px 0">
Open Media → Library in the admin sidebar. Use the search bar to type part of the filename, sort by upload date to surface old files, or click a type filter (Images, Videos, PDFs) to narrow the view. You can click the file thumbnail to open a preview and confirm it is the right file. Check the filename and upload date — the library can have several files with similar names.
2. Hover the row to reveal the Delete button
Move your mouse over the file row. A row of icons appears on the right: Edit, Copy URL, Replace, and Delete (the trash-can icon). Click the trash icon. The other icons do different things — Edit opens a rename panel, Copy URL copies the public address, Replace swaps the underlying file while keeping the URL.
3. Read the confirmation modal carefully
A pop-up opens: "Delete this file permanently?" The body shows the filename. Read it. Accuracy matters more than speed here. The modal has two buttons: Cancel (closes without action) and Delete Permanently (removes the file). If you have any doubt, click Cancel and audit the file's usage before returning to this step.
4. Click Delete Permanently to confirm
If the filename is correct, click Delete Permanently. The pop-up closes, the library refreshes, and the row is gone. The file is removed from the server along with every thumbnail and preview size. There is no way to bring it back from the admin — if you have a local copy you can re-upload it, but it will get a new database record even with the same filename.
What success looks like
- A brief success message appears near the top of the screen.
- The library list reloads and the deleted row is gone.
- The total file count drops by one.
- Searching the filename returns "No matching results".
- Any page that was still referencing the file will show a broken image — that is the cue that you missed an audit step before deleting.
What to do if it does not work
- The Delete button does nothing when I click it. Reload the page with cache disabled (Ctrl+Shift+R on Chrome). If that does not help, log out and log back in — your session may have expired.
- The pop-up opens but the buttons do not respond. Reload with cache disabled and try again.
- I clicked Delete Permanently but the file is still in the library. Reload with cache disabled — the deletion may have completed but your browser is showing a cached library.
- I see an error message saying "Please try again later!" Wait a minute and try again. If the error persists, contact support and share the filename.
- I deleted the wrong file. There is no undo from inside the admin. If you have a local copy, re-upload it with the same filename — your pages will repair themselves automatically. If you do not have a copy, contact support; we may be able to recover the file from a backup.
- My pages now show broken images. Some pages were still using the deleted file. The fastest fix is to re-upload the same file with the same filename. The slower but tidier fix is to open each affected page and replace the broken reference with a different file.
- I cannot find the trash icon. The icon only appears on hover. On a touch device, tap the row once to reveal the icons.
- The confirmation modal shows the wrong filename. Click Cancel immediately, reload with cache disabled, and try again — read the modal carefully before confirming.
Examples
Example 1: Cleaning up old product photos before a website refresh
Your Store's designer is preparing for a spring refresh. She filters the library by Images, sorts by upload date (oldest first), and checks each candidate: for each file, she opens the related product page in a separate tab and searches for the filename. Where the filename does not appear, the photo is safe to delete.
She decides to delete yourstore-old-test-shot.jpg — a stale test photo from January 2025 not used on any page. She hovers the row, clicks the trash icon, and reads the modal.
She confirms the filename, clicks Delete Permanently, and the row disappears. The library count drops from 248 to 247. By the end of the pass she has removed eight files — the library is easier to search and the team will not trip over stale photos during the build.
Example 2: Update the page first, then delete the old file
Your Store has a new hero photo for the spring season. The designer uploads the new photo, updates the home page to point at it, then loads the home page in an incognito tab to confirm it is live. Only then does she go to Media → Library and delete the old hero file.
If she had deleted the old file first, the home page would have shown a broken image during the gap between deletion and the page update. The rule: update first, delete second. A cleaner alternative is to use the Replace action, which swaps the file in place and keeps the same URL — no page edits needed at all.
Example 3: Bulk-deleting 30 unused files
After a two-year audit, Your Store's marketing manager finds 30 unused files. Rather than click 30 trash icons, he checks the box on each unused row, picks "Delete Permanently" from the bulk-action dropdown, and clicks Apply. A single confirmation modal shows the count. He confirms.
The library drops from 248 to 218. He spot-checks the home page and top product pages — no broken images. Same one-confirmation guard applies as the per-row delete; the blast radius is just larger.
Example 4: Recovering from an accidental delete
Your Store's intern deletes yourstore-team-portrait-old.jpg — the "old" in the name was misleading; the About page was still using it. Five minutes later the marketing manager spots the broken image on the live site.
There is no undo button. The designer finds the original on her local drive, exports it, and re-uploads it with the same filename. Because the filename matched, the broken-image link on the About page started working again immediately. The team adds a "do-not-delete" prefix to any filename that must stay in the library long term.
Tips
- Audit before you delete. Search for the filename on your live pages before clicking the trash icon.
- Update first, delete second. When replacing a file, get the new version live on the page before removing the old one.
- Use Replace when the URL matters. Replace keeps the same filename and URL — no page edits needed.
- Use bulk delete for more than a handful of files. Checkboxes + one confirmation is faster than clicking the trash icon ten times.
- Save a backup before a major pass. A dated folder on your desktop costs nothing and saves a support ticket.
Vocabulary
| Term | Meaning |
|---|---|
| Trash icon | The row-level delete trigger. Only visible on hover. Clicking it opens the confirmation modal — it does not immediately delete. |
| Delete Permanently | The confirmation button inside the modal. This is the action that removes the file from the server. There is no undo. |
| Confirmation modal | The pop-up that appears after clicking the trash icon. Shows the filename and requires a second deliberate click before deletion proceeds. |
| Broken image | What appears on any page that still references a deleted file. Fixed by re-uploading the same file or updating the page to use a different file. |
| Replace | An alternative row action that swaps the underlying file while keeping the same filename and public URL. Pages using the file keep working without any edits. |
| Bulk delete | A library action that deletes many selected files with one confirmation. Accessed via the checkboxes on each row and the bulk-action dropdown. |
Next steps
- How to upload images and files to your media library — the other half of the loop. Once you have cleaned up old files, upload replacements.
- How to browse your media library — sort, filter, search, and find files faster.
- How to upload files to the media library — detailed upload workflow including WebP and compression settings.