
Upload and manage media in SGEN
Your site's single store for images, videos, and documents
The Media Library is the single store for every image, video, and document your site uses. Upload once and reference from any page, blog post, product, or email template. This walkthrough covers the fastest path from "I have a file on my computer" to "it's live on my site," plus the edges you should avoid on this release.
What is this for?
Media Library is a central asset store, not a filing cabinet. Use it when the file needs to appear on a public page (images, downloadable PDFs, embedded video posters). Don't use it as a general document archive — it's tuned for page-referenced assets that get loaded by site visitors, not long-term private storage.
Good use cases
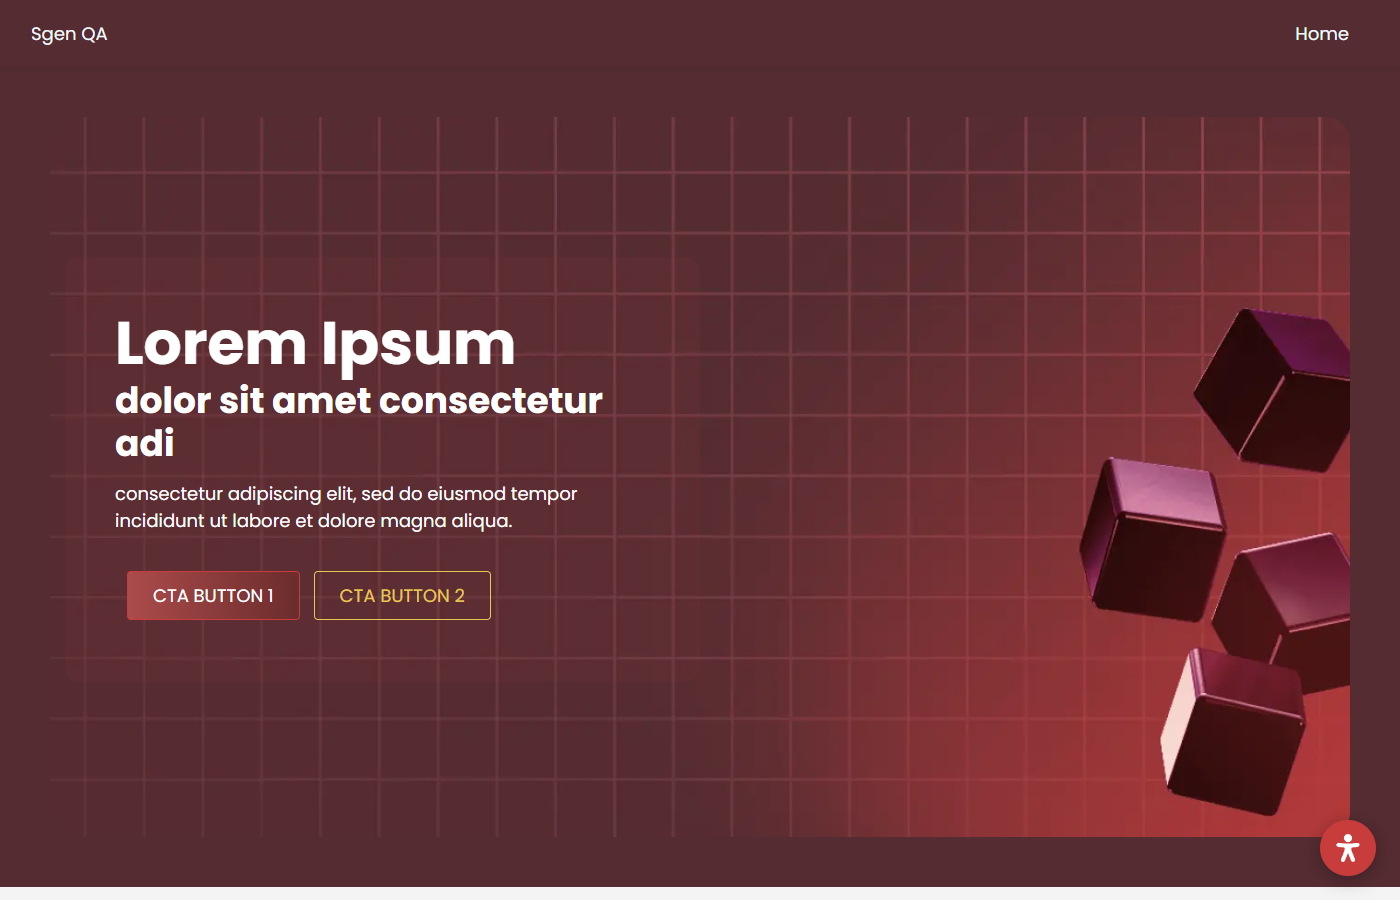
Example 1: Add your logo. You just rebranded. Upload the new logo PNG through Media Library, then open Appearance → Header and pick it as the header logo. On next page load, every public page shows the new logo.
!Public homepage with the branded logo — uploaded once, referenced by the header config
Example 2: Upload a gallery of product photos. You have ten photos for a new product launch. Drag all ten onto the upload drop zone in one pass, tick "Convert to WebP" + "Compress: Medium" so they load faster, and publish. In SG-Builder, open the Image component's media picker and pick them in the order you want — each photo from the batch is already in your library.
Example 3: Add a PDF for customers to download. Your team wrote a 20-page buyer's guide. Upload the PDF, copy its URL from the library's Copy icon, and paste it into a page button's link destination. Visitors clicking the button download the PDF directly from your site.
What NOT to use this for
- Don't upload SVG. The upload picker offers
image/*but the server rejects.svgas corrupted. Export the asset as PNG or convert it to an inline SGB Icon component instead. - Don't rename files from the Edit drawer on this version. Changing the file name in the drawer reports success but the file name never actually changes on disk or in the database. Rename your file on your computer before uploading.
- Don't upload private or sensitive files. Every file in the library is publicly URL-addressable once uploaded — anyone with the URL can fetch it. Keep contracts, internal docs, and customer data out of Media Library.
- Don't use this as a general file storage. The library is optimized for page-referenced assets, not document archives. If your team needs a shared drive, use Google Drive / Dropbox / SharePoint.
Before you start
- You are signed in to SGEN as an admin with Media Library access.
- You have a file to upload. Accepted types: JPG, PNG, GIF, WebP, MP4, MOV, AVI, PDF, DOC, DOCX, XLS, XLSX. Max file size 10 MB. Images wider than 2048 px are downsized automatically.
- SVG is not accepted on this version. Convert to PNG first.
Where to go
- Open the left navigation.
- Select Media Library → All Media Files to see what's already in your library, or Media Library → Add New File/s to go straight to the upload page.
- From the library grid, the + Upload button in the toolbar also opens the upload page (
/sg-admin/media/add_new).
The library page lays out your assets in a grid (or list — toggle top-right). Each card exposes hover-revealed icons: Preview, Edit (opens a drawer for alt text + description), Copy URL, and Delete.
Steps
1. Open the upload page
Click + Upload on the library toolbar, or navigate to Media Library → Add New File/s in the left nav. You land on the upload card:
Upload Media
Drag & drop files here …
or click to browse your computer
Accepted file types: JPG, PNG, GIF, WebP, MP4, MOV, AVI, PDF, DOC, DOCX, XLS, XLSX • Max file size: 10MB • Images over 2048px will be automatically resized.
2. Pick a file
Drag one or more files onto the drop zone, or click
3. (Optional) Tune optimization
Click Image optimization options to open the settings modal:
Choose output format and optional compression before upload.
- Keep Original (default) — uploads exactly as-is.
- Convert to WebP — re-encodes raster images to WebP (much smaller for marketing pages). Falls back to the original when the browser doesn't support WebP (rare in 2026).
- Compress Images — applies lossy compression at Low / Medium / High. Medium is the recommended default for hero images and product photos.
Click Apply to keep the settings for this upload batch. The summary line on the upload card updates to show your choices.
4. Upload
Click
5. Use the uploaded file
Go back to Media Library → All Media Files (or open the Media picker inside any SG-Builder page component). Your new files appear at the top of the grid. Click Copy URL on any card to grab the public URL, or select the file from an SGB picker to reference it on a page.
Edit alt text for accessibility and SEO
Hover a card and click the Edit pencil icon. A drawer opens with a Description / Alt Text field. Type a short description ("Red leather armchair on hardwood floor") and click Save. That description becomes the image's alt attribute when SGB renders it, improving screen-reader support and SEO.
About the AI Caption button: it suggests alt text based on the file's name, not its visual content. If your file is named IMG_2847.png, the suggestion is "Img 2847". If it's red-leather-armchair.png, the suggestion is "Red Leather Armchair" — so rename meaningfully before upload. Treat the AI suggestion as a starting point and rewrite it yourself.
Heads up on renaming
Changing the file name in the drawer appears to succeed, but the file name never actually changes on disk or in the database. Description / alt-text edits DO save correctly. Track bug fixed state before renaming.
If you need to rename a file, rename it on your computer before upload. The Edit drawer's file-name field reports success but doesn't actually persist the rename on this release.
The complete flow
For adding new assets for a page:
- Media Library → Add New File/s — drop files, pick optimization, Upload.
- Open your page in SG-Builder, click the Image (or Video / File) component.
- Pick the uploaded file from the media picker, set alt text.
- Publish the page.
What success looks like
- The upload progress indicator reaches 100% and the files disappear from the upload card (moved into the library).
- Media Library → All Media Files shows your new files at the top of the grid (Sort: Most Recent).
- When you reference the file on a page, the public site renders it on next page load. Before the upload, the page referenced nothing or a placeholder; after, visitors see your content.
What to do if it does not work
- I picked an SVG and the server returned "corrupted." Expected — SVG is not accepted on this release. Convert to PNG (design tools export PNG easily) or paste the SVG markup into an SGB Icon component instead.
- My file is bigger than 10 MB. Compress it before upload (use Medium compression on a JPEG, or a video re-encoder for MP4). The 10 MB cap protects page load speed.
- I renamed a file in the Edit drawer and the name didn't change. Known limitation on this release. Delete the file, rename on your computer, re-upload.
- The uploaded image looks wrong on my page. Check that the page's Image component is pointing at your new file — the picker caches recent selections, so a re-load of the page editor may be needed after a fresh upload.
- I deleted a file and now a page is showing a broken image. Media Library deletions are not undo-able from this UI. Re-upload the file — it gets a new URL, so you'll also need to re-pick it on the affected page.
Next step
- If your file is for a blog post or product listing, open that post/product and pick it from the media field — the library is shared across all content types.
- For managing hundreds of assets, use the library's Search box and Type / Sort filters (top toolbar) instead of scrolling.