
Event RSVP form setup and reminder workflow
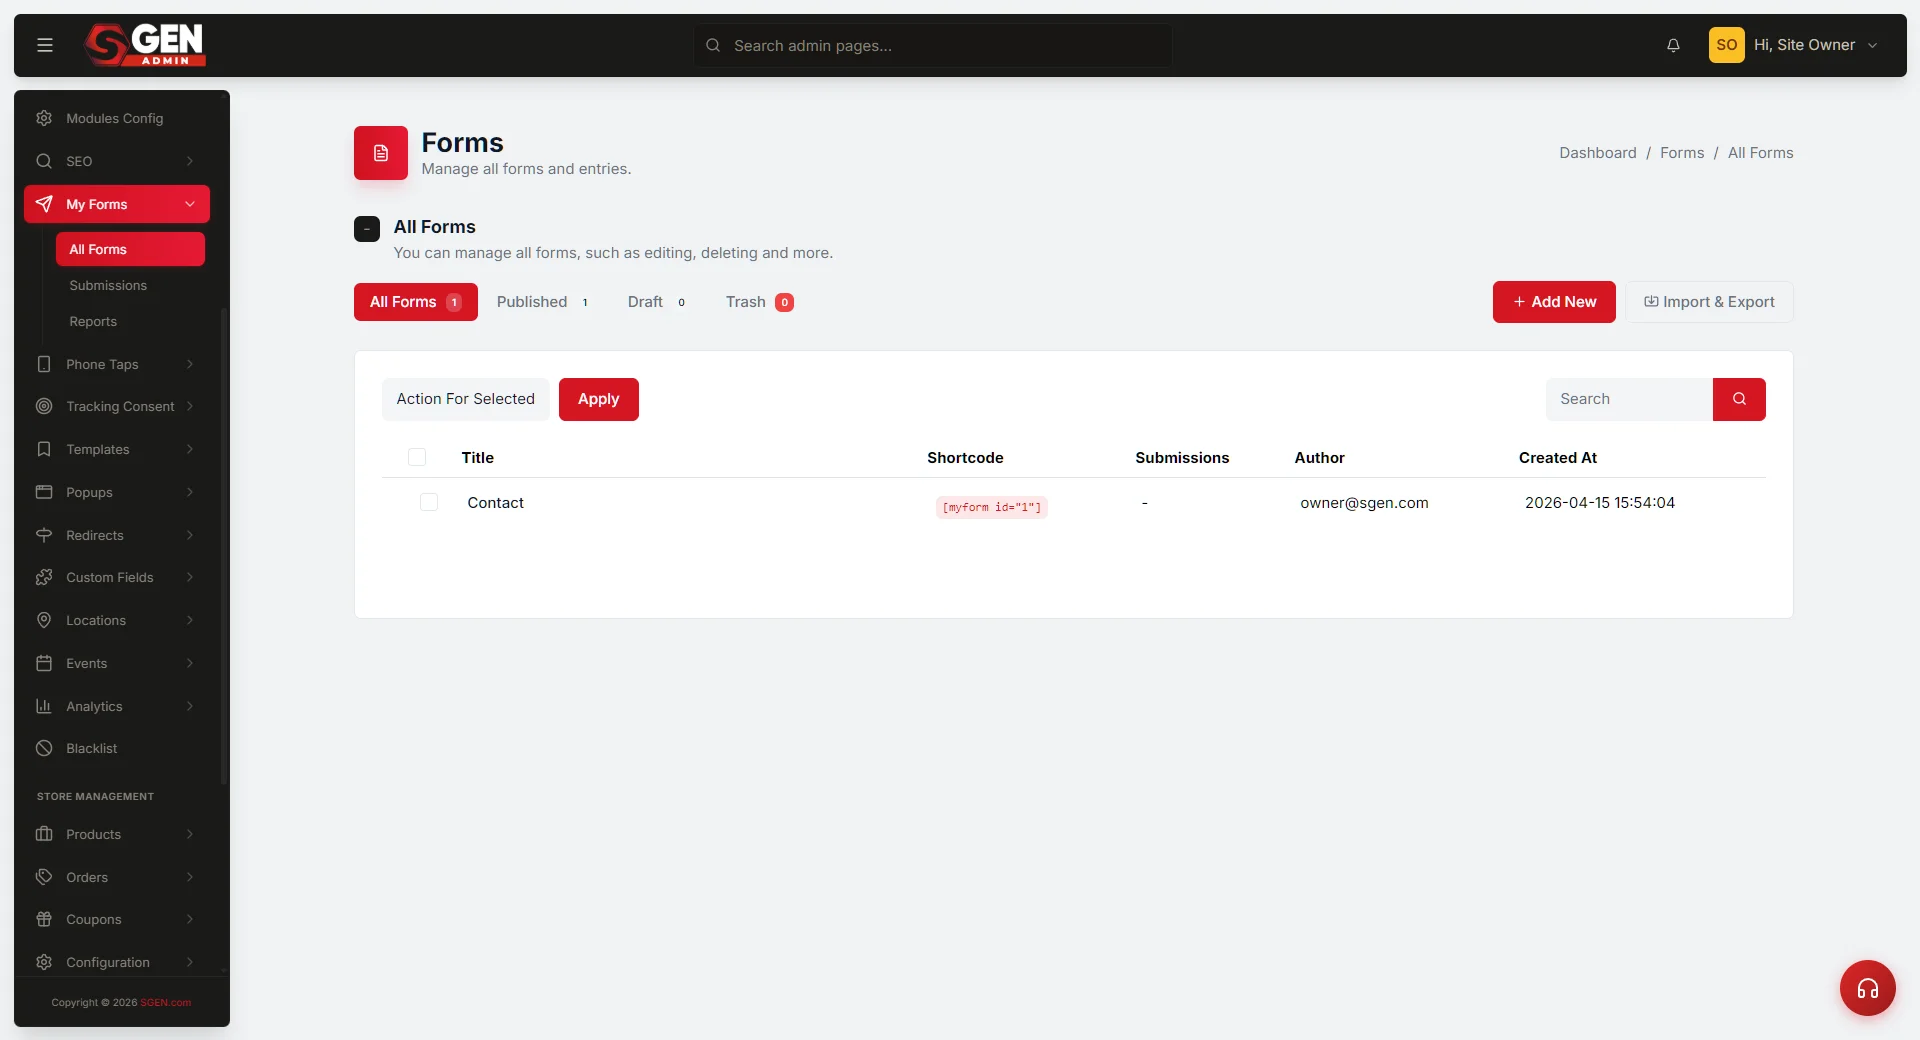 Add New: the RSVP form builder with field list (First/Last Name, Email, guests) and the form ID shown in the address bar after save" loading="lazy" style="width:100%;max-width:900px;height:auto;border-radius:8px;border:1px solid #e5e7eb;display:block;margin:12px 0">
⏱ 2-minute answer below · full walkthrough ≈ 12 min · skim the bold lead-ins to move faster.
In short. Build a one-off event registration workflow entirely inside SGEN — no third-party tools. The pattern: create the RSVP form first (get its ID), then the event landing page (embed the form shortcode), then the confirmation email (fires automatically on every submit), then the day-before reminder (saved as Draft, sent manually). Total setup is about 90 minutes. Once live, the confirmation email handles every registrant automatically — you only touch the admin again to monitor seat counts and send the reminder.
On this page: What this builds · Use cases and limits · Before you start · Steps · Troubleshooting
How to build an event RSVP page with confirmation and reminder email
What is this for?
Use this playbook for any one-off event where you need to know who is coming and want to send at least one follow-up email. The pattern is: one dedicated page (clean shareable URL), one form (all responses in one place), and one or two emails — confirmation on submit, optional reminder the day before.
Order matters. Build the form first (you need the form ID to embed it). Build the page second (you need the URL for your promotional emails). Configure the emails third. Test last.
The core value: once the confirmation email is Active, it fires automatically on every submission. You do not monitor submissions and reply individually. The reminder is one manual broadcast — a five-minute task on the day before, regardless of registration count.
Good use cases
| Scenario | Key detail |
|---|---|
| Monthly product workshop (20 seats) | Daily check of Forms → Submissions tracks remaining seats; morning-of reminder broadcast |
| Weekend hands-on class (12 seats) | Dietary fields in form; export CSV before class for name tags and portions |
| Annual customer dinner (40 seats) | Dietary + seating fields; two-day-before reminder with dress code and parking |
| Invite-only partner briefing | Page is Publish but not linked from navigation — URL shared in partner email only |
| Open demo day (no cap) | Name + email only; single confirmation email; under an hour total setup |
What NOT to use this for
- Recurring multi-date events — create a separate form, page, and email sequence per occurrence. Reusing one form merges submissions so you cannot tell which registrants attend which session.
- Paid ticket sales — Forms has no payment field. Use the Ecommerce area (ticket product + checkout) for any registration that requires a deposit or full payment.
- Automatic waitlist management — SGEN forms do not enforce a submission cap. You must manually monitor the submissions count and set the page to Draft when the cap is reached.
- Multi-session workshops — one RSVP setup per session. A single shared form makes per-session attendee counts unreliable.
- Embedding the form in a page with competing calls to action — create a dedicated page so the RSVP form is the only action available.
- Sharing the URL before the page is Status: Publish — a Draft page returns a 404 to anyone who follows the link.
How this connects to other features
- Forms — collects RSVP data. Each submission is a row in Forms → Submissions; field labels become CSV column headers on export.
- Pages — hosts the form embed and event description. Published pages are public; Draft pages are not visible on the public site.
- Email / Broadcasts — two emails: confirmation (automatic on submit) and reminder (manual broadcast the day before). Both configured in the Email area.
- Media — upload any event banner image here before selecting it in the page editor. Recommended dimensions: 1200 × 480 px, WebP format.
- Appearance → Custom Codes — optional. A snippet in Body Start position creates a sitewide promotional bar. Flip it to Inactive when registration closes.
- Analytics → Reports — after the event, review traffic to the event page URL to see which promotional channels drove the most registrations.
Before you start
- Signed in as Administrator.
- Have ready before opening the admin: event name, date, time, venue address, seat cap (or "unlimited"), and the copy for both emails. Draft copy outside the admin — it is faster.
- Use a test email address you can access — not your admin email, which will receive a confirmation on every test submission.
- Decide the page slug before creating the page. It appears in every promotional email you send. Changing the slug after distribution breaks every link using the old one.
- Finalize form field labels before accepting responses. Changing labels after submissions arrive creates misaligned column headers in the CSV export.
Suggested setup timeline working back from event date:
- T minus 14 days — finalize event details; write all email copy; decide the page slug.
- T minus 7 days — complete all four setup steps; run end-to-end test; share the URL.
- T minus 1 day — send the reminder broadcast from Email → Broadcasts.
- Day of event — export the submissions list as a reference for check-in.
Where to go
Four admin areas in sequence:
- Forms → Add New — create the RSVP form (15 min)
- Pages → Add New — create the event landing page and embed the form shortcode (20 min)
- Email → Add New — write and activate the confirmation email (15 min)
- Email → Add New — write the reminder email and save as Draft (10 min)
Steps — Build the event RSVP and reminder workflow
1. Create the RSVP form
Open Forms → Add New. Give the form an internal title that includes the event name and date — for example, "Product Workshop — June 27 2026 RSVP". Visitors never see this title.
Add fields using Add Field:
- First Name — Text, Required.
- Last Name — Text, Required.
- Email Address — Email, Required. Confirmation and reminder emails deliver here.
- Number of guests — Number, optional. Useful for catering counts.
- Dietary requirements or notes — Textarea, optional. Eliminates pre-event follow-up.
- How did you hear about this event? — Select or Short Text, optional. Tracks registration source.
In the Confirmation Message field, write what visitors see after submitting — for example: "Thank you — you are registered. Check your inbox for a confirmation email."
Set Status to Publish. Note the form ID in the browser address bar after saving (the number after forms/edit/, for example 12) — you will embed this form as [form id=12] on the event page.
2. Create the event landing page
Open Pages → Add New. Set the title to the event name — for example, "Product Workshop — June 27". In the Settings sidebar, set the Slug to a clean lowercase path: product-workshop-june-27. This becomes the public URL.
Write the body in four parts:
- Event headline — H1, identical to the Title field.
- Date, time, and full venue address — bold, two or three lines. Include the full street address (attendees copy-paste it into maps apps).
- What to expect — three to five sentences: what attendees will do, what to bring, whether experience is required. Specific descriptions produce confident registrations.
- RSVP form embed — insert
[form id=12]at the end of the body. The shortcode expands to the full live form.
Set Status to Publish. After saving, open the page URL in a private-browsing tab and confirm the form renders with all fields visible before distributing the URL.
3. Create the confirmation email
Open Email → Add New. This email fires immediately on every form submission — it is what registrants will search their inbox for on the day of the event, so date, time, and full address must be easy to find at a glance.
- Email Title — internal label, for example "Product Workshop June 27 — Confirmation".
- Subject Line — include the event name and date for reliable inbox search: "You are registered — Product Workshop, June 27".
- Send to — select the form created in step 1. SGEN fires the email automatically to the address the visitor submitted.
- Body — three short sections: a greeting using
[first_name], the event details (date / time / full address on separate lines), and a cancellation instruction with your contact email. - Status — set to Active so it fires on every submission.
After saving, run a test submission immediately to confirm the email fires and [first_name] substitutes correctly before the URL goes live.
4. Create the reminder email
Open Email → Add New again. This is a manual broadcast — not automatic. Compose it now, save it as Draft, and send it the day before the event from Email → Broadcasts.
- Subject Line — "See you tomorrow — Product Workshop, June 27 at 6 PM".
- Send to — select the contact segment from form submissions. If no dedicated segment exists, export submissions as CSV from Forms → Submissions and import the addresses as a manual list before sending.
- Body — short opener, full event details (date / time / address), day-of practical notes (parking, transport, what to bring), and a contact for last-minute questions.
- Status — keep as Draft. Sending more than 48 hours before the event dilutes the "tomorrow" urgency and reduces open rates.
5. Run the end-to-end test in private-browsing
Before sharing the URL, run a complete test in a fresh private-browsing window (not just a new tab — the private window carries no admin session or cached data).
- Navigate to the event page URL. Confirm title, date, time, venue address, and copy are correct.
- Confirm the RSVP form renders with all fields visible.
- Fill in the form with a test name and a test email you can access. Click Submit.
- Confirm the success confirmation message appears immediately.
- Check the test inbox within two minutes. The confirmation email should arrive with the correct subject and
[first_name]populated. - Open Forms → Submissions in the admin. Confirm the test submission row appears with all field values populated.
- Delete the test submission so it does not inflate the registration count.
If the confirmation email does not arrive: confirm the email Status is Active and the Send to field targets the correct form ID. If the form does not appear: confirm the form Status is Publish and the shortcode uses the correct form ID.
6. Monitor registrations and close when full
Check Forms → Submissions at least once a day during the registration window. The total submission count at the top shows current registrations.
When the cap is reached, choose one closure approach:
- Set the page to Draft — the page disappears from the public site and returns a 404 to anyone with the old link.
- Replace the form with a "closed" message — edit the page body, remove
[form id=12], and insert: "Registration is now closed. We hope to see you at a future event." Keep Status as Publish.
On the day before the event, open Email → Broadcasts, select the reminder email from step 4, confirm the recipient count matches your registration number, and click Send.
What success looks like
Before sharing the URL, every component should be in this state:
| Component | Expected state |
|---|---|
| RSVP form | Status: Publish — accepting submissions |
| Event landing page | Status: Publish — accessible at slug URL |
| Confirmation email | Status: Active — fires on every form submission |
| Reminder email | Status: Draft — ready to send manually the day before |
| End-to-end test | Test submission verified in Forms → Submissions, then deleted |
Pre-launch checks:
- Form renders in a private-browsing window and the success message appears on submit.
- Confirmation email arrives within two minutes with
[first_name]populated. - Event date, time, and address in the email match the event page exactly. Discrepancies cause attendee confusion on event day.
- Test submission deleted from Forms → Submissions.
What to do if it does not work
- The form does not appear on the event page.
Confirm the shortcode is exactly [form id=12] with no extra spaces or curly braces, and that the form's Status is Publish. A Draft form renders nothing on the public page even when the shortcode is correct.
- The confirmation email does not arrive after a test submission.
Open Email and confirm Status is Active and the Send to field targets the correct form ID. Check the test inbox's spam folder before concluding the email failed to send.
- The form submission appears in the list but some field values are empty.
The form was edited after responses arrived — a field was removed or its type changed. Finalize the form structure before publishing it to prevent this for future events.
- The event page shows a 404 after setting Status to Draft.
This is expected behaviour. Draft pages are not accessible on the public site. If you need the URL to remain live while closing the form, replace the form shortcode with a "closed" message and keep Status as Publish.
- Registrants say they did not receive the confirmation email.
First confirm the submission exists in Forms → Submissions. If the row is there, the trigger fired — ask the registrant to check their spam folder. If the row is missing, the form submit did not complete — test again in a fresh private-browsing window.
- The reminder broadcast recipient count is lower than the registration count.
The segment may not include all form respondents. Export the submissions list as CSV from Forms → Submissions and import the addresses as a manual list before sending the broadcast.
- Multiple duplicate submissions from the same person.
This happens when visitors click the submit button multiple times while the form is processing. Check Forms → Submissions, identify duplicates, and delete all but the first submission per person.
Good use cases for the RSVP playbook
| Scenario | Key detail |
|---|---|
| Monthly product workshop (20 seats) | Daily check of Forms > Submissions tracks remaining seats; morning-of reminder broadcast |
| Weekend hands-on class (12 seats) | Dietary fields in form; export CSV before class for name tags and portions |
| Annual customer dinner (40 seats) | Dietary + seating fields; two-day-before reminder with dress code and parking |
| Invite-only partner briefing | Page is Publish but not linked from navigation — URL shared in partner email only |
| Open demo day (no cap) | Name + email only; single confirmation email; under an hour total setup |