
Review consent sessions
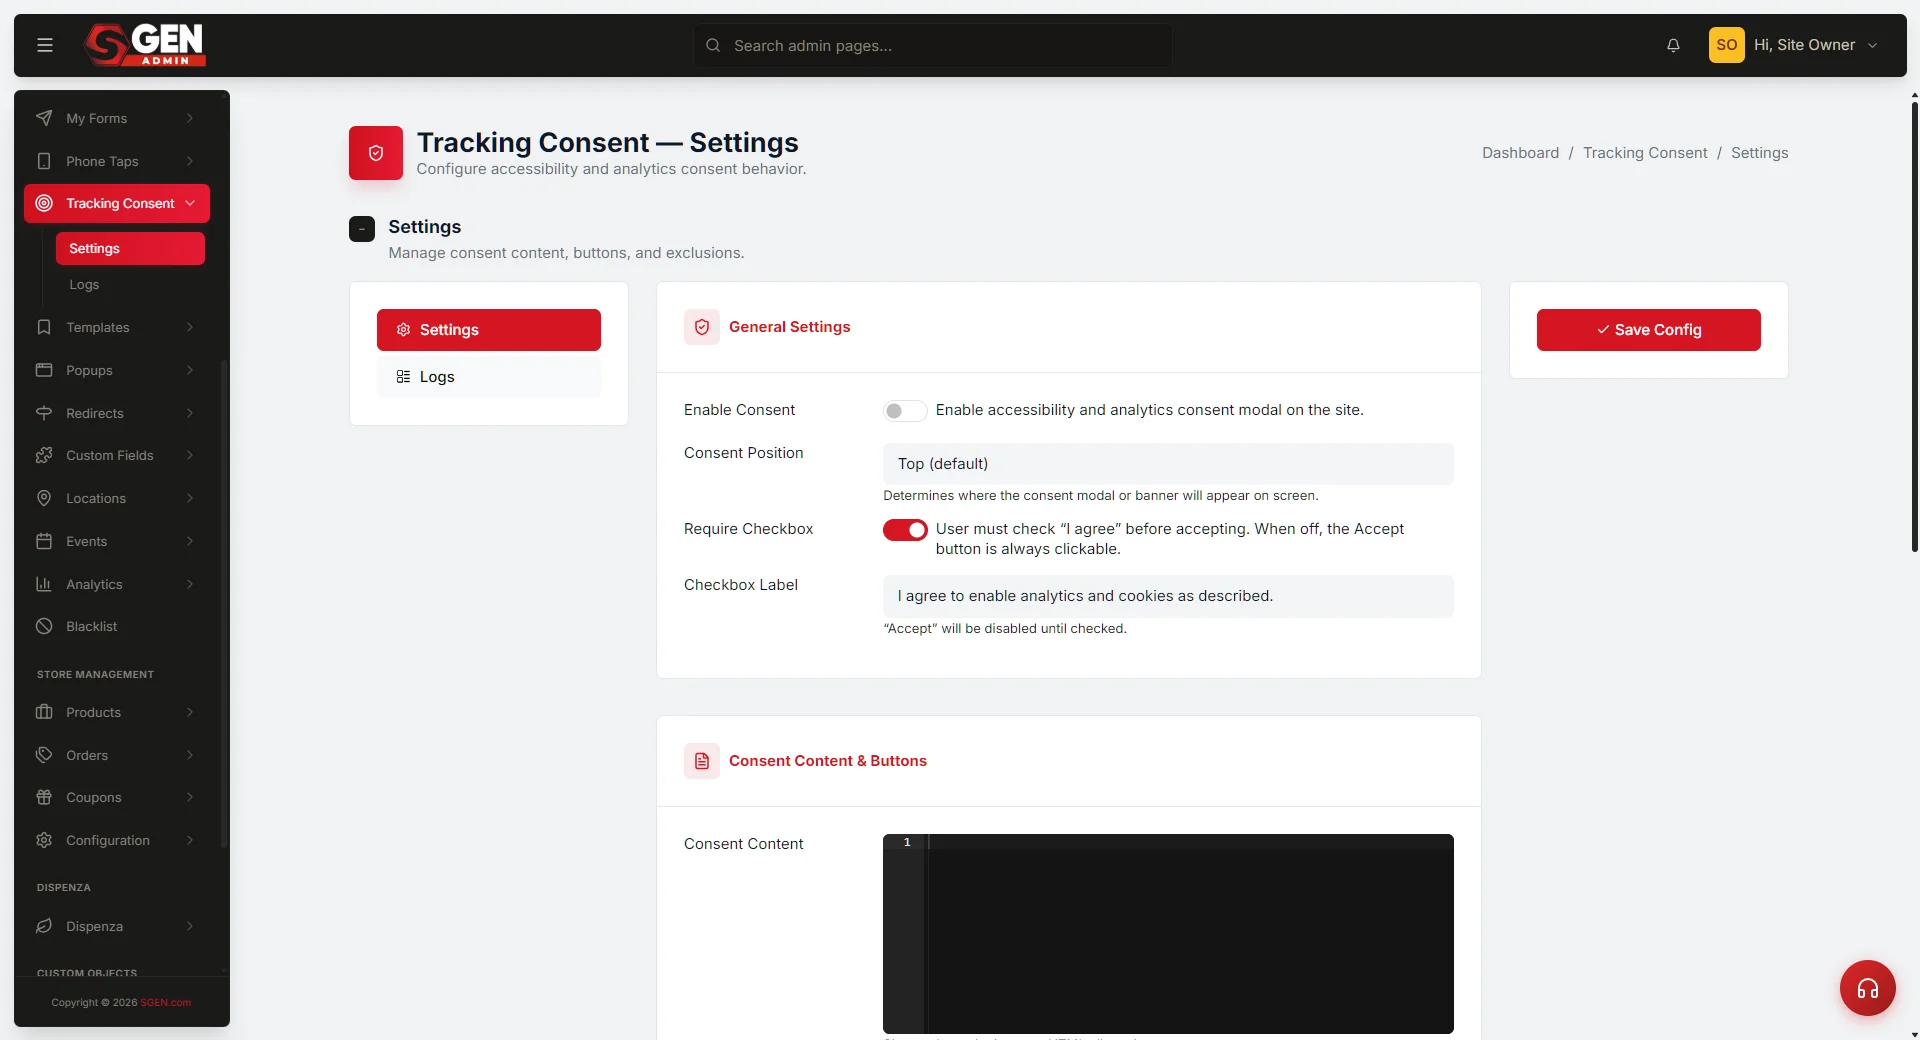 Logs list — rows with Session Key, colored Decision badges, Landing Page, Visible(s), TtD(s), Interactions columns" loading="lazy" style="width:100%;max-width:900px;height:auto;border-radius:8px;border:1px solid #e5e7eb;display:block;margin:12px 0">
⏱ ~8 min read · skim the bold lead-ins to move faster.
In short. The Consent Sessions log records every visitor's accept/decline decision for your cookie banner. Use it to verify compliance, investigate a specific visitor's session, or export records for an audit. This guide covers how to filter the list, read a session detail, and understand what each field means.
On this page: Scope · What the Logs list shows you · Session detail — Summary card · Session detail — Timeline · Steps — Review the list · Steps — Inspect a session · Export · What success looks like · Troubleshooting · Fields · Compliance checklist
Once your consent banner is live, every visitor who sees it generates a session record — a row that captures whether they accepted or declined, what page they landed on, where they came from, and a timestamped timeline of everything they did with the banner. The Tracking Consent → Logs screen is your list of those sessions. Click any row to open a session detail view with a Summary card and a Timeline — the compliance-triage view you show an auditor when they ask "prove this visitor consented."
Scope
The Logs screen covers the audit record of every banner interaction — one row per consent decision. It is read-only: you can view, filter, search, and export sessions, but you cannot edit decisions or replay banner states. For banner configuration (copy, position, script gating) see Tracking Consent Settings.
| In scope | Out of scope |
|---|---|
| Viewing all consent sessions | Editing a visitor's decision |
| Filtering by Accepted / Declined / Pending | Configuring the banner |
| Opening a session detail view | Analytics (page views, conversions) |
| Exporting sessions to CSV | Full data-subject-access exports (requires combining multiple sources) |
What is this for?
The Logs screen is the proof-of-consent archive for your site. Every time the banner is shown to a visitor and they click Accept or Decline, a session row is saved. The detail view of a single session shows you:
- What the visitor saw — which page they landed on, which referrer sent them, which campaign (UTM parameters) brought them in.
- What they did — Accept, Decline, or walk away without deciding; how long they looked at the banner; how many times they interacted with it.
- When they did it — every event in the banner lifecycle with a timestamp, from
gate_shownthroughhover_btnandcheckbox_toggledto the finaldecision.
You reach for this screen for three jobs: compliance triage (prove to a Data Protection Officer or regulator that consent was captured), support debugging (figure out why a specific visitor says the banner misbehaved), and UX diagnostics (see why your decline rate is unusually high).
What the Logs list shows you
The Logs screen is a table with nine columns, one row per consent session:
- ☒ checkbox — for selecting a single session.
- Session Key — a unique identifier like
sess_h02ecnylyajmo9h747lthat you can match against your access logs or a support ticket. - Gate Shown — when the visitor first saw the banner (shown as "3 hours ago", "2 days ago").
- Decision — a colored badge: green
accepted, reddeclined, or neutral (no decision recorded). - Landing Page — the URL of the first page they saw the banner on, as a clickable link.
- Visible (s) — how many seconds the banner was on screen.
- TtD (s) — time to decision, expressed in seconds, from gate-shown to Accept or Decline.
- Interactions — a count badge of every event the visitor fired during the session (hovers, checkbox toggles, button clicks).
- Updated — when the session row was last written (usually the decision timestamp).
Each row is clickable — click the Session Key link to open the full detail view for that session.
The session detail view — Summary card
Click any row's Session Key to land on the session detail page. The top of the page is the Summary card, a 13-row table that condenses everything SGEN knows about this visitor's consent moment:
Every row of the Summary card answers a specific question:
| Summary row | What it tells you |
|---|---|
| Session Key | The unique ID of this session. Match against a support ticket or your access logs to find the visitor. |
| Gate Shown At | The moment the banner first became visible to the visitor (UTC or your site's timezone). |
| Decision | A colored badge: green accepted if they clicked Accept, red declined if they clicked Decline, neutral if they closed the tab before deciding. |
| Decision At | The moment the visitor clicked Accept or Decline. Blank if they left without deciding. |
| Landing Page | The page they were on when the banner showed, as a clickable link. Click it to open that page in a new tab. |
| Referrer | Where they arrived from — Google, Facebook, a blog that linked to you, or blank for a direct visit. Clickable. |
| Client | Three badges — device type (desktop / mobile / tablet), browser, operating system — plus their IP address with the last segment zeroed out for privacy (so 136.112.6.47 becomes 136.112.6.0). |
| UTM | Five colored badges for the campaign parameters: SRC (source), MED (medium), CMP (campaign), TERM (keyword term), CNT (content). Shows direct when the visitor had no UTM parameters. |
| Visible Time | Total seconds the banner was on screen. Long visible times without a decision can mean the visitor was reading carefully. |
| Time to Decision | Seconds from gate-shown to Accept or Decline. Sub-second usually means an impatient click; minutes usually mean careful reading. |
| Scroll Depth | How far down the landing page the visitor scrolled while the banner was up, as a percentage. |
| Time on Page | How long they were on the landing page in total. |
| Total Interactions | A count of every event they fired — hovers, checkbox toggles, button clicks, everything in the Timeline below. |
The session detail view — Timeline
Below the Summary card is the Timeline — a time-sorted table of every event the visitor triggered during the session. Each row has four columns: # (event number), Type (what kind of event), Details (a short text description), and Timestamp.
Events are colored by type:
gate_shown(gray badge) — the banner became visible.focus_elem(light badge) — the visitor focused on a form element or link in the banner.checkbox_toggled(orange badge) — they ticked or unticked the "I agree" checkbox.hover_btn(light badge) — their mouse entered the Accept or Decline button area.attempt_accept_disabled(dark badge) — they tried to click Accept before ticking the required checkbox. Useful signal — it means the checkbox requirement is catching people.decision(green badge) — the final Accept or Decline click. Always the last row in a completed session.
A typical accepted-session Timeline looks like:
| # | Type | Details | Timestamp |
|---|---|---|---|
| 1 | gate_shown | gate_shown | 2026-04-21 14:32:07 |
| 2 | focus_elem | target: checkbox | 2026-04-21 14:32:21 |
| 3 | checkbox_toggled | checked: true | 2026-04-21 14:32:22 |
| 4 | hover_btn | button: accept | 2026-04-21 14:32:48 |
| 5 | decision | decision: accepted | 2026-04-21 14:32:51 |
A Timeline that ends with a decision row is a complete session. A Timeline without one means the visitor left before deciding.
Examples
The four most common reasons you'll open the Logs screen:
Example 1: Responding to a Data Protection Officer audit. Your company's DPO emails: "We had a complaint from a visitor who says they never consented to tracking. Please pull their record." Ask the visitor for the date and the page they landed on, navigate to Logs, scan the Landing Page and Gate Shown columns for the match, click the row, and screenshot the Summary card. The green accepted badge plus the Decision At timestamp is your paper trail — that is what Article 7(1) of GDPR asks you to demonstrate.
Example 2: Debugging a "banner wouldn't dismiss" support ticket. A customer emails saying the banner kept reappearing every time they tried to close it. Ask them for their browser and the approximate time. On the Logs list, find a session with a blank Decision (no decision recorded), high Visible Time (banner stayed up), and many Interactions. Open the detail view and read the Timeline — multiple attempt_accept_disabled events without a checkbox_toggled event means the visitor was clicking Accept without ticking the required checkbox. The banner was working as designed; the visitor missed the checkbox. Reach out and help them through it.
Example 3: Diagnosing a spike in decline rates. Your marketing team notices the opt-in rate dropped last week. Open Logs, look at rows with a red declined decision, and click a few to read their Timelines. If most declined sessions show a long Time to Decision with many hover_btn events on the Decline button, the visitors are carefully reading your disclosure and still saying no — your message is clear but they are not convinced. If most show sub-second Time to Decision right to the Decline button, the banner is being dismissed reflexively — consider tuning the position or the message.
Example 4: Campaign attribution for consent rates. You are running a Google Ads campaign (utm_source=google&utm_campaign=spring_sale) and want to know if visitors from that campaign accept the banner at the same rate as direct traffic. Open Logs, open a few session detail views, and eyeball the UTM badges in each Summary card. Decline-heavy campaigns can tell you which ad creatives bring in privacy-conscious audiences.
What NOT to use this for
- Do not use the Logs screen as a visitor analytics dashboard. It only records consent events, not page views, conversions, add-to-cart actions, or anything else. For a fuller picture of what visitors did, see your Analytics screen.
- Do not treat this as a data-subject-access export tool. When a visitor invokes their GDPR right to access all data you hold on them, you need to combine these rows with form submissions, Analytics visits, and any ecommerce orders. This screen shows only the consent moment — you will need to hand-gather the rest.
- Do not expect to edit a past decision from this screen. Once a visitor has accepted or declined, that record is frozen. The detail view is read-only. There is no way to change a decision after the fact — that would defeat the whole point of a consent audit trail.
- Do not assume the IP address identifies the visitor. IP is anonymized by zeroing the last segment (so
136.112.6.47shows as136.112.6.0). That is enough to know roughly where the visitor was but not enough to identify them individually — which is the right behavior for privacy.
How this connects to other features
- Tracking Consent → Settings — the Logs list only fills up once you have enabled the banner on the Settings screen. If Logs is empty, check whether the banner is on.
- Analytics �� your Analytics visitor reports show the broader visitor journey; the Logs screen here shows only the consent moment within that journey. Cross-reference the Session Key between the two for a full picture.
- Pages — the Landing Page column on each row links to the page the visitor first saw the banner on. Click through to see what that page looks like today and whether anything about the page would explain the visitor's decision.
- Public site rendering — rows in Logs are only created by real visitor interactions on your public site. If a teammate opens the admin in a second tab and clicks around, no Logs row is created — the admin session is excluded from the banner flow.
Before you start
- You are signed in to SGEN as an admin.
- Your consent banner is live — the Enable Consent toggle under Settings is on.
- At least a few visitors have interacted with the banner on your public site. An empty Logs list usually means the banner was just turned on and no visitors have triggered it yet.
Where to go
- Open the left navigation in your SGEN admin.
- Click Tracking Consent.
- In the Tracking Consent sidebar, click Logs.
Steps — Review the list
1. Scan the session list
The Logs screen loads with your most recent consent sessions at the top, 20 per page. Each row is one visitor's consent moment. Look down the Decision column first — a mix of green accepted and red declined badges is the normal pattern. All-declined or all-accepted is a signal to investigate.
The Gate Shown and Updated columns give you a sense of volume — if every row reads "3 days ago" the banner is not being seen much, which often means visitors are landing on pages in your Excluded Pages list.
2. Read a row to get the essentials
Each row tells a short story: "A visitor landed on /about from Google, saw the banner, spent 44 seconds looking at it, clicked through it 6 times, and accepted." That is usually enough for high-level review.
Hover a row to highlight it. The Session Key is a clickable link — click to open the session detail view.
Steps — Inspect a single session
3. Open the detail view
Click the Session Key in any row. You land on a page titled Tracking Consent — Session View / Session: with two cards stacked vertically: Summary on top, Timeline below. Both cards are open by default; click either card header to collapse it.
4. Read the Summary card top-down
The Summary card is read in order:
- The first three rows (Session Key, Gate Shown At, Decision) tell you who and when.
- The next three (Decision At, Landing Page, Referrer) tell you what they did and where they came from.
- The Client + UTM rows tell you which device / browser / campaign.
- The final five (Visible Time, Time to Decision, Scroll Depth, Time on Page, Total Interactions) are the behavioral detail.
A healthy accepted session has a Decision At timestamp close to Gate Shown At (say, 30-90 seconds later), a reasonable Time on Page (more than Visible Time), and maybe 3-8 Total Interactions. An unhealthy session has either very short Time to Decision (reflexive click) or a blank Decision At (visitor left without deciding).
5. Read the Timeline card bottom-up
The Timeline tells the story of what the visitor did in the order they did it. Row 1 is always gate_shown. The last row is usually decision, either accepted or declined.
Events in between are the signal. A session with many checkbox_toggled events means the visitor toggled the consent checkbox back and forth, maybe unsure. Many attempt_accept_disabled events followed by checkbox_toggled means they tried to Accept, the button was disabled, they noticed they needed to tick the checkbox, ticked it, and then successfully Accepted.
6. Screenshot for audit if needed
For a DPO audit or a legal hold, the standard evidence is a screenshot of the Summary card (showing the green accepted badge and the Decision At timestamp) plus the Timeline card (showing the full event sequence ending in decision: accepted). Use your operating system's screenshot tool — there is no built-in export from the detail view, but a screenshot plus the page URL is sufficient for most compliance workflows.
7. Return to the list
Your browser's Back button takes you back to the Logs list, preserving where you were on the page. From there, click any other Session Key to inspect another session.
What success looks like
- The Logs list loads with one row per consent session on your site, sorted most-recent first.
- Each row shows a Session Key, a colored Decision badge (green / red / neutral), the landing page as a link, and numeric columns for Visible Time, Time to Decision, and Interactions.
- Clicking a Session Key opens the detail view for that session at a URL like
/sg-admin/tracking_consent/logs/view/1. - The detail view shows the Summary card with 13 rows of data and the Timeline card with one row per event fired during the session, ordered earliest-to-latest.
- The Decision badge in the Summary card matches the last event in the Timeline — a green
acceptedbadge in Summary always pairs with adecision: acceptedrow at the bottom of the Timeline. - IP addresses in the Client row always end in
.0— the last segment is anonymized by design.
What to do if it does not work
- The Logs list is empty. Either the consent banner is not enabled (check the Settings screen — Enable Consent should be on), or the banner has not been seen by any visitors yet. Load your homepage in a fresh incognito window — you should see the banner. Click Accept or Decline, then return to Logs and refresh — a new row should appear.
- The Logs list shows rows but they are all from admins, not real visitors. That is not possible — only real visitor interactions on the public site create Logs rows. If you are seeing rows that should not be there, the Session Key or Landing Page column should help you identify them. Check the Landing Page column against your Excluded Pages list — if a page that is meant to be excluded is appearing, confirm it is selected in Excluded Pages under Settings and save again.
- A session I know happened is not in the Logs. Confirm the visitor saw the banner. The banner does not appear on pages you have added to Excluded Pages, so a visit to
/privacy-policywill not generate a log. The banner also does not appear to visitors who have already made a choice earlier in the same browser — their existing decision is remembered. - The Decision column is blank on some rows. Those are visitors who saw the banner but left before clicking Accept or Decline — they closed the tab, navigated away, or timed out. That is normal and tracked separately from accept/decline counts.
- I cannot find a specific session by its Session Key. Session keys are generated per visitor per browser — a visitor who clears their cookies gets a new key. Ask the customer for the approximate date + time + landing page, and scan the rows on that date. The combination of time range and landing page is usually enough to narrow it down.
- The IP address on the Client row ends in
.0— is the last part missing? That is the privacy-safe default. SGEN anonymizes the last segment of every visitor IP so you cannot identify individual devices. You still see the city-level approximation through geolocation, just not enough to single out a person. - The Timeline stops at
gate_shownwith nothing after. The visitor saw the banner but did not interact with it — possibly a tab opened in the background, or the visitor closed the window immediately. Common and expected behavior.
Fields
| Column / field | Meaning |
|---|---|
| Session Key | Unique session ID (e.g. sess_h02ecnylyajmo9h747l). Matches against access logs or support tickets. |
| Gate Shown | When the banner first appeared — shown as "3 hours ago" or an absolute timestamp. |
| Decision | Colored badge: green accepted, red declined, blank = no decision (visitor left). |
| Landing Page | The URL of the page where the banner appeared. Clickable. |
| Visible (s) | How many seconds the banner was on screen. |
| TtD (s) | Time-to-decision: seconds from gate-shown to Accept/Decline click. |
| Interactions | Total event count across the session (hovers, checkbox toggles, clicks). |
| Referrer | Where the visitor came from (Google, Facebook, direct). |
| UTM | Campaign parameters at the time of the consent session. |
| Client | Device / browser / OS / anonymized IP (last octet zeroed). |
Steps — Export consent records
8. Export selected sessions
- From the Sessions list, tick the rows or use Select all for the current view.
- Pick Export CSV from the bulk-action menu.
- Click Apply. SGEN downloads a CSV with one row per session and columns matching the table.
Tips
- Run a weekly consent audit. Compare Accepted vs Declined ratios week over week. Sudden swings often signal a banner copy issue or a layout change.
- Watch the time-to-decision metric. Median TtD over 5 seconds suggests the banner is hard to read or the decision is unclear.
- Match consent versions to your privacy policy revisions. When you update the privacy policy, increment the consent version so old sessions re-prompt.
Additional troubleshooting
- Sessions are recorded but no Locality is set. Locality requires a GeoIP lookup, which may be disabled or rate-limited. Check the integration status under Tracking Consent → Settings.
- CSV export shows fewer rows than the list. The CSV exports the current filter scope. Reset filters before exporting to capture all sessions.
FAQs
Q: How long are consent sessions retained? Sessions are kept for the period set in your data retention settings — 12 months by default. Adjust this under Tracking Consent → Settings → Retention.
Q: Are sessions tied to logged-in users? Sessions are anonymous by default. If a visitor logs in after consenting, the session is associated with the user record, with the visitor's separate consent session preserved.
Q: Can I delete a specific consent session for a privacy request? Yes. Open the session, click View, then Delete. The deletion is recorded in the audit log.
Audit and retention
- Each consent session writes to the audit log. The audit log is separate from the Sessions list and is preserved beyond the Sessions retention window.
- Default retention for the Sessions list is 12 months. Audit-log retention is configured separately under Audit settings and may be longer.
- Privacy requests (right to erasure) act on both the Sessions list and the audit log. Deleting a session removes its PII from the Sessions list; the audit log retains the deletion record without the original PII.
- Export format is CSV — one row per session, columns matching the list view table.
Integration with analytics
- The Analytics dashboard respects consent state. Sessions that declined tracking are excluded from traffic reports automatically.
- Conversion attribution falls back to last-click for visitors without consent.
- The Sessions list is the source of truth for consent state, not the analytics dashboard. If they diverge, the Sessions list wins.
Privacy request workflow
When a visitor submits a privacy request (right to access, right to erasure, right to portability), the consent sessions list is the source of truth:
- Identify the visitor's sessions by IP, session ID, or timestamp.
- Right to access: Export the matching sessions as a data file and provide it to the visitor.
- Right to erasure: Delete the matching sessions. The audit log retains the deletion record without the original PII.
- Right to portability: Export as CSV and provide it to the visitor.
Compliance checklist
- Sessions retention matches your privacy policy stated retention period.
- Audit log retention exceeds the highest-applicable regulatory minimum (often 12 or 24 months).
- Export formats are accessible to non-technical privacy requesters.
- Deletion path is documented and tested.
- Cross-system mirrors (analytics, CRM) are included in the deletion workflow.
Next step
Session detail — Summary card fields
| Field | What it shows |
|---|---|
| Session Key | Unique ID of this session; match against a support ticket or access logs. |
| Gate Shown At | The moment the banner first became visible to the visitor. |
| Decision | Colored badge: green accepted, red declined, neutral if they left without deciding. |
| Decision At | The moment the visitor clicked Accept or Decline. Blank if they left without deciding. |
| Landing Page | The page they were on when the banner showed, as a clickable link. |
| Referrer | Where they arrived from, or blank for a direct visit. Clickable. |
| Client | Device type, browser, OS, plus IP with the last segment zeroed for privacy. |
| UTM | Five campaign-parameter badges: SRC, MED, CMP, TERM, CNT. Shows direct when no UTM. |
| Visible Time | Total seconds the banner was on screen. |
| Time to Decision | Seconds from gate-shown to Accept or Decline. |
| Scroll Depth | How far down the landing page the visitor scrolled while the banner was up, as a percentage. |
| Time on Page | How long they were on the landing page in total. |
| Total Interactions | Count of every event they fired — hovers, checkbox toggles, button clicks. |