
Add or edit a user account
⏱ ~4 min read · quick answer above the fold · full reference below.
In short. To add a user: Users → + Add New — fill in Username, First and Last Name, Email, Role, and Password, then click Submit Profile. Username is permanent and cannot be changed after save. To edit a user: click their row in the Users list, change any field, click Save Changes. To reset a password: on the Edit User page, scroll to the Change Password card, fill in the new password (leave Old Password blank when resetting someone else's), and confirm. Role changes take effect on the user's next page load.
On this page: Field reference · Good use cases · What NOT to use this for · Steps — Add a user · Steps — Edit a user · Troubleshooting
The Add User and Edit User forms are where you provision new accounts and adjust existing ones. Use the Add form to give a new teammate or customer sign-in access to your site with the right role. Use the Edit form to correct a typo in a name, change a role, update an address, or reset someone's password.
What is this for?
The Add User form is your new-account provisioning screen — the fastest way to give someone access to your site with exactly the trust level they need. The Edit User form is your account-detail workspace — one screen where every field about a user lives, from name and contact info to role and password.
Choosing the right role matters. A person's role decides what they can do on your site:
- Administrator / Site Owner — full control. Can change any setting, publish any content, manage users. Give this to people you trust completely.
- Editor — can write, edit, and publish any content, including work by others. No access to site settings or user management.
- Author — can write and publish their own content. Cannot edit work by others.
- Customer — public-side account. Can sign into the customer account area, see order history, and update their own profile. No admin access.
- Subscriber — public-side account with basic privileges like signed-in commenting.
Here is what the Add User form looks like when you open it ready to invite a new Editor. The Username and Email fields become read-only after save, Role is set to Editor, and the Password field has Generate / Show controls live next to it.
Field-by-field — what is required, what is locked
A quick map of every input on the Add and Edit User forms, grouped by editability:
- 7 required on Add — Username, First Name, Last Name, Email, Role, Password, Confirm Password.
- 5 optional — Phone, Bio, Address Line 1/2, City, Country, State/Region, Postal Code (counted as one address group).
- 2 read-only on Edit — Username and Email. Editable on Add only; grayed out forever after save. Identity anchors that keep audit-log and ecommerce records consistent.
- 3 password fields — Old Password (only when changing your own; blank when resetting someone else's), New Password, Confirm Password.
Good use cases
The Edit User form is a two-column page: a wide left card for profile details (name, role, display name, bio, address) and a slim right card for the password reset. Here is what it looks like for an existing Editor — the Username and Email rows are grayed out as expected, Role is pre-selected to their current level, and the address block is populated from their last shipping order.
Example 1: Onboarding a new teammate. A new Editor joins your team. Click + Add New, fill in their username, email, first and last name, pick Editor as the role, click Generate on the password field for a strong random password, tick Show so you can copy it, and submit. The page refreshes with:
Share the password through a secure channel. They sign in, change their password from their own profile, and are ready.
Example 2: Resetting a teammate's password. A teammate forgot their password and is locked out. Find their row, click Edit, scroll to the Change Password card on the right side, fill in the new password and confirmation (leave Old Password blank when resetting someone else's), click Change Password. The browser asks for confirmation:
Click OK and the page confirms:
Tell them the new password through a secure channel (never plain email). They use it on their next sign-in.
Example 3: Correcting a typo or changing a role. You set up Jaen Smith instead of Jane Smith — or an Editor has earned more responsibility. Find their row in the Users list, click Edit, fix the name or change the Role dropdown, click Save Changes. Name corrections update everywhere on the site (bylines, comments, order records). Role changes take effect on the user's next sign-in.
What NOT to use this for
- Do not create accounts shared between people. Each person who needs access should have their own. Shared accounts break the audit trail.
- Do not change your own role on the Edit User form. If you demote yourself from Administrator, you lose admin access on your next page load.
- Do not reuse passwords across accounts. Let Generate pick a strong one for each new user.
- Do not paste the password into a plain email. Email is not a secure channel. Use a password manager, secure messaging app, or phone.
- Do not use the Edit form to change a username or primary email. Both fields are read-only after account creation. If someone absolutely needs a new identity, create a new account and trash the old one.
- Do not leave the generated password visible on a shared screen. Click Show only on your own private device.
- Do not skip the role review on Edit. When you open Edit User to fix a typo or update an address, glance at the Role dropdown before saving. A saved Role change takes effect on the user's next sign-in.
How this connects to other features
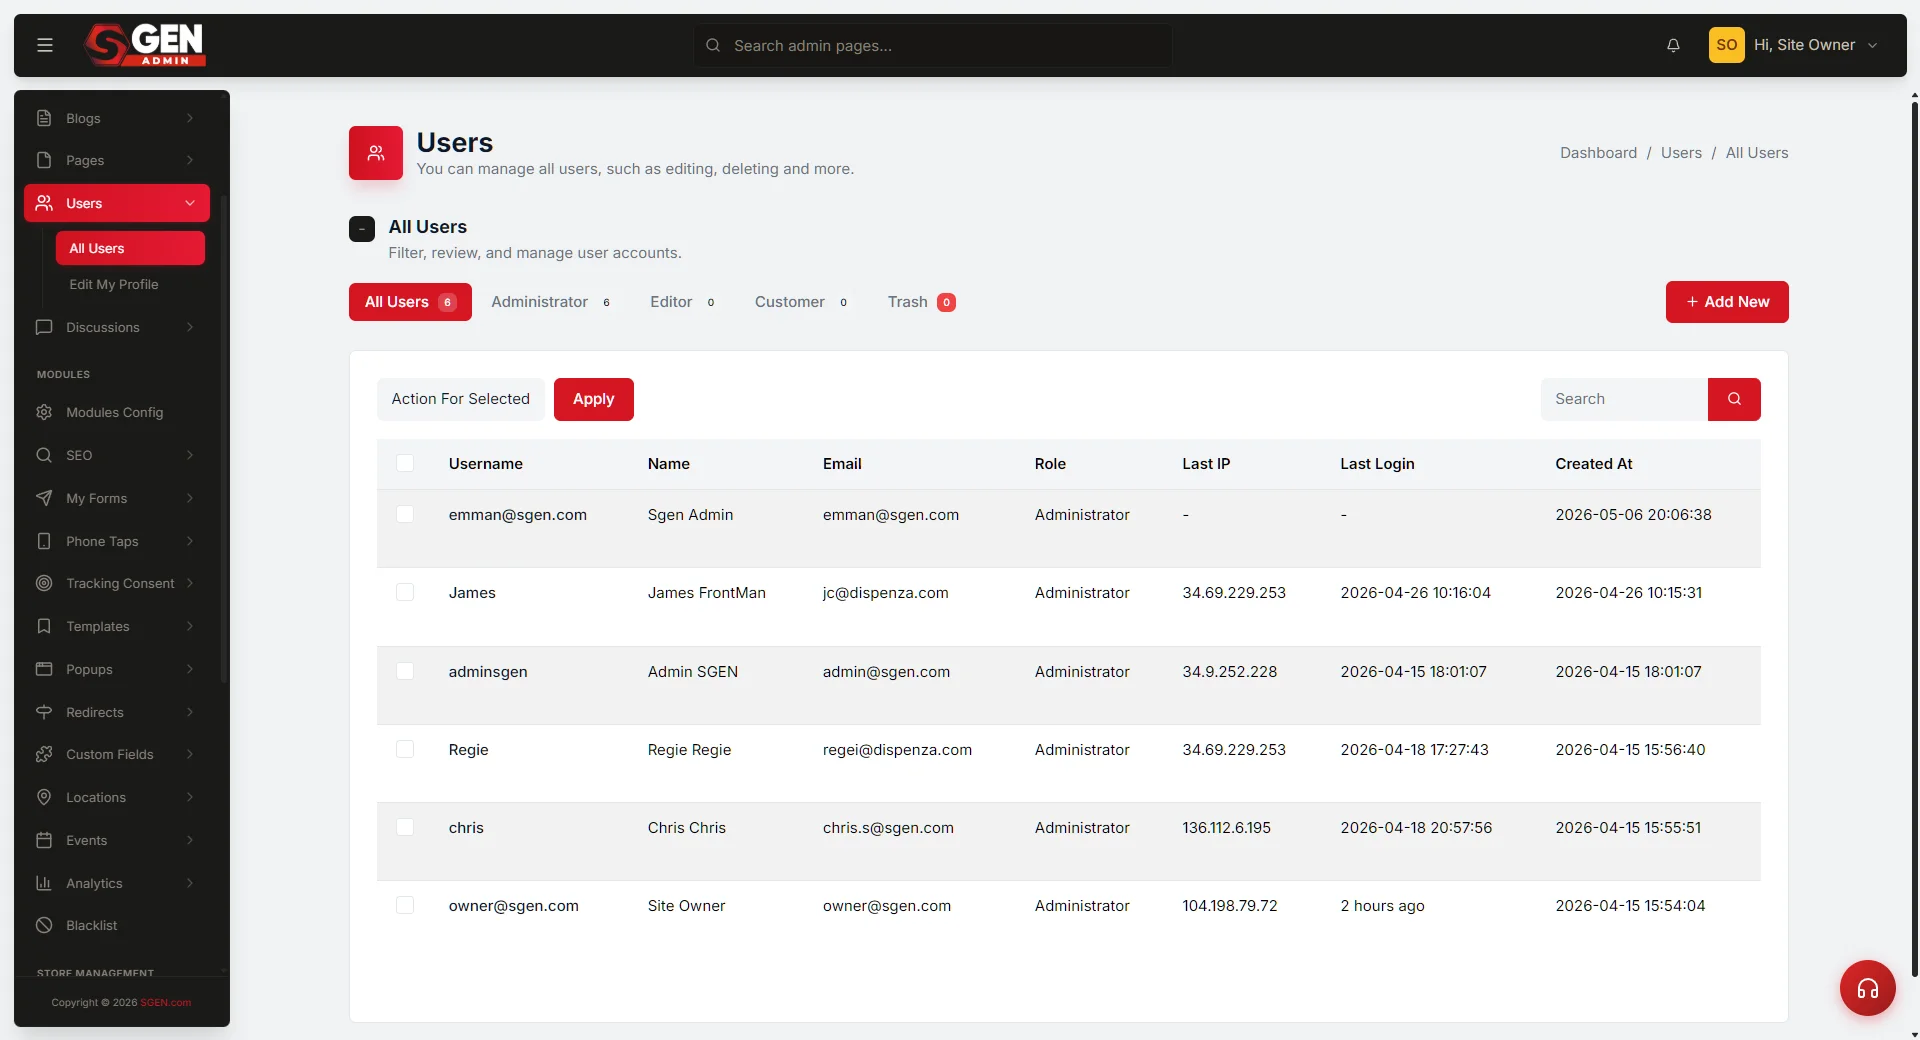
- Manage users list — the Users list screen is where every account lives and where you find the + Add New button and the per-row Edit action.
- Your own profile — for editing your own display name and password, use the Edit your own profile screen. It hides the role field so you cannot accidentally demote yourself.
- Blog and Pages authorship — when an Editor or Author publishes a post or page, the name in the Users list is what shows as the byline. Keep names and display names tidy on the Edit form.
- Ecommerce customer records — Customer-role accounts are linked to order history. Address and phone fields on the Edit form feed into order forms (pre-filled fields, shipping labels, billing records). A typo in Postal Code here causes shipping-label errors downstream.
- Audit log — every save on Add User and Edit User writes one entry to the Audit log under Site Tools → Audit log. Compliance and off-boarding reviews rely on this trail being complete.
- Welcome email template — accounts created via Add User trigger an automatic welcome email if the welcome-email template is configured under Settings → Email. Without that template, no email goes out and you must share the temporary password yourself.
Before you start
- You are signed in as an Administrator or Site Owner. Editors and Customers cannot add or edit other users.
- You know what role the user should have. If in doubt between Editor and Administrator, pick Editor and promote later.
- You have a secure way to share any password you generate (password manager, secure messaging, phone).
- For multi-site fleets, each SGEN site has its own Users list. Adding a user on Site A does not propagate to Site B.
- If this is a Customer-role account, let them know they can update their own address and password after first sign-in from the public-side account area.
Where to go
To add a user: from the Users list, click + Add New, or open /sg-admin/users/add_new directly.
To edit a user: from the Users list, click the username or the Edit row action on their row.
Both actions are scoped to the current site. If you manage multiple sites, navigate to the correct site in your dashboard before opening the Users list.
How to add or edit a user
Use the two step sequences below — one for provisioning new accounts, one for updating existing ones.
Steps — Add a new user
1. Fill in the identity fields
- Username (required). Letters and numbers only, no spaces or dots, between 5 and 12 characters, and must be unique across your site. Pick something memorable:
gracehopper,alice99,editor_mo. Username cannot be changed after save. - First Name and Last Name (both required). Use letters, numbers, and spaces only. If a name contains accented characters (é, ñ, ü), the current system does not accept them — use a plain-letter version as a workaround.
- Email (required). Must be a valid email format and unique to your site. This is the address for any future "Forgot password" reset link.
- Phone (optional). Any format —
+1 555-0101,0207-123-4567. Stored as-is.
2. Pick the role
The Role dropdown is the most important field. Start conservative — you can always promote later.
- Administrator — full access. Reserve for trusted teammates.
- Editor — can write and publish any content.
- Customer — public-side account only.
If the dropdown shows "Select a role", treat it as Customer — both create a customer-level account.
3. Set a password
Two password fields: Password and Confirm Password. Both required, must match. Minimum 5 characters, maximum 30.
Click Generate to fill both fields with a strong random password. Click Show to reveal and copy it somewhere safe.
4. Click Submit Profile
The page refreshes with Profile has been successfully created! The account now exists — the new user can sign in with the username and password you set.
If any field was invalid, a red banner appears at the top of the form with the specific error message. Fix the flagged field and submit again. You do not need to refill any field that passed — only the one identified in the banner.
Steps — Edit an existing user
1. Open the Edit User page
From the Users list, click the row's username or the Edit row action. You land on a two-column page titled Profile. The left card is Edit Profile (basic details + address). The right card is Change Password. Username and Email are grayed out and read-only.
2. Update the basic profile
In the left card you can change:
- First Name, Last Name (required, letters / numbers / spaces only, 2-50 characters).
- Phone (optional).
- Bio (optional rich-text — bold, italic, links, headings).
- Role (dropdown — be careful; changing role changes what the user can do).
- Display Name (how their name shows on the public site — blog bylines, comments).
Click Save Changes. A green confirmation banner reads Profile has been successfully updated!
3. Update the address
Below the basic profile are address fields used by ecommerce orders and delivery labels:
- Address Line 1, Address Line 2
- City, Country, State / Region, Postal Code
Click Save Changes to persist all profile and address fields in one go.
4. Change a password
The right-hand Change Password card handles password resets.
- Old Password — required when changing your own password. Leave blank when resetting someone else's as an administrator.
- New Password — click Generate to make a strong random one; click Show to see what you typed.
- Confirm Password — must match.
Click the red Change Password button. The browser may ask "Are you sure you want to change this password?" — click OK. A green banner confirms. The user signs in with the new password from now on.
What success looks like
- After adding a user: a green banner reads Profile has been successfully created! The new account appears in the Users list with the role you picked.
- After editing: a green banner reads Profile has been successfully updated! Changes are reflected in the Users list and on any public page where that user's name appears.
- After changing a password: a green banner reads Password has been successfully updated! The user can sign in with the new password on the next attempt.
- The username and email fields stay gray and read-only on the Edit page — that is expected.
- If welcome emails are enabled under Settings → Email, the user receives an email with their username and a sign-in link.
What to do if it does not work
- "The Username field must be at least 5 characters." Usernames need to be between 5 and 12 characters, letters and numbers only.
- "The Username field must contain a unique value." Someone on your site already has that username. Try another.
- "The Email field must contain a unique value." An account with that email already exists. Check the Users list to find it, or use a different email.
- "The Password field must be at least 5 characters." Passwords need at least 5 characters. Let Generate pick one.
- "The First Name field may only contain alpha-numeric characters and spaces." The system does not accept accented characters (é, ñ, ü) in first or last name. Use a plain-letter version as a workaround.
- "Passwords don't match." The Password and Confirm Password fields need to be identical — click Show to check what you typed in each.
- "Please enter your correct password to continue!" On a self-password-change, the Old Password field needs your current password first. When resetting someone else's password as an administrator, leave Old Password blank.
- I submitted but the form came back with my data still in the fields. A red banner at the top tells you exactly which field failed. Scroll up, fix the field, and submit again.
- The new user did not receive a welcome email. Welcome emails only send if Settings → Email has the welcome-email template enabled and a from-address configured. The account is still created — share the temporary password yourself.
- My role change did not take effect. Role changes apply on the user's next sign-in, not their current session. Ask them to sign out and back in.
Tips
- Pick the lower role when in doubt. It is faster to promote an Editor to Administrator on day 30 than to recover from a misuse of admin access on day 5. Default to Editor for in-house team members; default to Customer for everyone else.
- Use Generate every single time. Click Generate, click Show, copy into your password manager, save. Under 30 seconds per user.
- Username is forever. Pick a convention (
firstlast,first_last) and apply it consistently — future searches stay predictable. - Keep two Administrators at minimum. If one locks themselves out (forgotten password, sick day), the other can restore access.
- Display Name is your public branding lever. It appears on every blog byline, comment, and order record. Set it to a professional value (full name or role title) rather than leaving it as the raw username.
- Save the password manager entry BEFORE clicking Change Password. A common slip: Generate a strong password, click Change, get the success banner, and only then realize you never copied the password anywhere.
FAQs
Q: Can I change someone's username after creating their account? No. Username is permanent — it is the identity anchor across the audit log, ecommerce orders, and blog bylines. If a username must change, create a new account with the right username and trash the old one.
Q: Can I change someone's primary email after creating their account? Not from the Edit User form — Email is grayed out alongside Username. For most cases, asking the user to continue using the existing email is simpler.
Q: Why does the role dropdown show "Select a role"? "Select a role" is the placeholder. If saved as-is, the account is created at Customer level. Pick an explicit role rather than leaving the placeholder.
Q: Can I create an account without a password? No. Password is required at account creation. Either type one or click Generate.
Q: Will the new user receive an email automatically? Only if your site has the welcome-email template enabled under Settings → Email. If that section is empty, no email goes out — share the temporary password yourself.
Q: Can I bulk-import users from a CSV? No bulk-import on the Users screen. Accounts are created one at a time via + Add New. For large migrations, your developer can run a one-off database script.
Q: Can I undo a password reset? No. Once you click Change Password, the old hash is overwritten. Generate a new password and share it if you reset by mistake.
Q: Can I add a profile photo from this form? SGEN 3.0 does not store an avatar field on the user record. Profile pictures come from the theme or Media Library separately.
Q: How long is a generated password? Generate produces a random 12-character password using letters and numbers — well above the 5-character minimum and easy for a password manager to store.
Audit history
Every action on the Add User and Edit User forms writes one entry to the Audit log under Site Tools → Audit log. Useful when investigating "who created this account" or "when was this password reset":
- Account created (admin who created it, role assigned, timestamp)
- Profile updated (which fields changed, with old → new values for non-secret fields)
- Role changed (old role → new role, called out as a high-signal event)
- Password reset (event + admin user_id + timestamp — never the password itself)
- Address updated (country + postal code change, useful for confirming move events)
Open the Audit log under Site Tools and filter by Users-area events. The log retains entries indefinitely on the live site and is the canonical source of truth for "who did what, when" — useful for compliance reviews, off-boarding investigations, and confirming whether a contractor's access was correctly revoked.
Next step
User roles and what each can do
| Role | Type | Capabilities |
|---|---|---|
| Administrator / Site Owner | Admin | Full control. Can change any setting, publish any content, manage users. |
| Editor | Admin | Can write, edit, and publish any content including work by others. No access to site settings or user management. |
| Author | Admin | Can write and publish their own content. Cannot edit work by others. |
| Customer | Public-side | Can sign into the customer account area, see order history, update their own profile. No admin access. |
| Subscriber | Public-side | Basic privileges such as signed-in commenting. |