
Manage locations
⏱ ~8 min read · quick answer above the fold · full reference below.
In short. Go to /sg-admin/locations. From the list view you can add, edit, hide, restore, or permanently delete any physical address your business operates from. Each location holds a name, address, hours, optional photos, and a Google Business Profile link. Status controls public visibility: Publish = visible on your site, Draft = hidden but saved, Trash = soft-deleted with a 30-day grace period. Click + Add New to create, hover any row to Edit or Trash it, and use bulk actions for multi-row updates.On this page: What this module is for · Reference tables · Where to go · Steps · Examples · Troubleshooting
How to add and maintain physical locations in SGEN
What is this for?
The Locations module is where you tell SGEN, "here is a real-world address that belongs to my business — render it on the public site, keep it searchable, and let me change it without redeploying anything."
Each row holds the address, the contact details, and the open-hours schedule a visitor needs to walk in the door. The same record powers the public-site location pages, contact-page maps, and any "find a store near you" component your theme exposes.
The module is not a calendar, not an event-booking system, and does not store timezone-aware "currently open" state. What it stores is the address, the metadata, and the hours-of-operation grid — and that grid is plain text per day, not timezone-aware.
Scope
| In scope | Out of scope |
|---|---|
| Adding a new location record | Setting up your Google Business Profile account |
| Editing an existing location's fields | Customizing how locations display on your theme |
| Using Draft / Publish / Trash statuses | Map embed configuration or Place ID lookup |
| Syncing location data from Google Business Profile | Timezone-aware "currently open" logic |
| Managing location photos and gallery | Multi-site or multi-domain location management |
Reference
| Status | Public site behavior | Admin tab |
|---|---|---|
| Publish | Visible on store-finder map and location pages | All, Published |
| Draft | Hidden from public site; saved for editing | All, Draft |
| Trash | Hidden; data preserved for 30 days | Trash only |
| Field | Required | What it does |
|---|---|---|
| Location Name | Yes | Public-site title and admin-list label |
| Street Address / City / State / ZIP | No | Full address shown on map pin and detail page |
| Phone Number | No | Click-to-call on mobile public-site views |
| Hours of Operation | No | Per-day open/close times shown to visitors |
| GBP Link | No | Links to your Google Business Profile listing |
| Shop Main Image | No | Hero image on the location detail page |
| GMB Attributes | No | Structured accessibility and service flags |
What NOT to use this for
- Do not use Locations for events. A location is a fixed address. Events have dates, start times, registration forms, and capacities. If you need event scheduling, use a dedicated events module.
- Do not paste HTML or scripts into address fields. The address fields are stored as typed and the meta-write path does not run every field through the standard sanitizer. Stick to plain text addresses. If you need styling on a location detail page, do it in the theme template, not the address fields.
- Do not rely on the search box for fuzzy matching. Search runs a literal substring match against the location name. A search for
Streetfinds rows whose name containsStreet; a search forAvewill not. Plan your naming convention with searchability in mind. - Do not expect "currently open" logic. The hours grid stores open/close times as plain time strings — no timezone attached. Your public-site theme has to do the math.
- Do not treat synced locations as fully editable. If a location has an
Externalbadge in the list view, it came in from a Google Business Profile sync. Edits you make to a synced row may be overwritten the next time sync runs.
How this connects to other features
- Media library — the storefront image and gallery fields open the standard SGEN media picker. Upload your photos to the media library first; pick from there.
- Users — every location records the admin who created it as the author. If you remove a user, locations they authored stay; only the displayed author name updates.
- GBP / Google Business Profile — the Sync Locations button on the list view pulls the canonical list from a connected Google Business Profile. Synced locations carry an
Externalbadge. If GBP is not wired, the button returns an error toast — expected on a fresh install. - Settings → Locations GMB Attributes — the GMB Attributes card on the create/edit form is driven by the JSON list configured under the locations settings page.
Before you start
- Admin access to
/sg-admin/. - The Locations module enabled for your site (it is on by default; if the sidebar item is missing, contact support).
- Your storefront photos already uploaded to the media library — or be ready to upload them mid-flow.
- A clear naming convention if you have multiple locations (city, neighborhood, store number — pick one and stick with it).
- A connected Google Business Profile, only if you want sync (optional).
Where to go
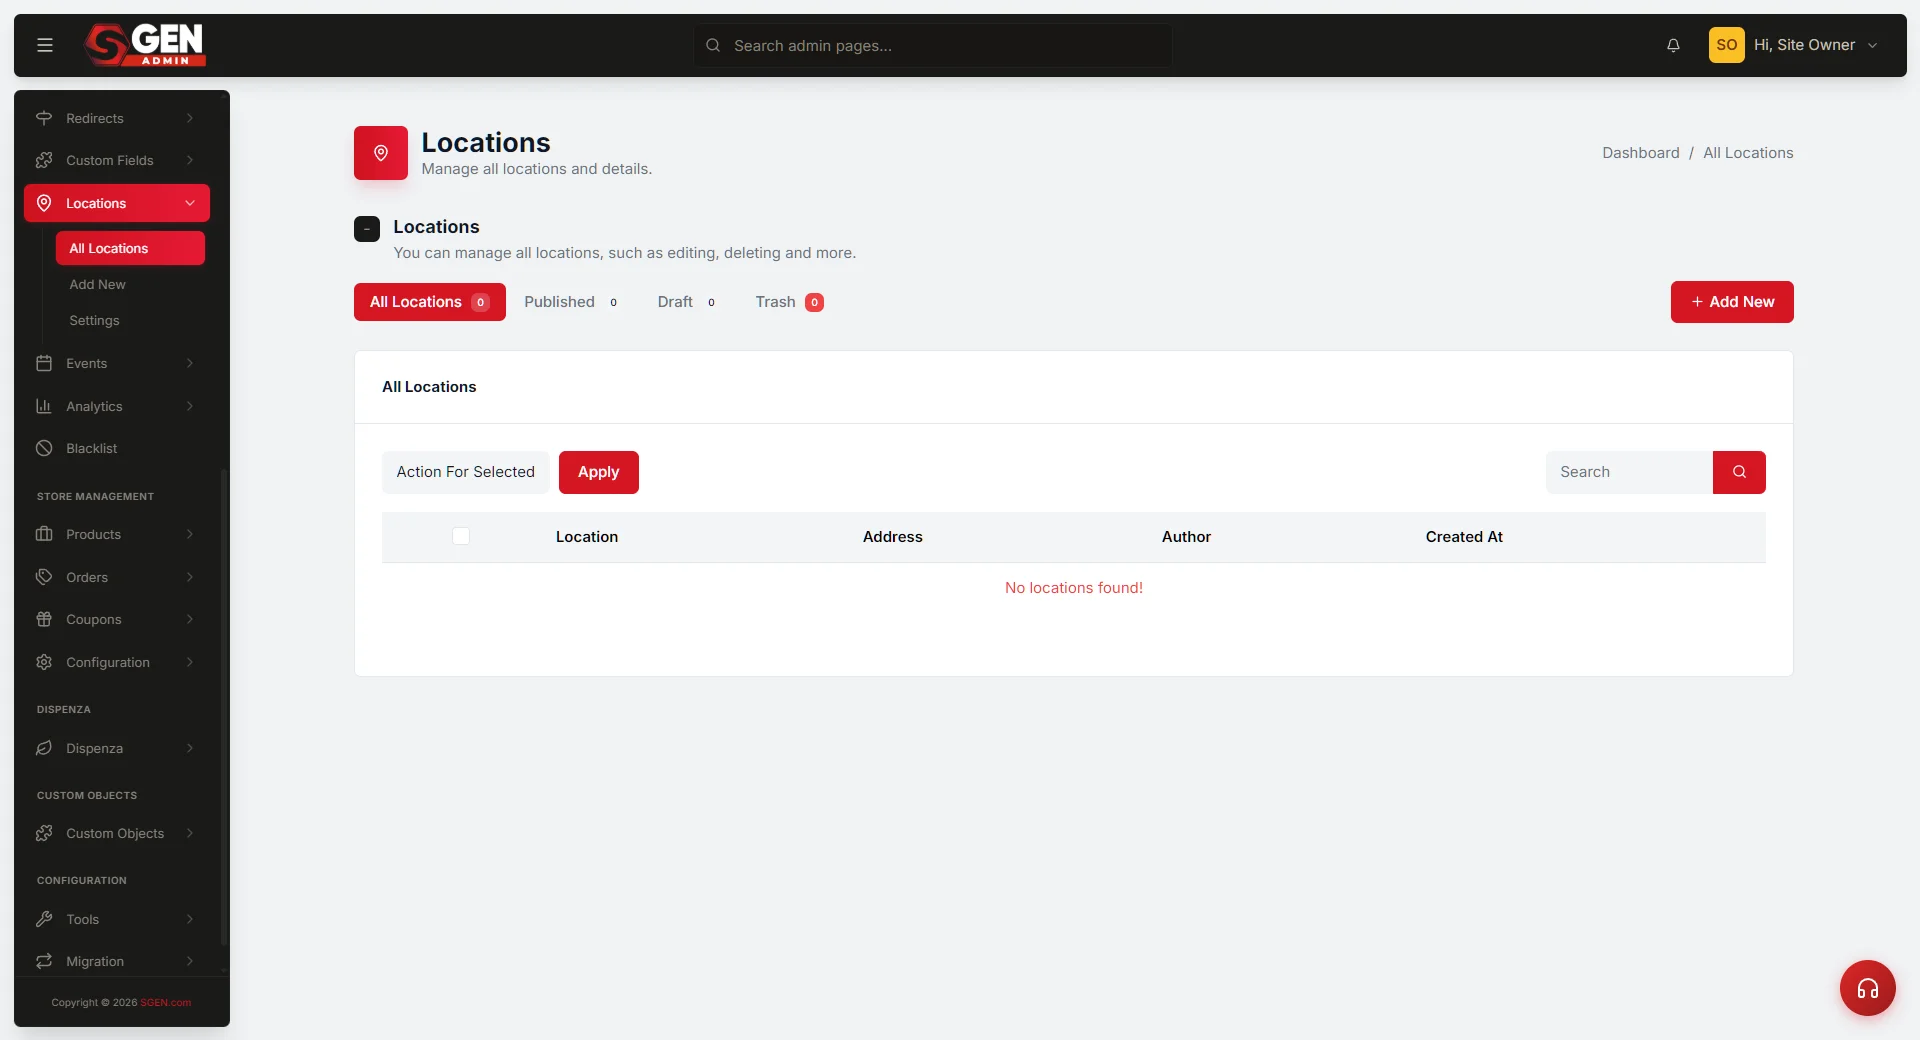
Open /sg-admin/locations from the admin sidebar. The list view is your home base for everything in this module.
From the list view you can:
- See every location grouped by status — All, Published, Draft, Trash.
- Search by name.
- Bulk-change the status of many rows at once.
- Open any row's edit form.
- Trash or restore a row.
- Delete permanently from the Trash tab (irreversible).
- Click + Add New to create a new location.
- Click Sync Locations to pull from a connected Google Business Profile.
Steps
1. Open the list view
Open /sg-admin/locations from the admin sidebar. You land on the All tab with every location visible regardless of status.
2. Click "+ Add New" to create a location
The button sits in the top-right corner of the list-view header. It opens a blank form titled Create Location.
3. Fill the location name
The only required field — two characters minimum. Use a name a visitor would recognize on a public-site listing: the brand, the neighborhood, the store number.
4. Fill the address fields
Street, city, state, ZIP, country. Plain text only ��� no HTML, no scripts. The list view formats the parts together automatically; if you skip a part, the formatter handles it gracefully.
5. Fill the contact details
Phone number, email address, location URL, and shop URL. None of these are required — fill what is relevant to your business.
6. Set the hours of operation
Tick the Open checkbox for each day the location is open. Set the From and To times. Leave the checkbox unticked for closed days.
Note: the form does not pre-tick weekdays on a new record. Tick the days the location is open manually; do not assume the form has done it for you.
7. Pick the storefront image and gallery
Click Choose Image under Shop Main Image — the media picker opens. This is the hero photo that represents the shop on listing cards. For the gallery, click Choose Images under Shop Gallery — the picker opens in multi-select mode.
8. Tick any GMB attributes that apply
The GMB Attributes card lists groups by default — Accessibility, Amenities, Service options. Tick the ones that apply to this shop. If an attribute is missing, an admin can add it under Locations Settings.
9. Pick the status
Status defaults to Draft. Change to Publish to make the row visible on the public site. Leave on Draft to save without exposing it to visitors yet.
10. Click "Create Location"
A green flash confirms the save. You land on the edit form for the location you created — the URL changes from /create to /edit/.
11. Edit an existing location
From the list view, hover any row. Three row actions appear: Edit, Trash, and an ID disclosure. Click Edit — or click the location name itself — to open the edit form.
The edit form is identical to Create, with two differences: all fields pre-populate, and the sidebar adds a red Delete Permanently link that bypasses Trash and removes the row from the database directly. Use it only when you are certain — there is no undo.
12. Retire a location without deleting it
To temporarily hide a location: hover the row → click Trash → confirm in the modal. The row moves to the Trash tab and is hidden from the public site. To restore: open the Trash tab → hover the row → click Restore.
13. Delete a location permanently
From the Trash tab, hover a row and click Delete Permanently. Confirm. The row, its meta rows, and gallery references are all removed. There is no undo.
If a synced row from Google Business Profile is deleted permanently and the next sync still finds it in GBP, the sync will recreate it. For synced rows, manage them in GBP first; let SGEN sync the deletion in.
14. Bulk-change many rows at once
Select rows by ticking the checkbox in the leftmost column. Pick a bulk action from the dropdown above the table. Click Apply.
Bulk options (non-Trash tab): Move to Publish · Move to Draft · Move to Trash. Bulk options (Trash tab): Delete Permanently — removes every selected row from the database.
What success looks like
| Action | List view | Public site |
|---|---|---|
| Created + Published | Row on All tab + Published tab; Address column populated | Location visible in theme's locations list |
| Flipped to Draft | Row stays on All; Published counter −1, Draft counter +1 | Location removed from public site on next page render |
| Trashed | Row moves to Trash tab; All/Published/Draft counters drop | Location hidden from public site |
Examples
Example 1: A single-shop owner adds their one address for the contact page. Your business has one storefront on Main Street. Open /sg-admin/locations, click + Add New, fill the name, the full street address, the phone number, and the seven-day hours grid. Save as Publish. The contact page on the public site now renders the address, phone, and hours pulled from this record.
Example 2: A franchise chain maintains four city locations. You run your business across Oakland, San Francisco, Berkeley, and Emeryville. You add four rows, one per shop, each with its own hours grid and storefront photo. When the Berkeley shop changes its Sunday hours, you open that one row, untick the Sunday "Open" checkbox, save. The public site reflects the change on the next page render — no rebuild, no cache-bust.
Example 3: A seasonal venue operator hides a closed-for-winter location without deleting it. You run a summer pop-up at the marina. Winter is coming. Instead of deleting the row — and losing the listings, photos, and hours grid — open the row, flip Status from Publish to Draft, save. The public-site location-list query filters out drafts; the marina shop disappears from the public site. In May, flip it back to Publish — the row returns with everything intact.
The status field is the soft on/off switch for public visibility. Trash is for rows you genuinely intend to remove. Draft is for "keep the data, hide the row."
What to do if it does not work
The list view shows zero rows but I created one a moment ago. Refresh. If you stayed on a filter tab (Published / Draft / Trash), the new row may live on a different tab. Click All to see every row.
The form rejects my location name as too short. The name must be at least two characters. A single-character name is rejected with a red flash.
The Sync Locations button shows a generic error toast. Sync requires a connected Google Business Profile. On a fresh install, the integration credentials are empty — the call returns an external-API error. Contact support if you want GBP sync enabled.
My changes to a synced location got overwritten. Synced locations are governed by GBP. If you edit a row that has the External badge, the next sync may overwrite your edits. Edit the canonical record in Google Business Profile, then run sync.
The hours grid renders all unticked even though I want Monday–Friday open by default. This is a known display behavior on new forms. Tick the days you want open before saving.
The Address column shows a dash. That row has no address metadata yet. Open the row's edit form, fill street / city / state / ZIP / country, save.
A trashed row keeps coming back. The row is being recreated by Google Business Profile sync. Delete the canonical record in GBP first, then run sync.
Full field definitions: Location form field reference — every field, its format, and its default.