
Inside the Custom Fields builder — picking field types and configuring them
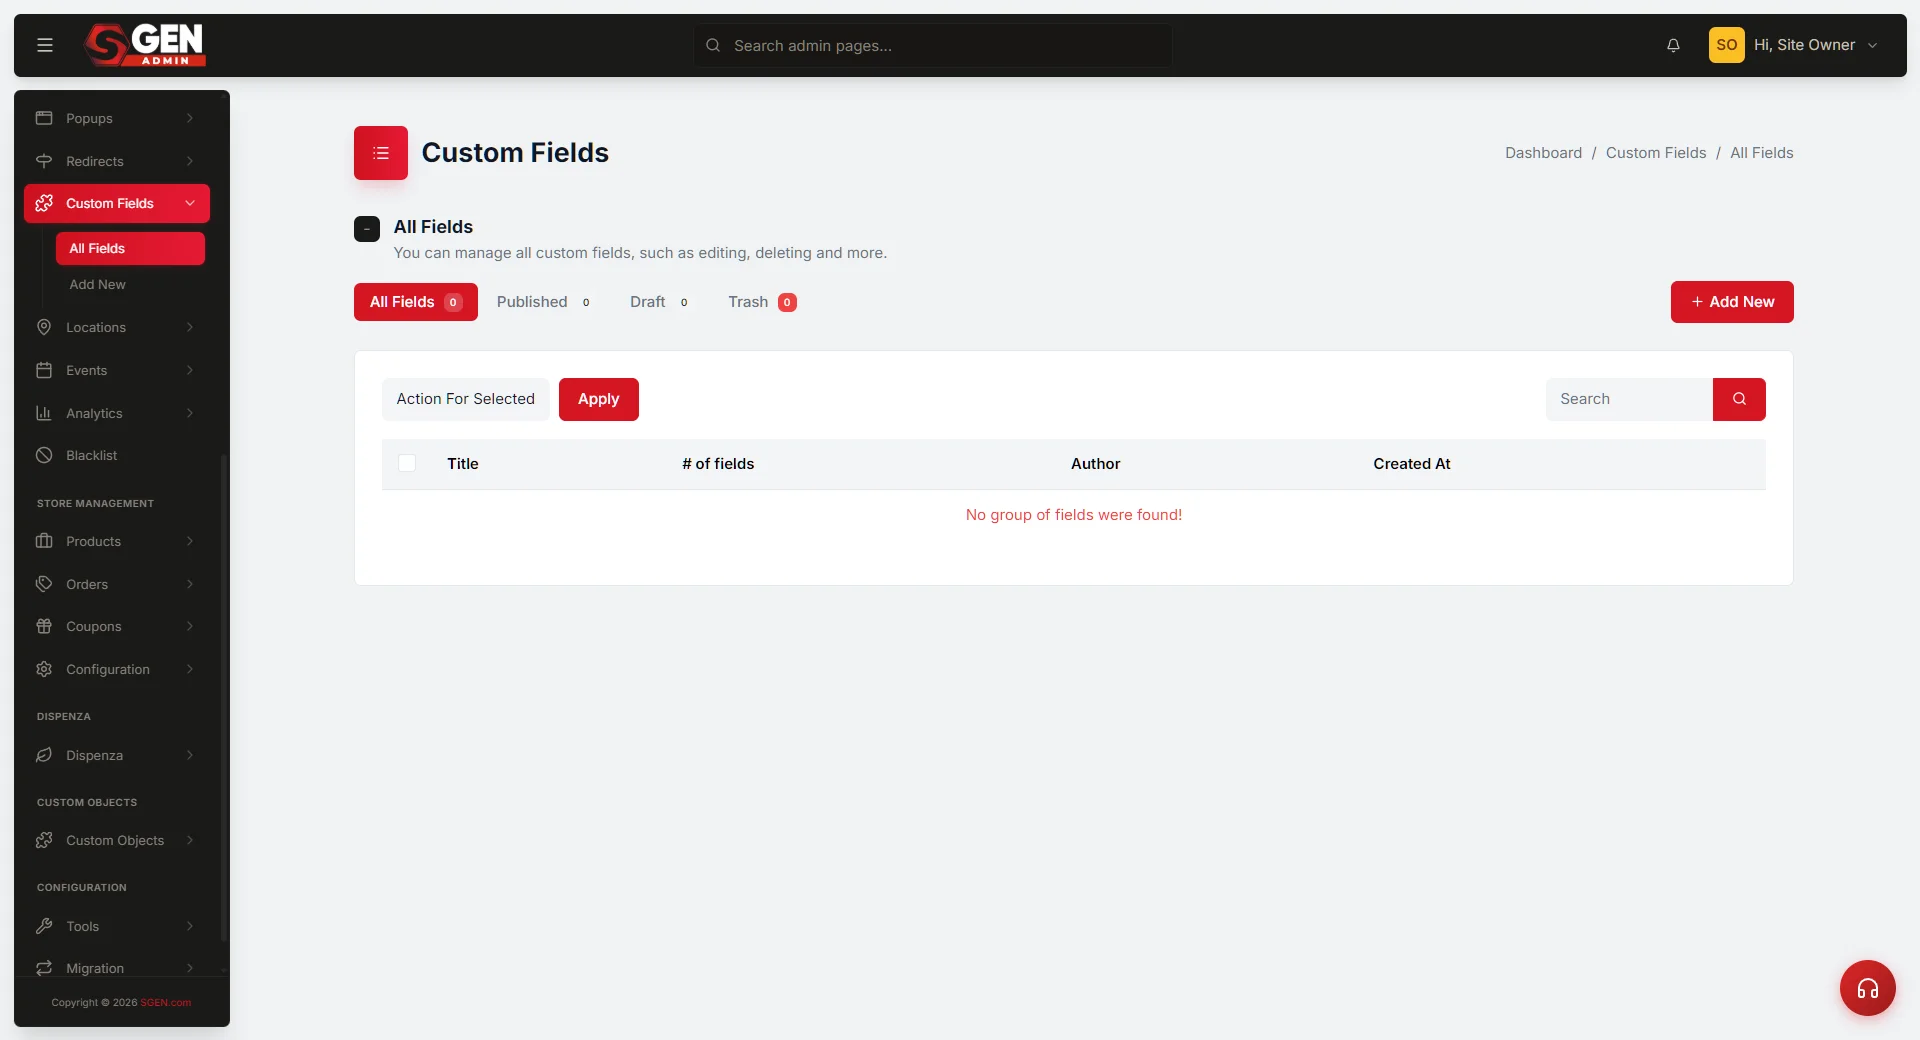
⏱ 60-second answer below · full page ≈ 12 min · skim the bold lead-ins to move faster.
In short. The Custom Fields builder is where you define structured fields for a content type. Choose a field type (text, select, date, image, etc.), set the label and options, assign locations (which post types or page templates see the group), then save. Every edit screen that matches your location rules then shows those fields in order.
On this page: What it's for · When to use it · Field types reference (step 3) · Step-by-step build · Troubleshooting
How to build a Custom Fields group from inside the builder
What is this for?
The Custom Fields builder is the form you land on whenever you click + Add New or Edit inside Custom Fields. The screen is identical for both — only the title changes ("Create a group of fields" vs. "Update a group of fields").
The builder has four independent areas: the Title at the top names the group; the Field repeater is where you stack typed inputs; the Locations panel binds the group to post types or page templates; and the Settings panel sets publish status. Changing one area does not require re-saving the others.
Nothing in the builder is one-shot. You can add, remove, or reorder fields any time without losing values admins have already entered.
Good use cases
The builder fits any scenario where you need repeating, structured admin-side inputs entered consistently across a content type.
| Scenario | Approach |
|---|---|
| Structured fields on a custom post type | Product needs SKU, price, spec PDF, photos → Text + Number + File + Repeater (Image) group on Posts → Product |
| Inputs scoped to one page template | Press releases need embargo date + PDF → group on Pages → Press Release template only |
| Internal notes hidden from visitors | Editor notes textarea on every blog post → WYSIWYG group on Posts → Blog |
| Repeating rows (staff bios, testimonials) | Repeater with Name/Role/Image/Bio sub-fields on Pages → About → each new hire = one extra row, no developer ticket |
| Admin-managed page layout fields | Wholesale application with 12 inputs → page-targeted group replaces hand-coded body fields |
| Standardized taxonomy choices | Select field with a curated list eliminates "How-to" vs. "tutorial" inconsistency across writers |
| Content flags (featured, sold-out) | Single Checkbox on a Product post — template shows/hides the badge based on the value |
Scope
The Custom Fields builder covers the full configuration of a field group: naming it, stacking any number of typed field rows, picking locations (post-types and page templates), setting the publish status, and saving. It supports twelve field types: Text, Textarea, Number, Select, Checkbox, Checkboxes (multi), Radio, Date, Image, File, WYSIWYG, and Repeater. The builder does not capture or store visitor-submitted data — it configures admin-side inputs only.
Examples
Two representative builds. More step-by-step walkthroughs are in Create a new custom field group.
Example 1: bug report fields for an internal helpdesk. A Bug report fields group targets a custom Bug post type with seven fields: Severity Select (Low/Medium/High/Critical, default Medium, required), Steps-to-reproduce Textarea, Expected result Textarea, Actual result Textarea, Screenshots Repeater (max 5 images), Internal notes WYSIWYG. Every Bug post edit screen renders the seven-field panel in order.
Vocabulary
| Term | Meaning |
|---|---|
| Field repeater | The section of the builder where field rows are stacked, reordered, and configured. |
| Field label | The visible string the admin sees above the input. Shown on every edit screen this group is attached to. |
| Field name | The internal snake_case key used by the template to retrieve the value. Treat as permanent once data exists. |
| Field type | The input shape — Text, Textarea, Number, Select, Checkbox, Checkboxes (multi), Radio, Date, Image, File, WYSIWYG, Repeater. |
| Locations panel | The checkboxes that bind the group to post-types and page templates. No location = group is saved but never appears. |
| Repeater | A field type that lets admins add N rows of sub-fields — one per row. Sub-fields cannot themselves be Repeaters. |
| WYSIWYG | Rich-text editor (bold, italic, links). Use when admins need formatted prose in the value. |
What NOT to use this for
The Custom Fields builder is opinionated about what it covers. A few things are out of scope.
Public-facing contact forms with customer submissions. The Custom Fields builder lays out admin-side inputs on edit screens. It does not handle submissions from logged-out visitors. Use the Forms feature for that.
Conditional show/hide rules per field. The builder supports basic field types and basic locations targeting. It does not support per-field "show this field only if the previous answer was X" rules. If you need that level of branching, the right answer is usually two or more separate groups attached to different post types.
Nested repeaters. A Repeater field can hold any other type as a sub-field. But a sub-field cannot itself be a Repeater. Flatten the structure or split it across two groups.
Complex multi-step workflows. The builder produces a single edit-screen panel with whatever fields you stack. It does not produce wizards, multi-page flows, or tab-by-tab inputs.
Storing customer accounts or order data. Custom Fields is for content metadata — fields attached to posts, pages, and custom post types. It is not a CRM. It is not an order ledger. It is not a database table generator.
Color pickers, map pickers, and richer field types not on the supported list. The supported types are Text, Textarea, Number, Select, Checkbox, Checkboxes (multi), Radio, Date, Image, File, WYSIWYG, and Repeater. Anything outside that list is not built. File a feature request rather than try to fake it with a Text field.
Per-admin permissions on individual fields. Every admin who can edit a post or page sees the entire Custom Fields panel attached to that screen. If a field should only be visible to certain roles, the right answer is to scope the post type itself by role, not to hide individual fields.
How this connects to other features
- Custom Post Types — most non-trivial Custom Fields groups attach to a custom post type. Build the post type first, then the field group, then locate the group on that post type.
- Pages — page-targeted Custom Fields groups can be scoped to specific page templates so the same group only appears on a subset of pages.
- Forms — Forms is for public-facing submissions. Custom Fields is for admin-side metadata. If you find yourself wanting both, build them as two separate features and decide where each input belongs.
- Media library — Image and File field types open the media library to pick a previously-uploaded asset. Upload to media first if you want to set a default.
- Posts and Pages list views — Custom Fields groups do not change the columns shown in those list views by themselves. To surface a custom field as a column, you also need to configure the list-view columns separately.
- Templates / theme editor — the values admins enter on edit screens are not auto-rendered on the public site. The template that owns the page decides where those values appear in the public layout. Adding a field is the first half; rendering it is the template's job.
Before you start
You will get a cleaner result if you have:
- A clear list of the fields you want. Before opening the builder, sketch the group on paper. Decide what each field is called, what type it is, whether it is required.
- The post type or page already created. The Locations panel can only target post types and templates that exist.
- Any default images already uploaded. If you want a field to default to a specific image, upload it to the media library first.
- A clear answer to "who edits these?" The group will appear on every edit screen that matches the Locations rules. If only certain admins should see the group, you also need to think about admin role permissions — that is configured outside this builder.
- Field names settled. Renaming a field name (the internal identifier) after admins have entered values is fine but the previously-entered values are still keyed by the old name until each post is opened and saved. Pick names you can live with.
Where to go
Dashboard → Custom Fields → + Add New to create a group from scratch. Or Dashboard → Custom Fields → Edit on an existing group to modify one. Both routes land on the same builder.
Steps — building a group from scratch
1. Open the builder.
Click + Add New at the top right of the Custom Fields list. The form loads with the title placeholder "My Custom Fields" and an empty field repeater. The page title at the top of the screen reads "Create a group of fields".
2. Name the group.
Replace the placeholder with something descriptive. The name is for admins only — it never appears on the public site. A good name is the answer to "what kind of content does this attach to?" — for example, "Bug report fields", "Press release metadata", "Staff bios". Avoid generic names like "Group 1" or "Test" because once you have several groups they become impossible to tell apart in the list view.
3. Add your first field.
Click + Add Field. A new row appears in the field repeater with a Field type dropdown, a Label input, and a Field name input. Pick the type first — that decides which other options appear below.
The supported types are:
- Text — a single-line input. Use for short answers like a SKU or a person's name.
- Textarea — a multi-line input. Use for longer answers like a description or an internal note.
- Number — a numeric input with min/max/step options. Use for prices, quantities, ratings.
- Select — a dropdown with a fixed list of choices you define. Use for status values, category buckets.
- Checkbox — a single yes/no toggle. Use for "Featured", "Sold out", "Internal only".
- Checkboxes (multi) — a list of toggles where multiple can be on. Use for tags, attributes, multiple selections.
- Radio — a list where exactly one is on. Use for severity, priority, single-choice questions.
- Date — a date picker. Use for embargo dates, event dates, deadlines.
- Image — a media picker that returns one image. Use for cover photos, thumbnails, headshots.
- File — a file picker that accepts non-image files. Use for PDFs, spec sheets, downloadable assets.
- WYSIWYG — a rich-text editor. Use when admins need bold/italic/links inside the value.
- Repeater — a group of sub-fields that can repeat as many rows as the admin needs. Use for staff lists, photo galleries, recurring sections.
4. Configure the field's options.
Each field type shows different options below it. The most common ones to set are:
- Label — what the admin sees on the edit screen. Should match the field's purpose ("Severity", "Embargo date").
- Field name — an internal identifier. Lower-case, no spaces. Used by templates and reporting. Use snake_case ("severity", "embargo_date").
- Required — toggle on if the admin must fill the field before saving the post.
- Default — pre-filled value when a new post is created. Optional but useful when most rows have the same answer.
- Instructions — a short hint that appears under the field on the edit screen. Use for "Format: YYYY-MM-DD" or "Maximum 5 photos".
For Select / Checkboxes / Radio, you also enter a list of choices, one per line, separated by a divider character. The format is "value | label" where value is what gets stored and label is what the admin sees.
5. Add more fields.
Click + Add Field as many times as you need. Each new row appears at the bottom. To reorder, grab the drag handle on the left edge of a row and drag it up or down. The order in the builder is the order admins will see on the edit screen.
If a field type supports it (Repeater), you can add sub-fields by clicking + Add Sub-field inside the repeater row. Sub-fields work the same way as top-level fields but with one rule: a sub-field cannot itself be a Repeater. If the type dropdown does not show "Repeater" while you are inside a sub-field config, that is why.
6. Pick the locations.
Open the Locations panel and tick the boxes for each post type, page, or template where this group should appear. A group can attach to more than one location — for example, the same "Editor notes" group can appear on Posts → Blog and Pages.
For Pages, you can scope further by template. If your site has a "Press Release" template and you only want the group on press releases, tick the template-specific row, not the generic "All pages" row.
If you tick nothing, the group is saved but does not appear anywhere. That is occasionally useful while you are still drafting — saves your work without affecting the live admin.
7. Set the status.
Open the Settings panel and pick a status:
- Publish — the group is live and appears on every edit screen that matches the Locations rules.
- Draft — the group is saved but does not appear anywhere, even if Locations are set. Use Draft while you are still iterating.
- Trash — only chosen when you are removing a group. Trashed groups stop appearing immediately and can be restored within 30 days.
8. Save.
Click Save at the bottom. If everything is valid the page reloads with a green success banner. The page title flips from "Create a group of fields" to "Update a group of fields". You are now in the edit branch — every visit to this group goes through the same builder. The only difference is the title bar and that all your values are pre-filled.
What success looks like
After you save, three things should be true. First, the group appears in All Fields with the right counts ("7 fields", the locations you ticked). Second, when you open an edit screen that matches the Locations (e.g. open a Bug post if you targeted Posts → Bug), a panel titled with your group name appears with each of your fields rendered in the order you defined. Third, the page title in the builder flips from "Create a group of fields" to "Update a group of fields" — that confirms the save took. If the title still says "Create" after you click save, something interrupted the save and you should try again.
What to do if it does not work
- The group saves but my fields are not showing on the edit screen. Open the builder again. Check Status is Publish, not Draft. Check the Locations panel has a box ticked. Double-check the location matches the screen you are looking at — Posts → Bug only shows on Bug posts, not on Pages, not on regular blog posts.
- The save button does nothing or the page reloads blank. Reload the browser tab. Try once more. If it still fails, your session may have expired — log out and log back in.
- A field type I want is not in the dropdown. Confirm you are not configuring a sub-field of a Repeater. Repeater is hidden from the type list inside a sub-field config because nested repeaters are not supported. Outside a Repeater the full type list is available.
- My ticked locations disappeared after a failed save. This is a known minor issue. Re-tick the Locations panel and click Save again. Your other inputs (title, fields, settings) are remembered correctly — only the locations ticks are forgotten across a re-render. The fix is being tracked.
- I clicked Edit on a group and got "Page Not Found". That group was hard-deleted between when the link was rendered and when you clicked it. Check the Trash tab — if it is there, restore it. If it is not, the group is gone and will need to be re-built.
- My Repeater children disappear after save. Confirm you have not nested a Repeater inside a Repeater. If you did, flatten the structure or split it across two groups. If the structure is flat and children still disappear, contact support with the group ID.
- The fields render on the edit screen but the values aren't showing on the public site. That is a separate concern. Custom Fields stores admin-side values; how the public site renders them depends on the template that owns that page. Open the template editor and add the field references where you want them to appear.
- The drag-handle to reorder fields is not working. Make sure you are clicking the small drag icon on the left edge of a field row, not the row body. The body is interactive (it expands the field config), so clicking it does not initiate a drag.
- My Choices list for a Select field is being saved but the dropdown is empty. The choices format is "value | label" with a vertical bar between them, one entry per line. If you used a comma instead of a bar the parser will treat the whole thing as a single broken entry. Re-enter using bars.
Example 1: Bug report fields for an internal helpdesk
An admin opens Dashboard → Custom Fields → + Add New, names the group "Bug report fields", and adds seven fields: Severity Select (Low/Medium/High/Critical, default Medium, required), Component Select, Steps-to-reproduce Textarea, Expected result Textarea, Actual result Textarea, Screenshots Repeater (max 5 images), Internal notes WYSIWYG. Locations: Posts → Bug. Status: Publish. Save.
Every Bug post edit screen now renders the seven-field panel. Three weeks later, adding a "Browser version" Text field to the live group requires only reopening the group, clicking + Add Field, and saving — existing Bug posts immediately show the new blank input.
Example 2: Staff bios via a Repeater on the About page
An admin opens + Add New, names the group "Staff bios", adds a single Repeater field called "Staff" (min 1, max 30) with four sub-fields: Name (Text, required), Role (Text, required), Headshot (Image), Bio (Textarea). Locations: Pages → About. Status: Publish. Save.
The About page edit screen now shows the Staff repeater panel. Each new hire = one extra row. No template change, no developer ticket.
Next steps
- Browse custom field groups — see all your groups and their field/location counts.
- Edit a custom fields group — modify an existing group after it is live.
- To surface a Custom Fields value as a column on Posts or Pages list views, configure that in the column settings for that list view.
- For public-facing forms (customer submissions, signups), use the Forms feature — Custom Fields is admin-side only.
- If you find yourself building dozens of similar groups, consider whether a Custom Post Type is a cleaner fit — sometimes the right answer is a new post type rather than more fields on an existing one.
Custom Fields builder — field types
| Field type | Use |
|---|---|
| Text | Single-line, short answers |
| Textarea | Multi-line, longer answers |
| Number | Numeric with min/max/step |
| Select | Fixed dropdown list |
| Checkbox | Yes/no toggle |
| Checkboxes (multi) | Multiple toggles |
| Radio | Exactly-one selection |
| Date | Date picker |
| Image | Media picker, one image |
| File | Non-image files |
| WYSIWYG | Rich-text editor |
| Repeater | Repeating sub-field rows |